Installing the MiraSafe Gym Mirror is a simple, DIY-friendly process that anyone can follow. With the right tools and this step-by-step guide, you can achieve a secure, professional-looking installation in your home or commercial gym. Follow along to ensure perfect leveling and stability, and avoid common mistakes along the way.
Check Order Status
For immediate assistance, please call 1-866-452-7707
How to Install the MiraSafe Gym Mirror: A Step-by-Step Guide
Dulles Glass
|
Tue Oct 29 2024
What is a Mirasafe Gym Mirror?
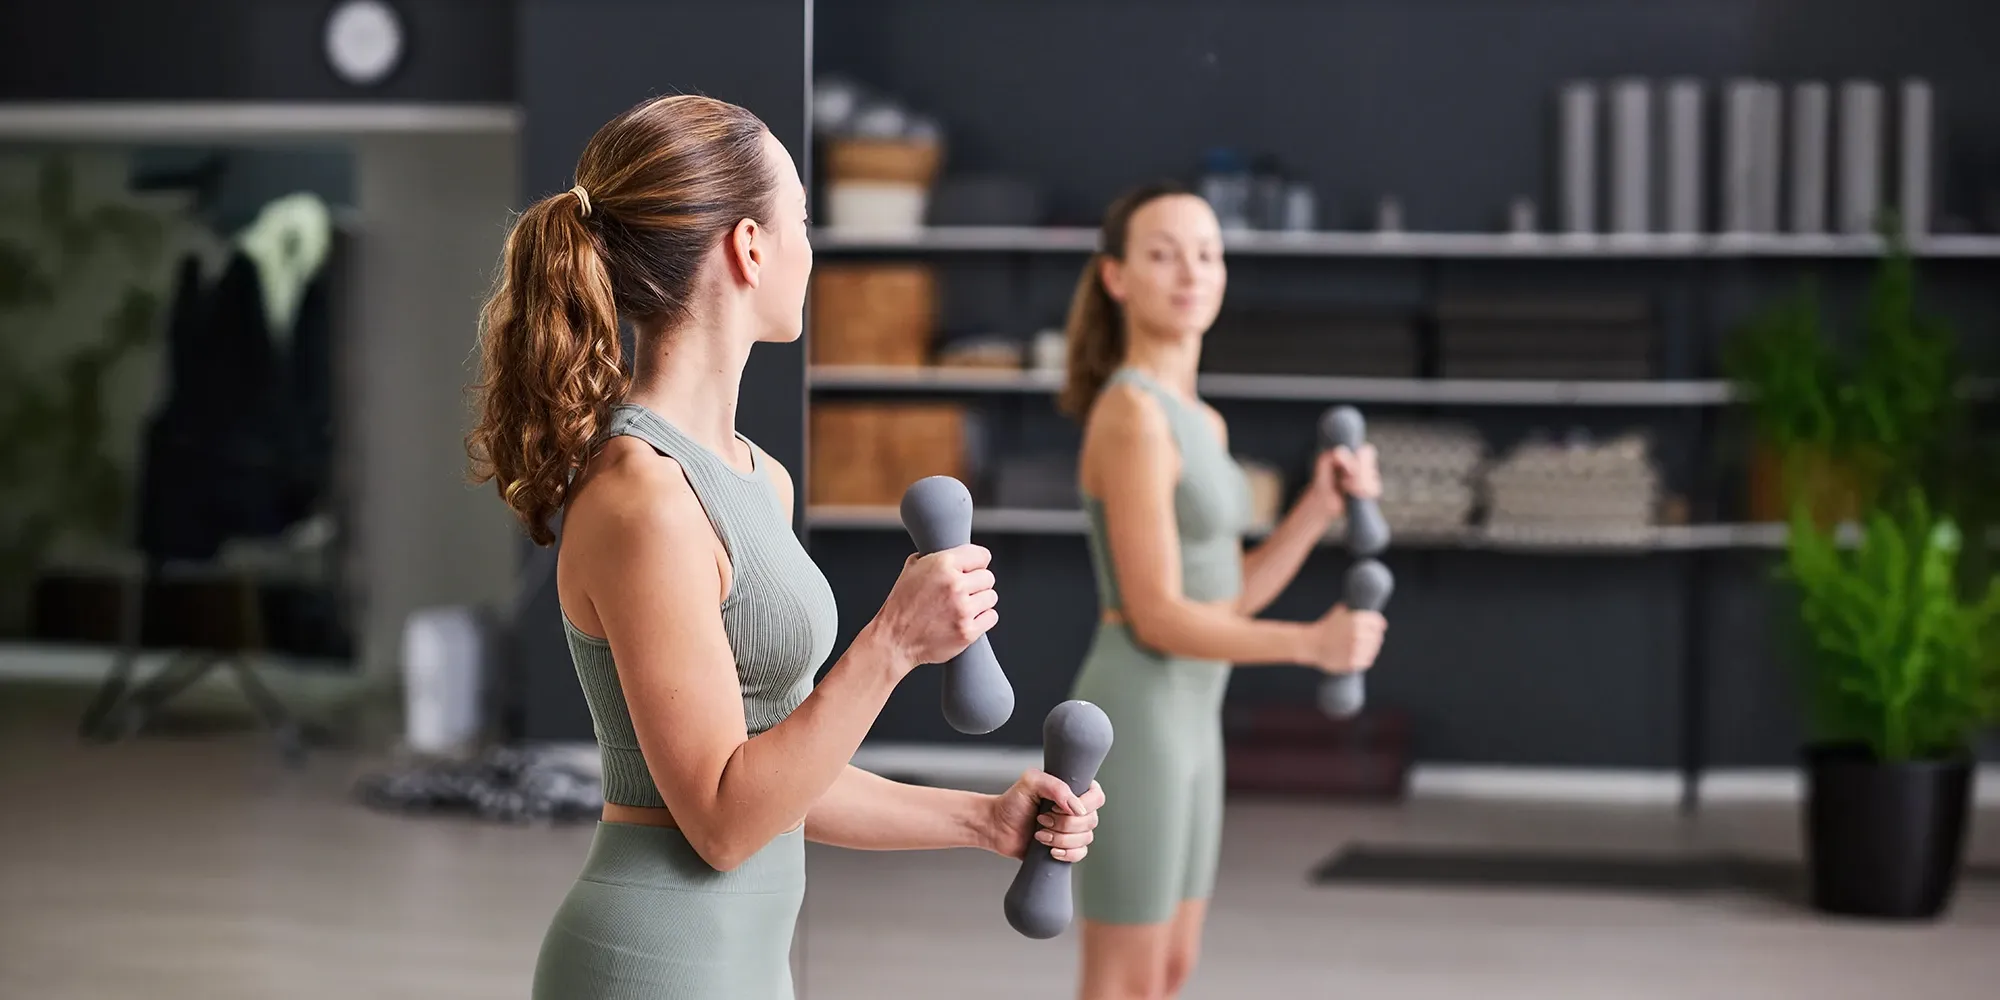
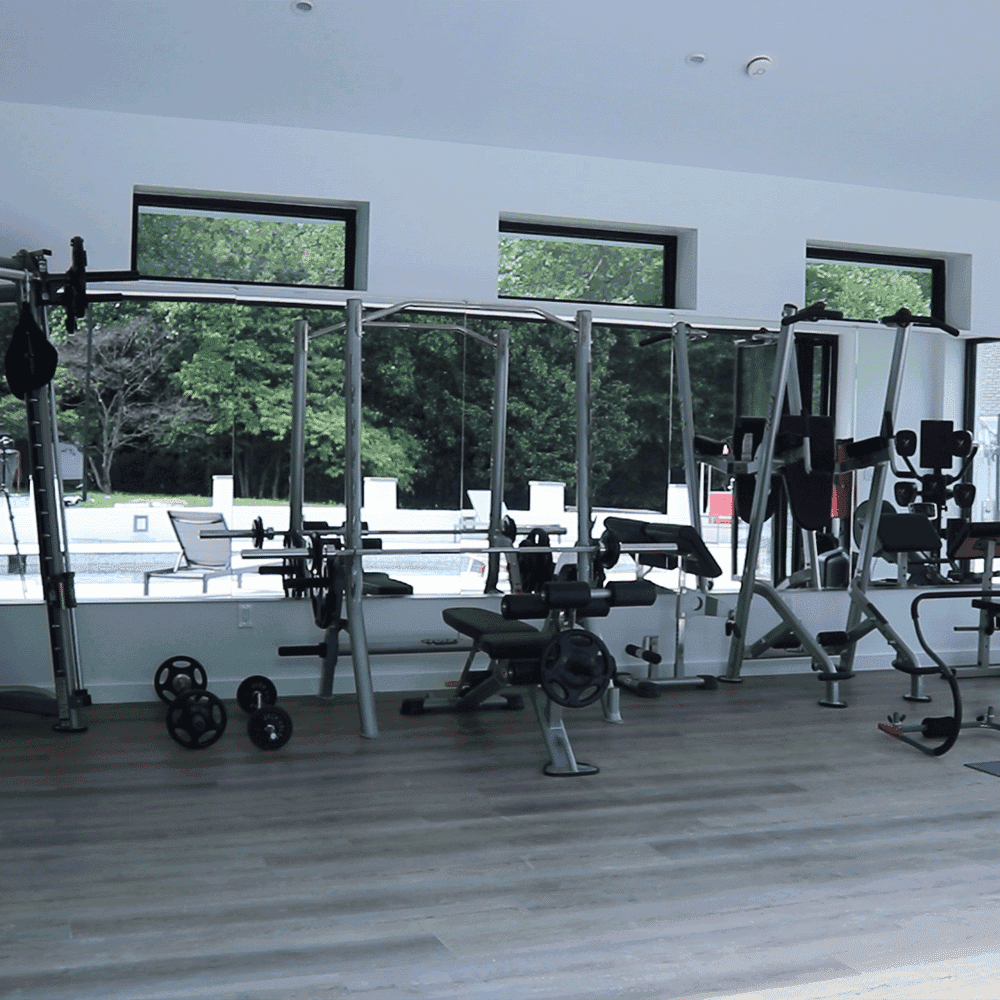
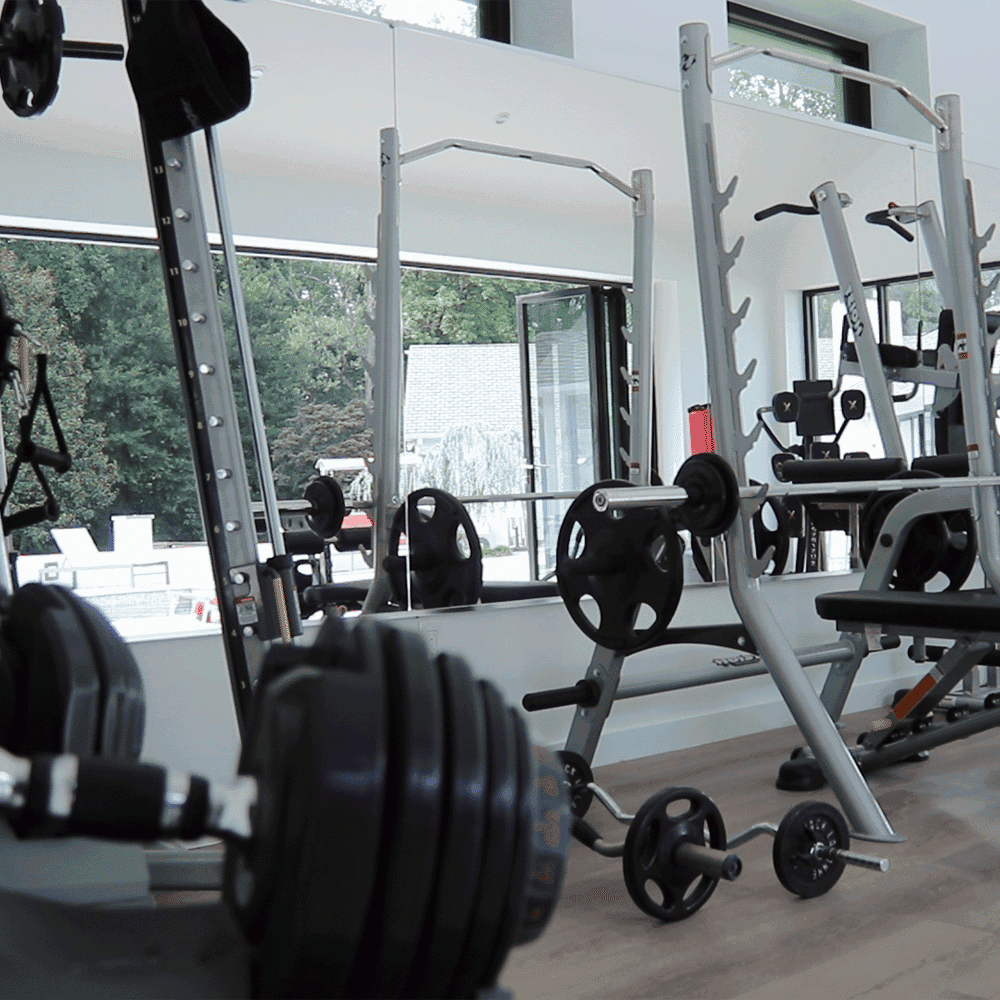
The MiraSafe Gym Mirror combines sleek aesthetics with heavy-duty performance, making it a must-have for any fitness space. Its shatter-resistant build and crystal-clear reflections make it perfect for home gyms, fitness centers, or dance studios. Built to withstand intense daily use, each MiraSafe mirror kit includes all the necessary installation hardware for a hassle-free setup. From home gym upgrades to commercial installations, MiraSafe mirrors provide the ideal combination of durability and sleek design.
Tools and Materials Needed for Installation
The MiraSafe Gym Mirror Kit comes with all the essentials for a smooth and hassle-free installation. This ensures your mirror stays securely mounted, even through the toughest workouts. Here’s what you’ll find inside the box:
- Mirasafe Gym Mirror
- Bottom J-Bar
- Fasteners and Anchors
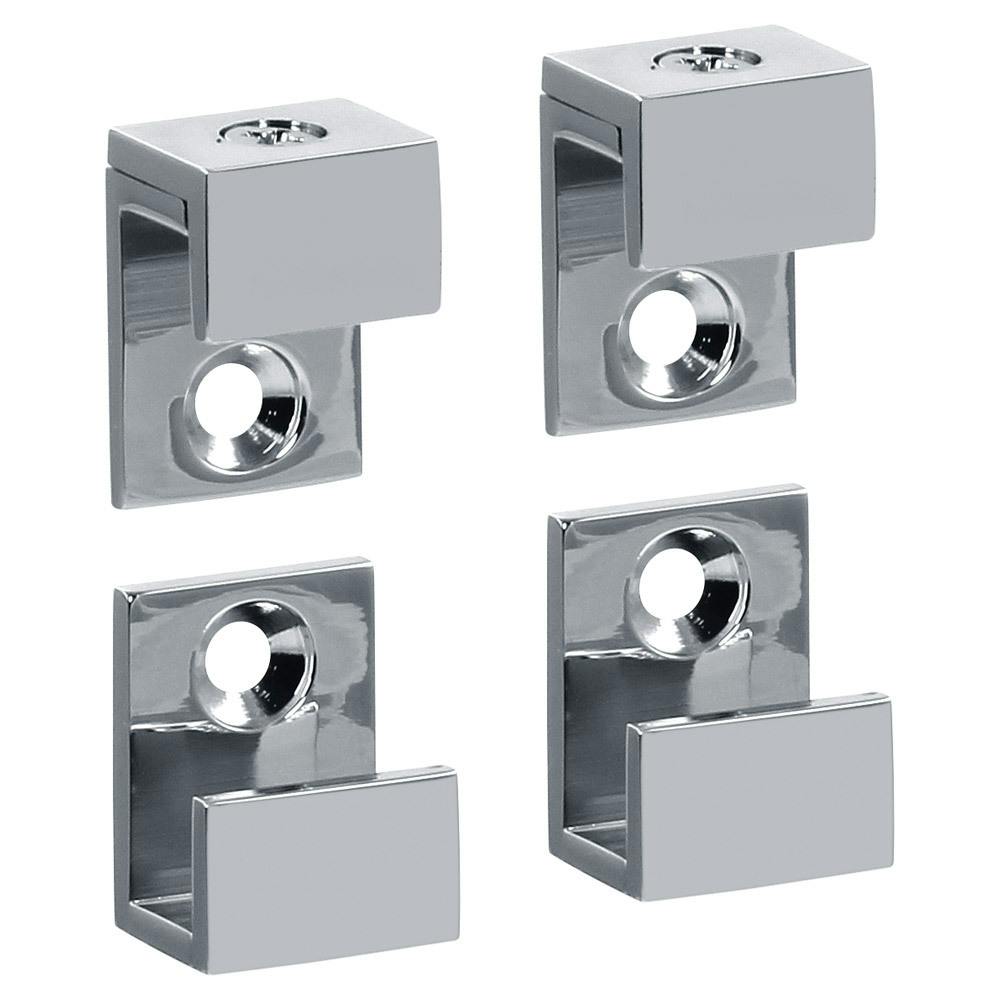
- Round Mirror Clips
- Shims

In addition to the items provided in your kit, you will need the following tools:
- Measuring tape
- Level
- Pencil or marker
- Drill with appropriate drill bits
- Screwdriver
- Protective gloves

Preparing Your Wall for the Mirror
Preparing your wall is a key step before installing your MiraSafe Gym Mirror. Start by cleaning the wall’s surface to remove dust, dirt, and debris, ensuring it’s level and smooth. Select a flat, sturdy section free of obstacles like outlets or molding for the best stability and appearance. Taking these steps keeps your mirror firmly in place and gives it a professional look.
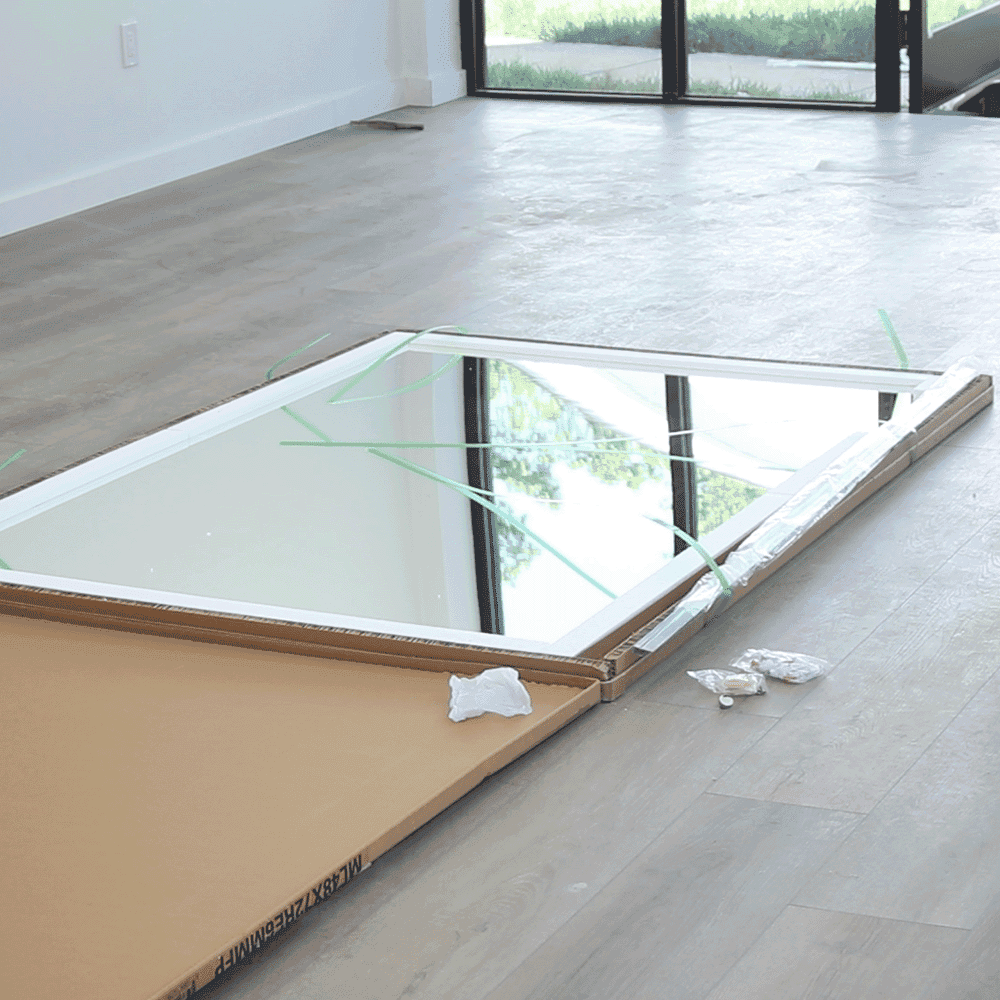
Step 1: Unbox the MiraSafe Gym Mirror Kit
Once you receive your Dulles Glass mirror, carefully open the package. Remove the safety straps and take out all components including the hardware.
Step 2: Measuring and Marking the Installation Area
2.1. Choosing the Placement:
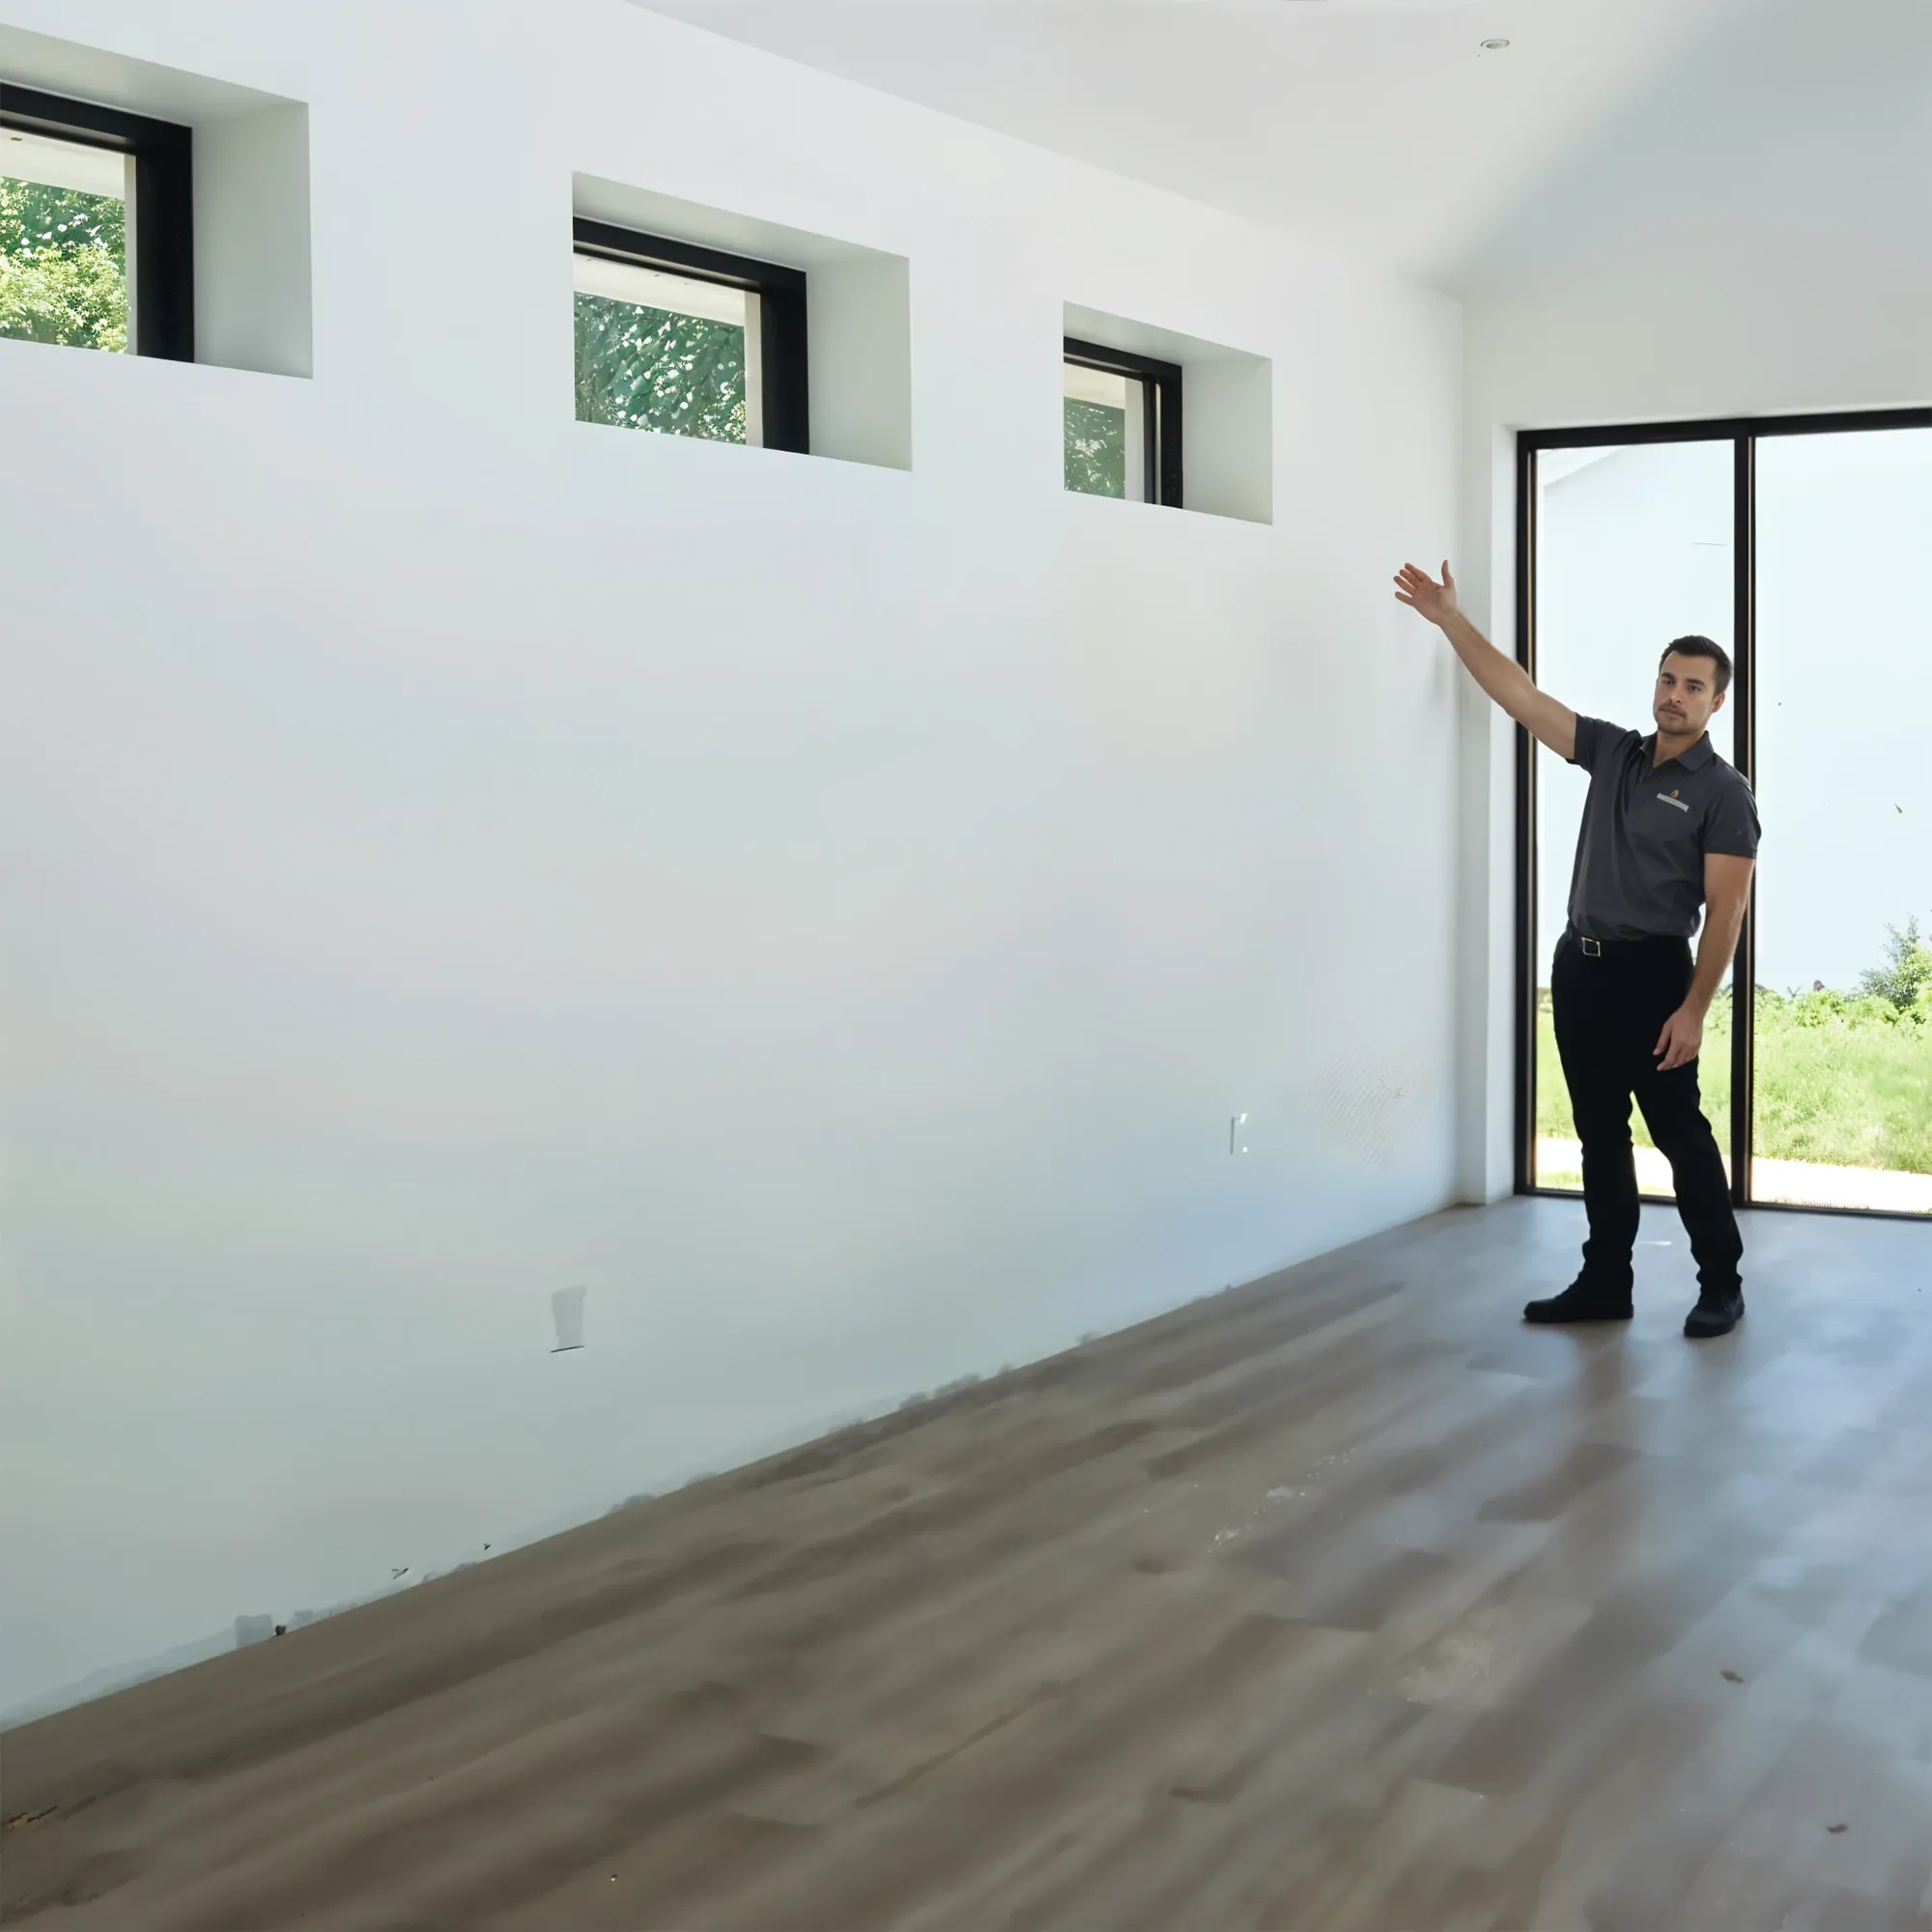
When deciding where to place your MiraSafe Gym Mirror, consider the overall gym layout. Pay attention to the location of electrical outlets, lighting conditions, and the arrangement of gym equipment to avoid obstructions. Set the mirror at a height that gives you the optimal view, allowing you to easily track your form as you move through your exercises.
2.2. Mark the Bottom J-Bar Line:
Using a pencil, a level, and the J-bar, mark a straight and level line on the wall to indicate where the bottom edge of your mirror will rest. This helps keep the mirror perfectly level and securely in place once installed.
If you're mounting several mirrors on a wall, keep the J-bar at a steady height above any outlets or trim. Mark your measurements along the entire area where the mirrors will be installed.
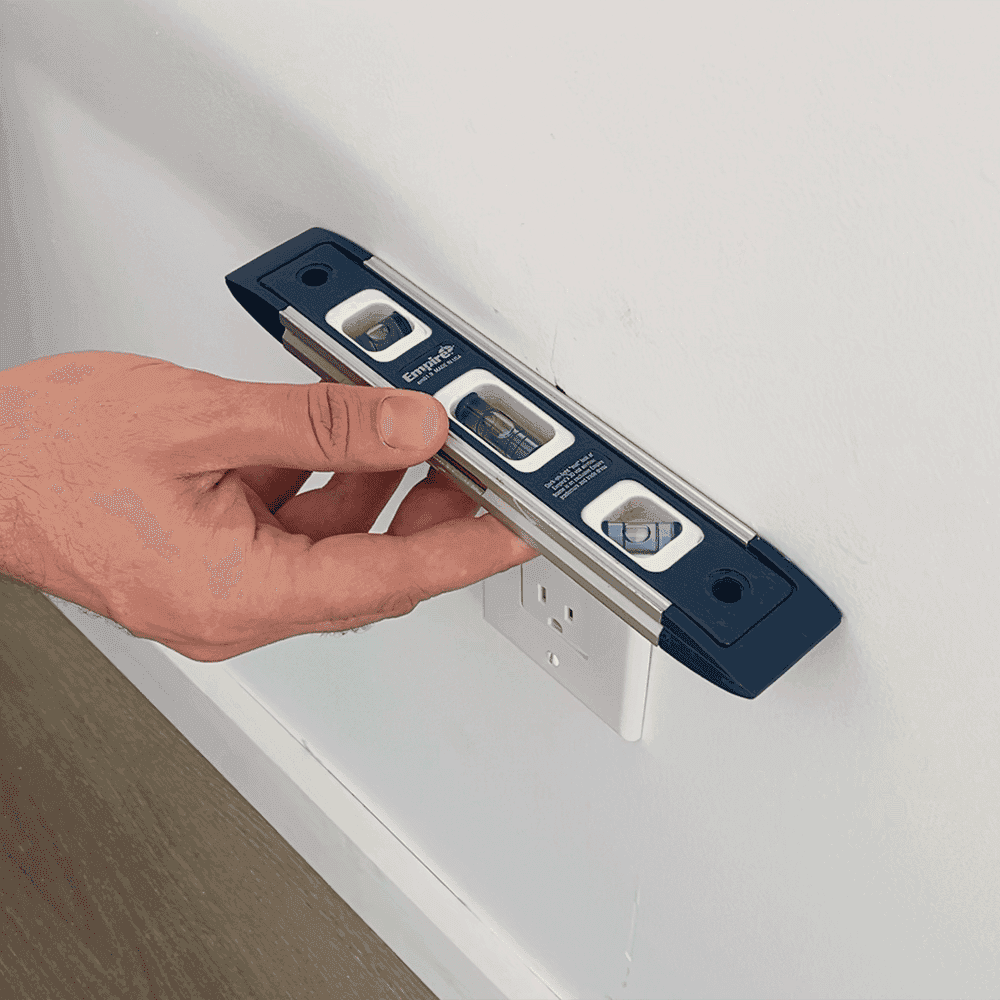
Pro Tip: Don’t rush this part—taking your time with accurate measurements and leveling is crucial to achieving a stable and professional-looking result.
Step 3: Installing the Mirror Mounting Brackets
To safely install MiraSafe gym mirrors, make sure you securely mount the J-bar and use sturdy mirror clips. Follow these simple steps for a smooth installation:
3.1. Mark and Drill Anchor Holes:
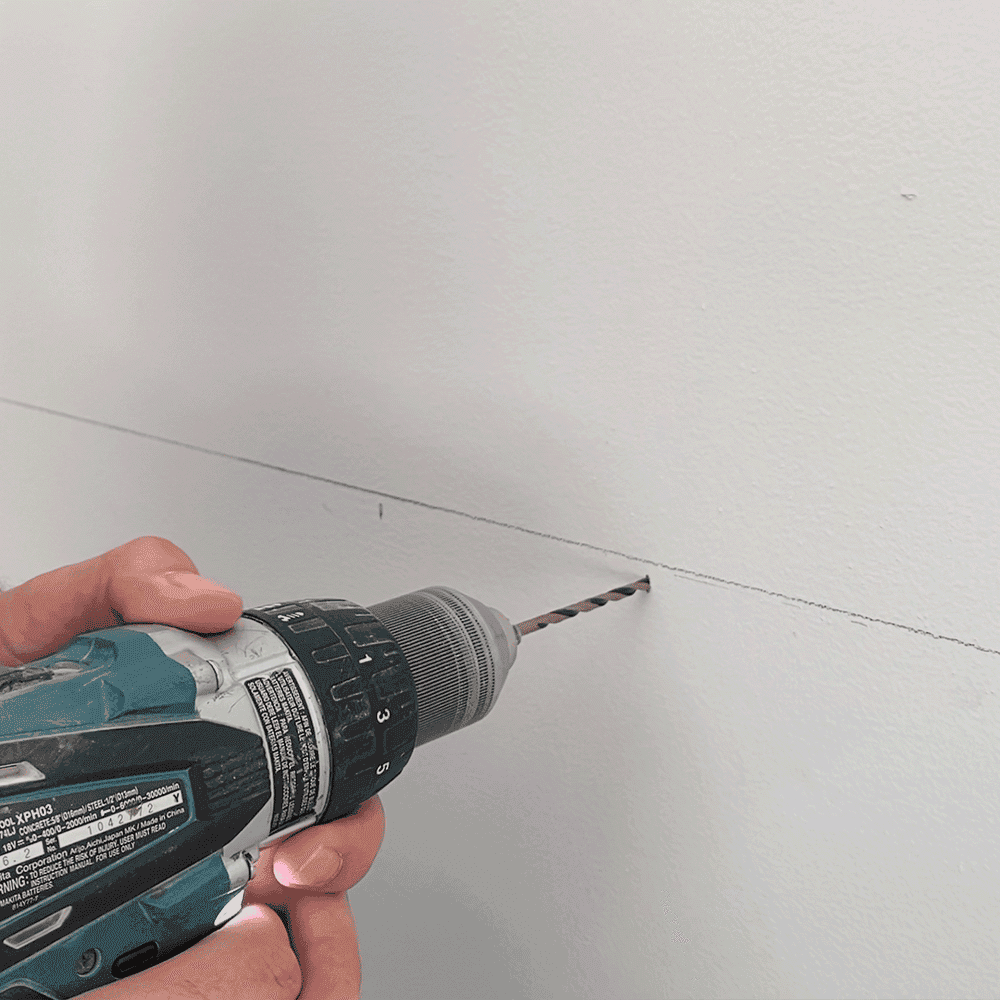
Mark where you’re going to drill the pilot holes for the drywall anchors that will hold the J-bar. These holes should be 4 inches from the edge of the mirror and then spaced evenly along the length of the bar. Once the positions are marked, drill the pilot holes.
3.2. Install the Anchors and J-Bar:
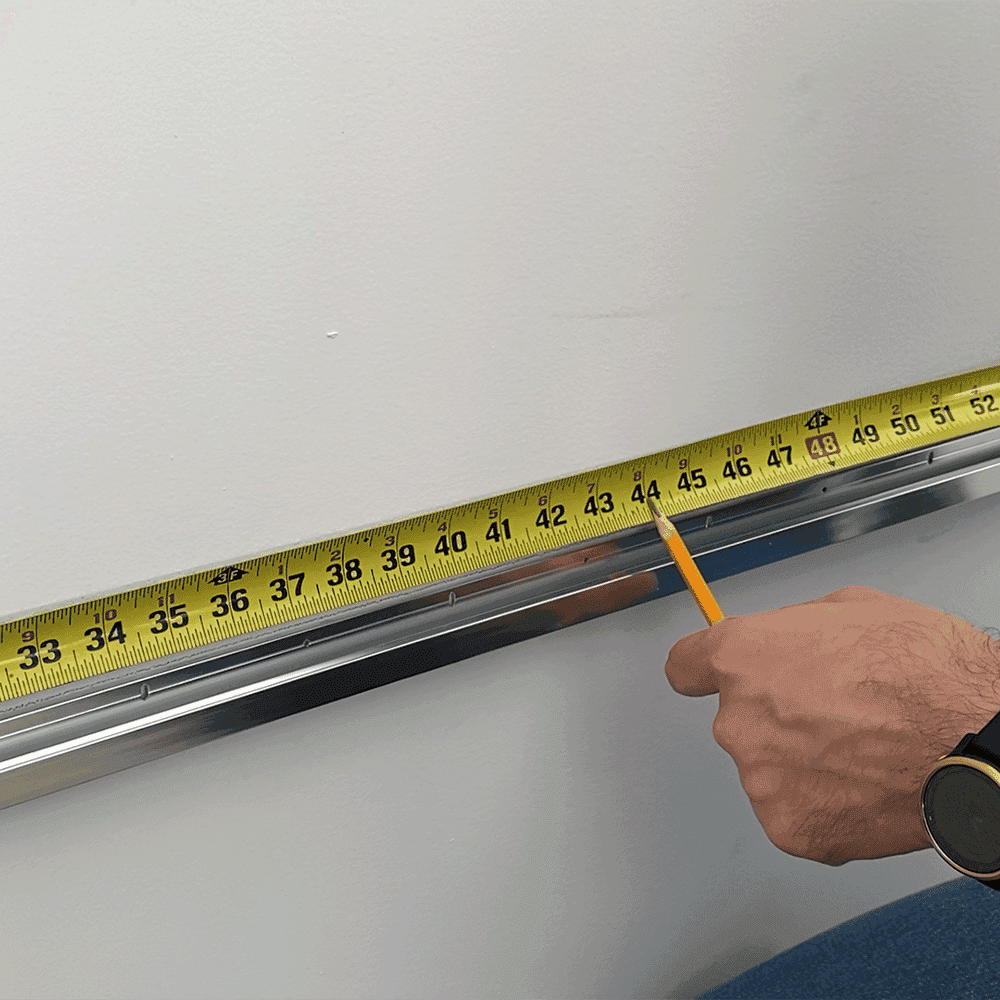
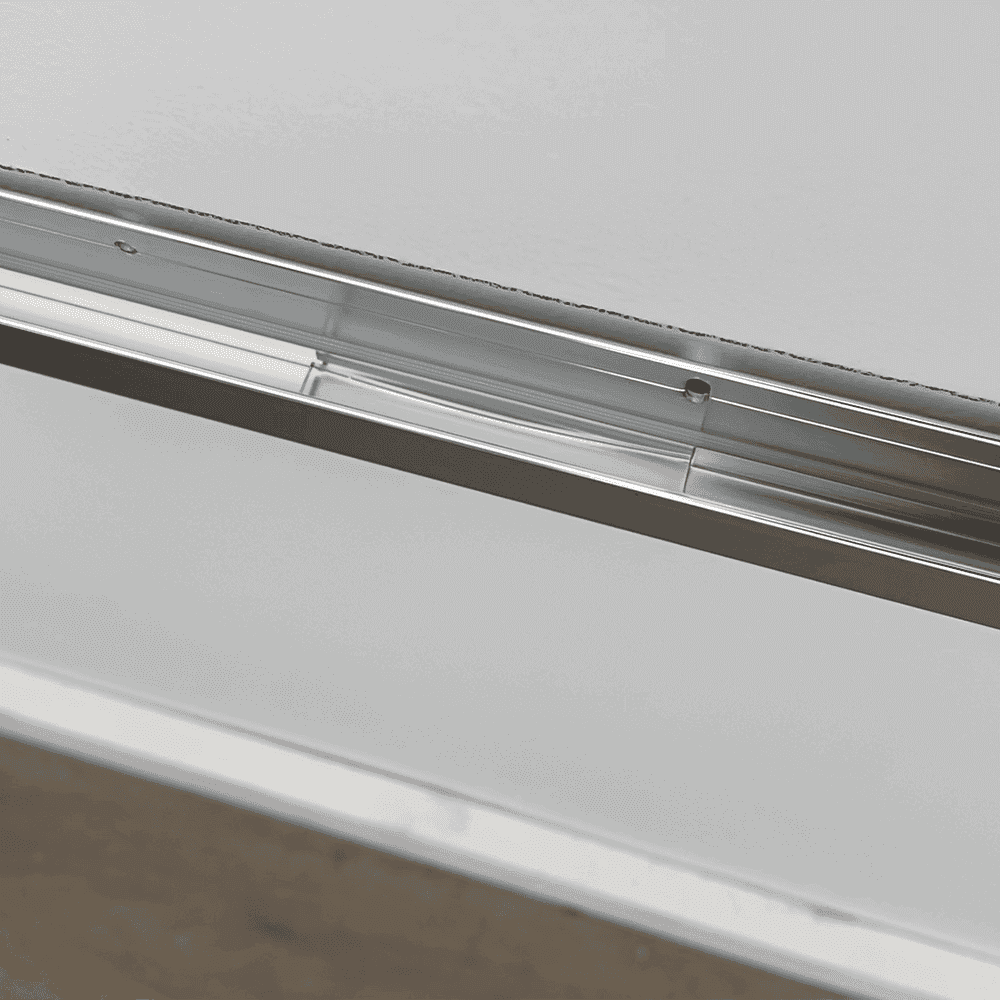
Next, insert the drywall anchors into the designated spots on the wall. Once the anchors are in place, use screws to fasten the J-bar securely. Be sure to check that the J-bar is level before fully tightening the screws.
3.3. Use Shims for Stability:
Before resting the mirror into the J-bar, insert the provided shims (included in the kit) into the J-bar. These shims ensure that the mirror will rest securely on top of the J-bar without sagging and also protect the mirror from damage.
Step 4: Lifting and Securing the Mirror Safely
With the J-bar securely mounted and the shims in place, it's time to position the mirror.
4.1. Ask for Help:
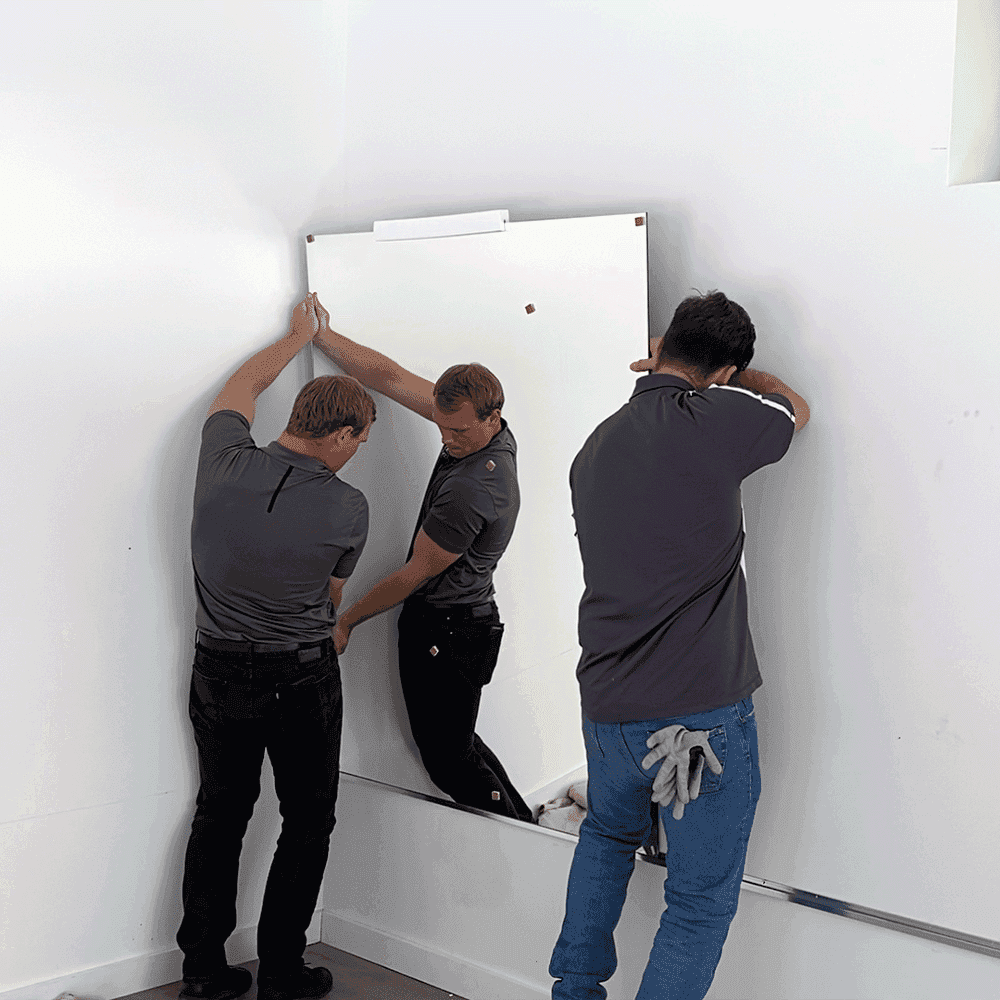
For this step, having a second person to help is highly recommended. Carefully lift the mirror and gently lower it onto the J-bar.
4.2. Check the Level:
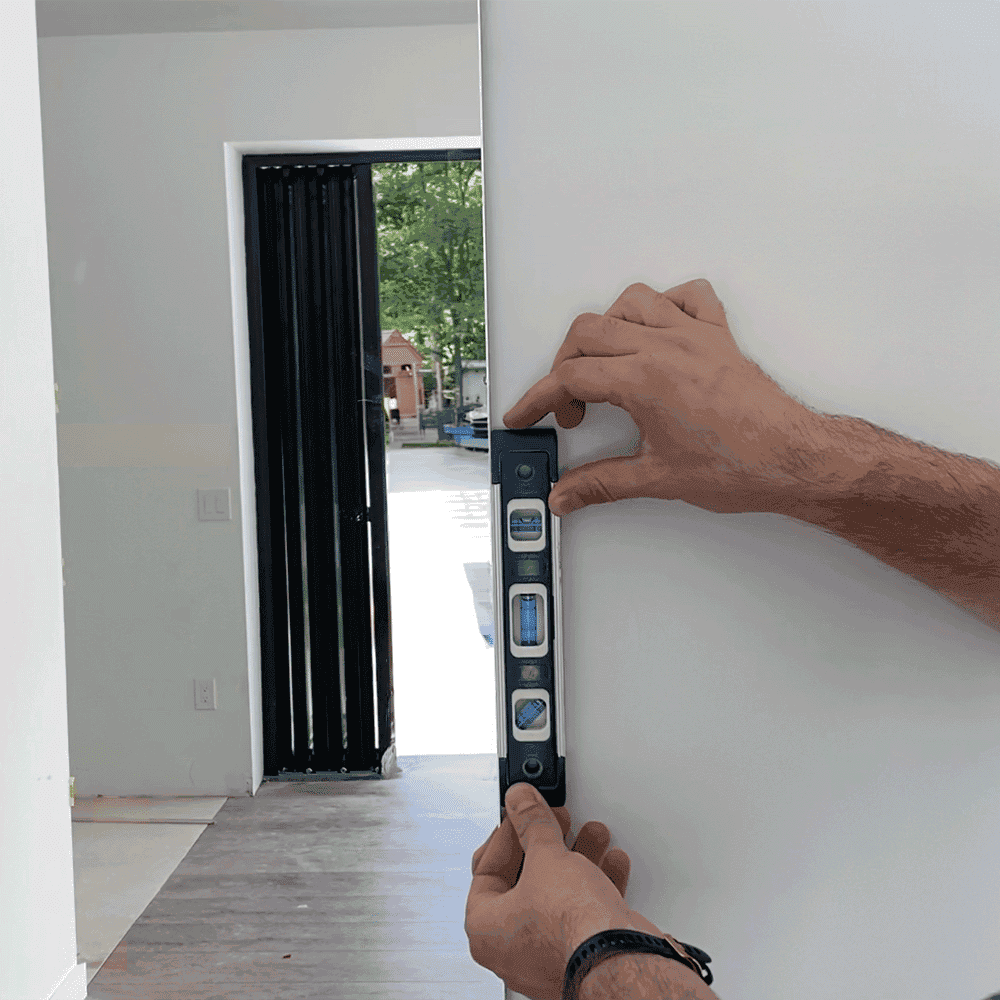
Once the mirror is resting on the J-bar, double-check that it’s perfectly level before moving on to the next step.
Step 5: Install the Top Mirror Clips
With the mirror securely resting on the J-bar, the next step is to install the top clips to lock the mirror in place.
5.1. Mark and Drill Holes for Clips:
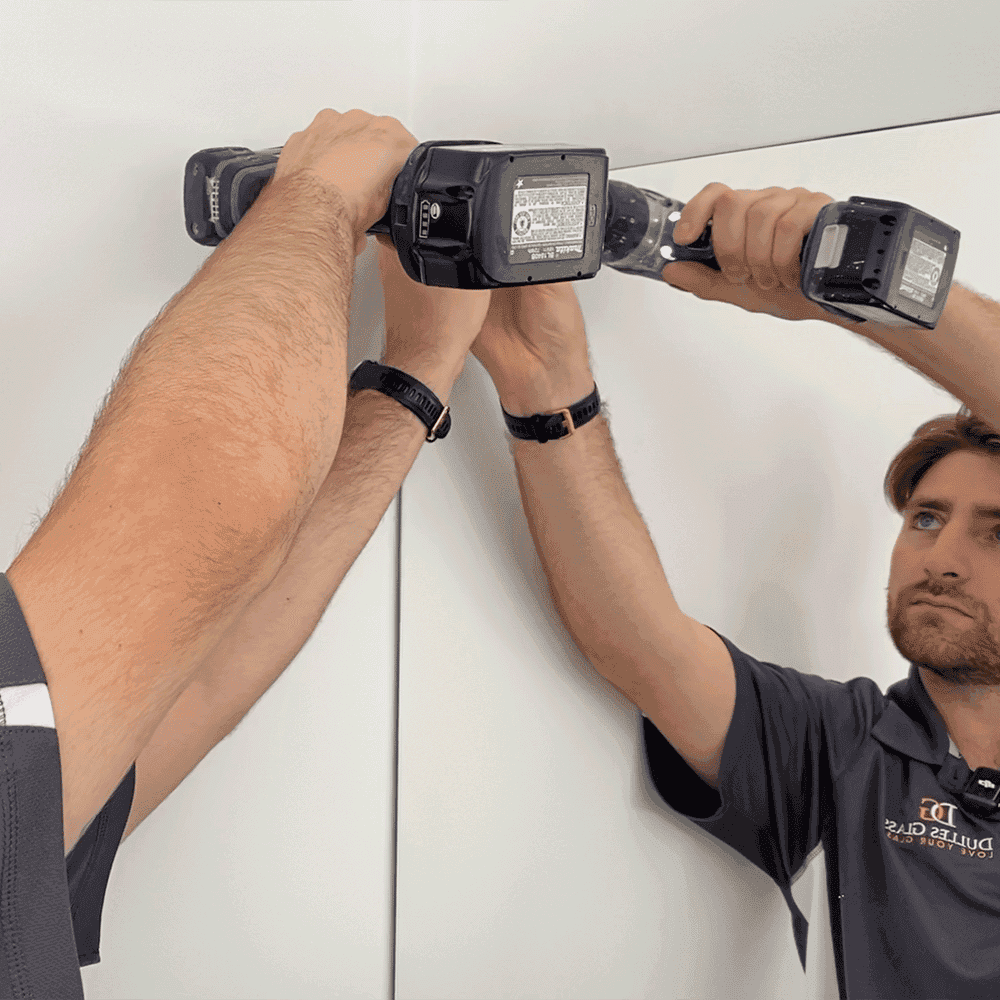
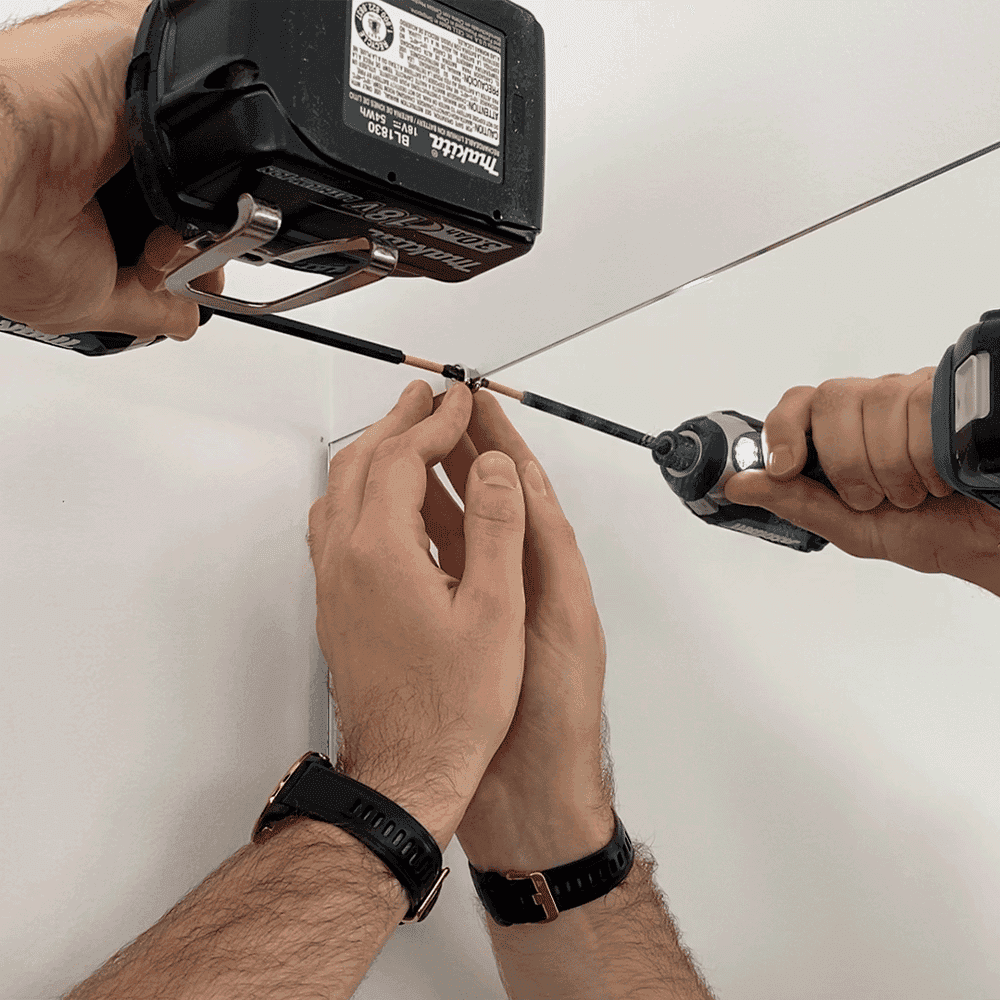
Mark the positions for the mirror clips, about 4 inches from the edges at the top of the mirror. Drill pilot holes through the designated spots on the clips.
5.2. Attach the Clips:
Carefully secure the clips to the wall, tightening the mounting screws slowly and evenly. Be cautious not to over-tighten, as this could crack the mirror. Tighten just enough to hold the mirror firmly in place.
5.3. Add the Clip Caps:
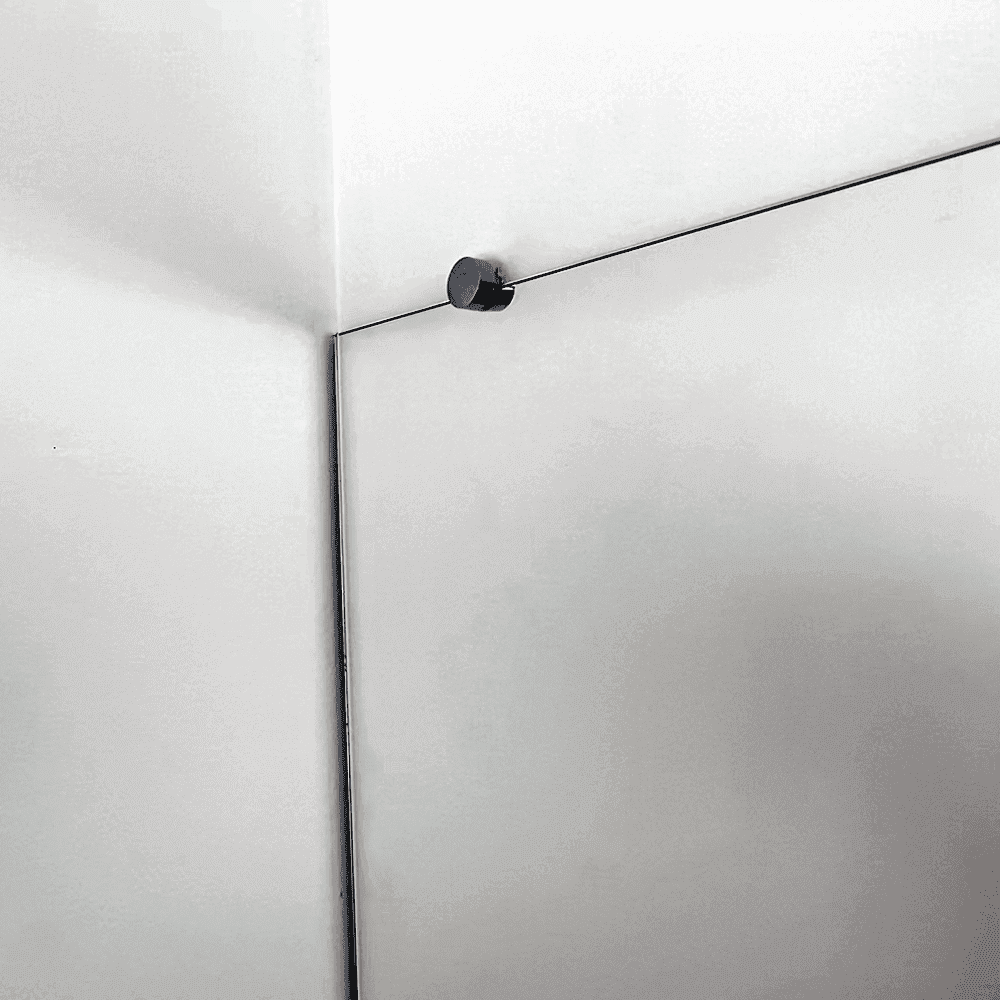
Once the clips are securely attached, cover them with the provided caps and hand-tighten. Repeat this process for each clip.
Step 6: Final Adjustments and Safety Checks
If you're installing multiple mirrors side by side, using a longer J-bar can achieve a seamless, continuous look. Dulles Glass offers J-bars up to 144 inches in length for this purpose.
6.1. Align the Top Clips at the Seam:
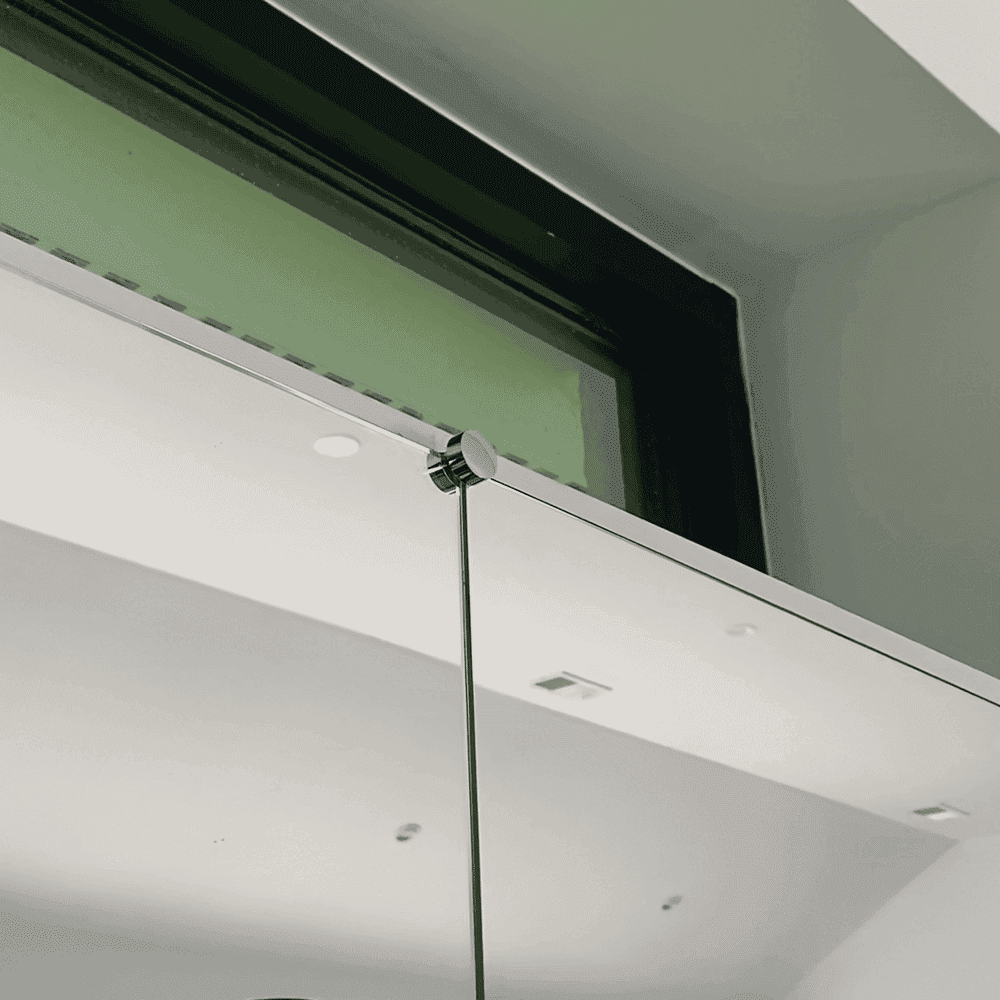
Position the top mirror clips right at the seam between the two mirrors. This will cover the edges and provide a smooth, polished finish.
6.2. Install Additional Clips as Needed:
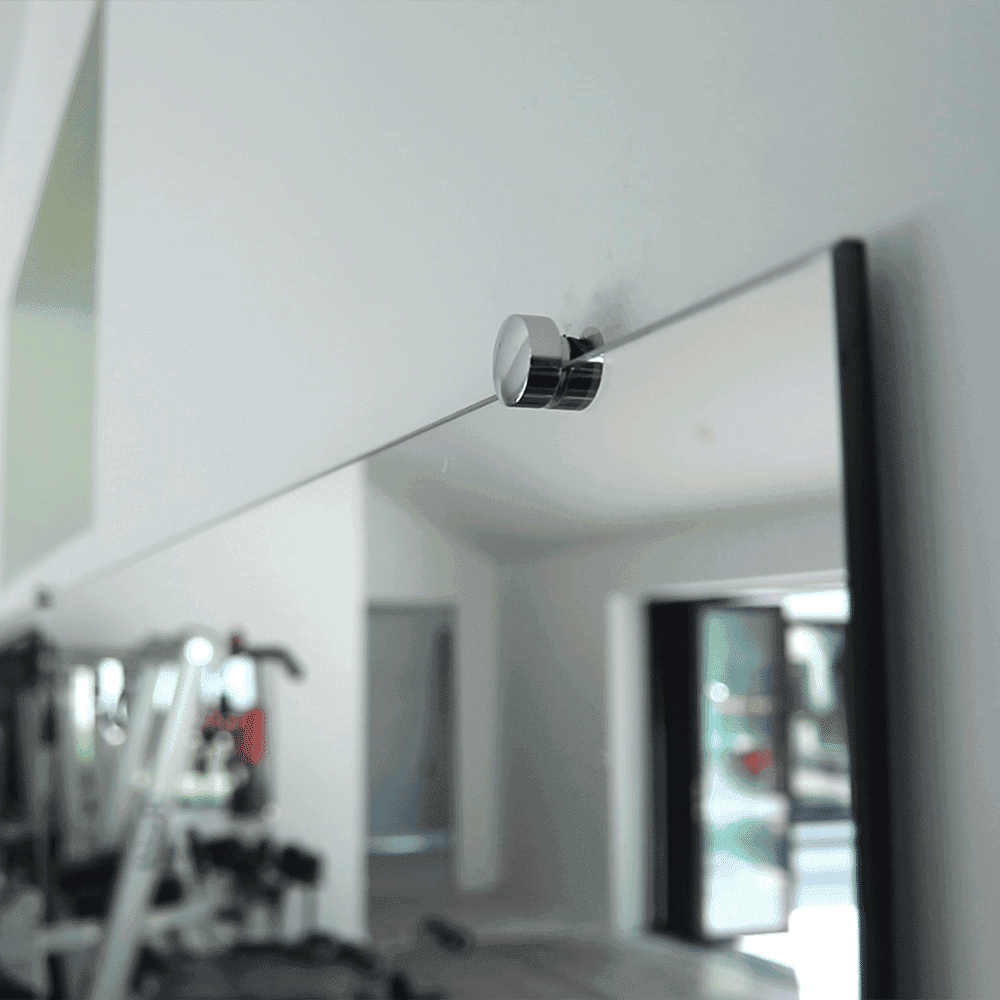
Follow the same process for marking, drilling, and attaching the clips. Once all clips are mounted, perform a final check to ensure everything is level and securely fastened.
Common Installation Mistakes to Avoid
Here’s how to avoid some common mistakes and make your MiraSafe Gym Mirror installation as smooth as possible:
Improper Leveling:
Even a slight tilt can affect the mirror's appearance and stability. Always use a level when marking for the J-bar and clips, and double-check before drilling to ensure accurate alignment.
Over-Tightening Clips:
Applying too much pressure when tightening clips can cause the glass to crack. Tighten them just enough so the mirror stays in place.
Installing Without Assistance:
MiraSafe mirrors are heavy and should not be installed alone. Always have an extra set of hands to help lift and align the mirror properly. Trying to do it alone could damage the mirror or, worse, cause injury.
Using the Wrong Anchors:
Using incorrect anchors or mounting screws for your wall type can lead to the mirror becoming loose over time. Make sure you’re using the right hardware for drywall, brick, or other surfaces, and install it into studs if possible for extra support.
Maintenance Tips for Your Mirasafe Gym Mirror
To keep your mirrors in top shape and maintain a stylish workout space, follow these simple maintenance tips. By caring for your MiraSafe Gym Mirror, you’ll ensure both its longevity and the polished look of your home gym.
Clean Regularly with the Right Products
To maintain your mirror’s clarity and prevent scratches, use a soft, lint-free cloth along with a non-abrasive glass cleaner. Avoid harsh chemicals like ammonia or vinegar, as these can damage the mirror’s edges over time.
Inspect Mounting Hardware Periodically:
Over time, the J-bar and mirror clips can loosen slightly due to temperature changes or regular use. Make it a habit to periodically check that the screws, clips, and J-bar are securely fastened. Tighten any loose screws, and ensure the mirror is still level and properly supported.
Check for Damage After Heavy Use:
In high-traffic areas, regularly inspect the mirror for cracks, chips, or other damage. Even shatter-resistant mirrors can deteriorate if compromised. Repair or replace damaged mirrors as needed to maintain safety and functionality.
Final Thoughts
And there you have it! With the MiraSafe Gym Mirror securely in place, you can focus on your form and technique, ensuring every workout counts. If at any point you're uncertain or need an extra pair of hands, don't hesitate to ask for help—safety always comes first, especially when working with large mirrors. Now, with your gym looking sharp and professional, you’re all set to elevate your fitness routine and enjoy a space designed for function and style.
FAQs
Can I install the MiraSafe Gym Mirrors by myself?
Yes, the MiraSafe Gym Mirror Kit is designed for easy installation. However, due to the mirror’s size and weight, it's recommended to have someone assist you during the installation process to ensure safety.
How do I ensure both mirrors are level when installing multiple mirrors?
Use a level and a straight edge to mark a horizontal line across the wall where the bottom J-bar will go. This line will guide you in placing both mirrors evenly—just double-check before drilling to keep everything aligned.
How should I position the top mirror clips when installing two mirrors?
For two mirrors installed side by side, position the top clips 4 inches from the edge of each mirror, including at the point where the two mirrors meet. Place the clip directly over the seam where the mirrors join to ensure a secure fit and a smooth appearance.
How much space should I leave between multiple mirrors?
For a professional look, leave a consistent gap of about 1/8 to 1/4 inch between each mirror when installing multiple MiraSafe Gym Mirrors.
What height should I install the gym mirror?
The bottom edge of the mirror should typically be installed around 16 to 20 inches from the floor. This allows for a full-body reflection, perfect for fitness routines and form-checking.
Related Products
Related Articles
Keep in touch with the latest glass, mirror and shower door trends, tips and trends by reading our blog, Reflections!
Get exclusive offers and the latest news in your inbox!
We're committed to your privacy. Dulles Glass uses the information you provide to us to contact you about our relevant content, products, and services. You may unsubscribe from these communications at any time.
Our customers say
Excellent
4.9 out of 5 stars
Dulles Glass
Company
Support

Learn more about our:
Price Match Guarantee
United States © 2025 Dulles Glass. All Rights Reserved.


