Kudos to Dulles Glass in Manassas on the excellent installation of ou...
Kudos to Dulles Glass in Manassas on the excellent installation of our glass shower door!
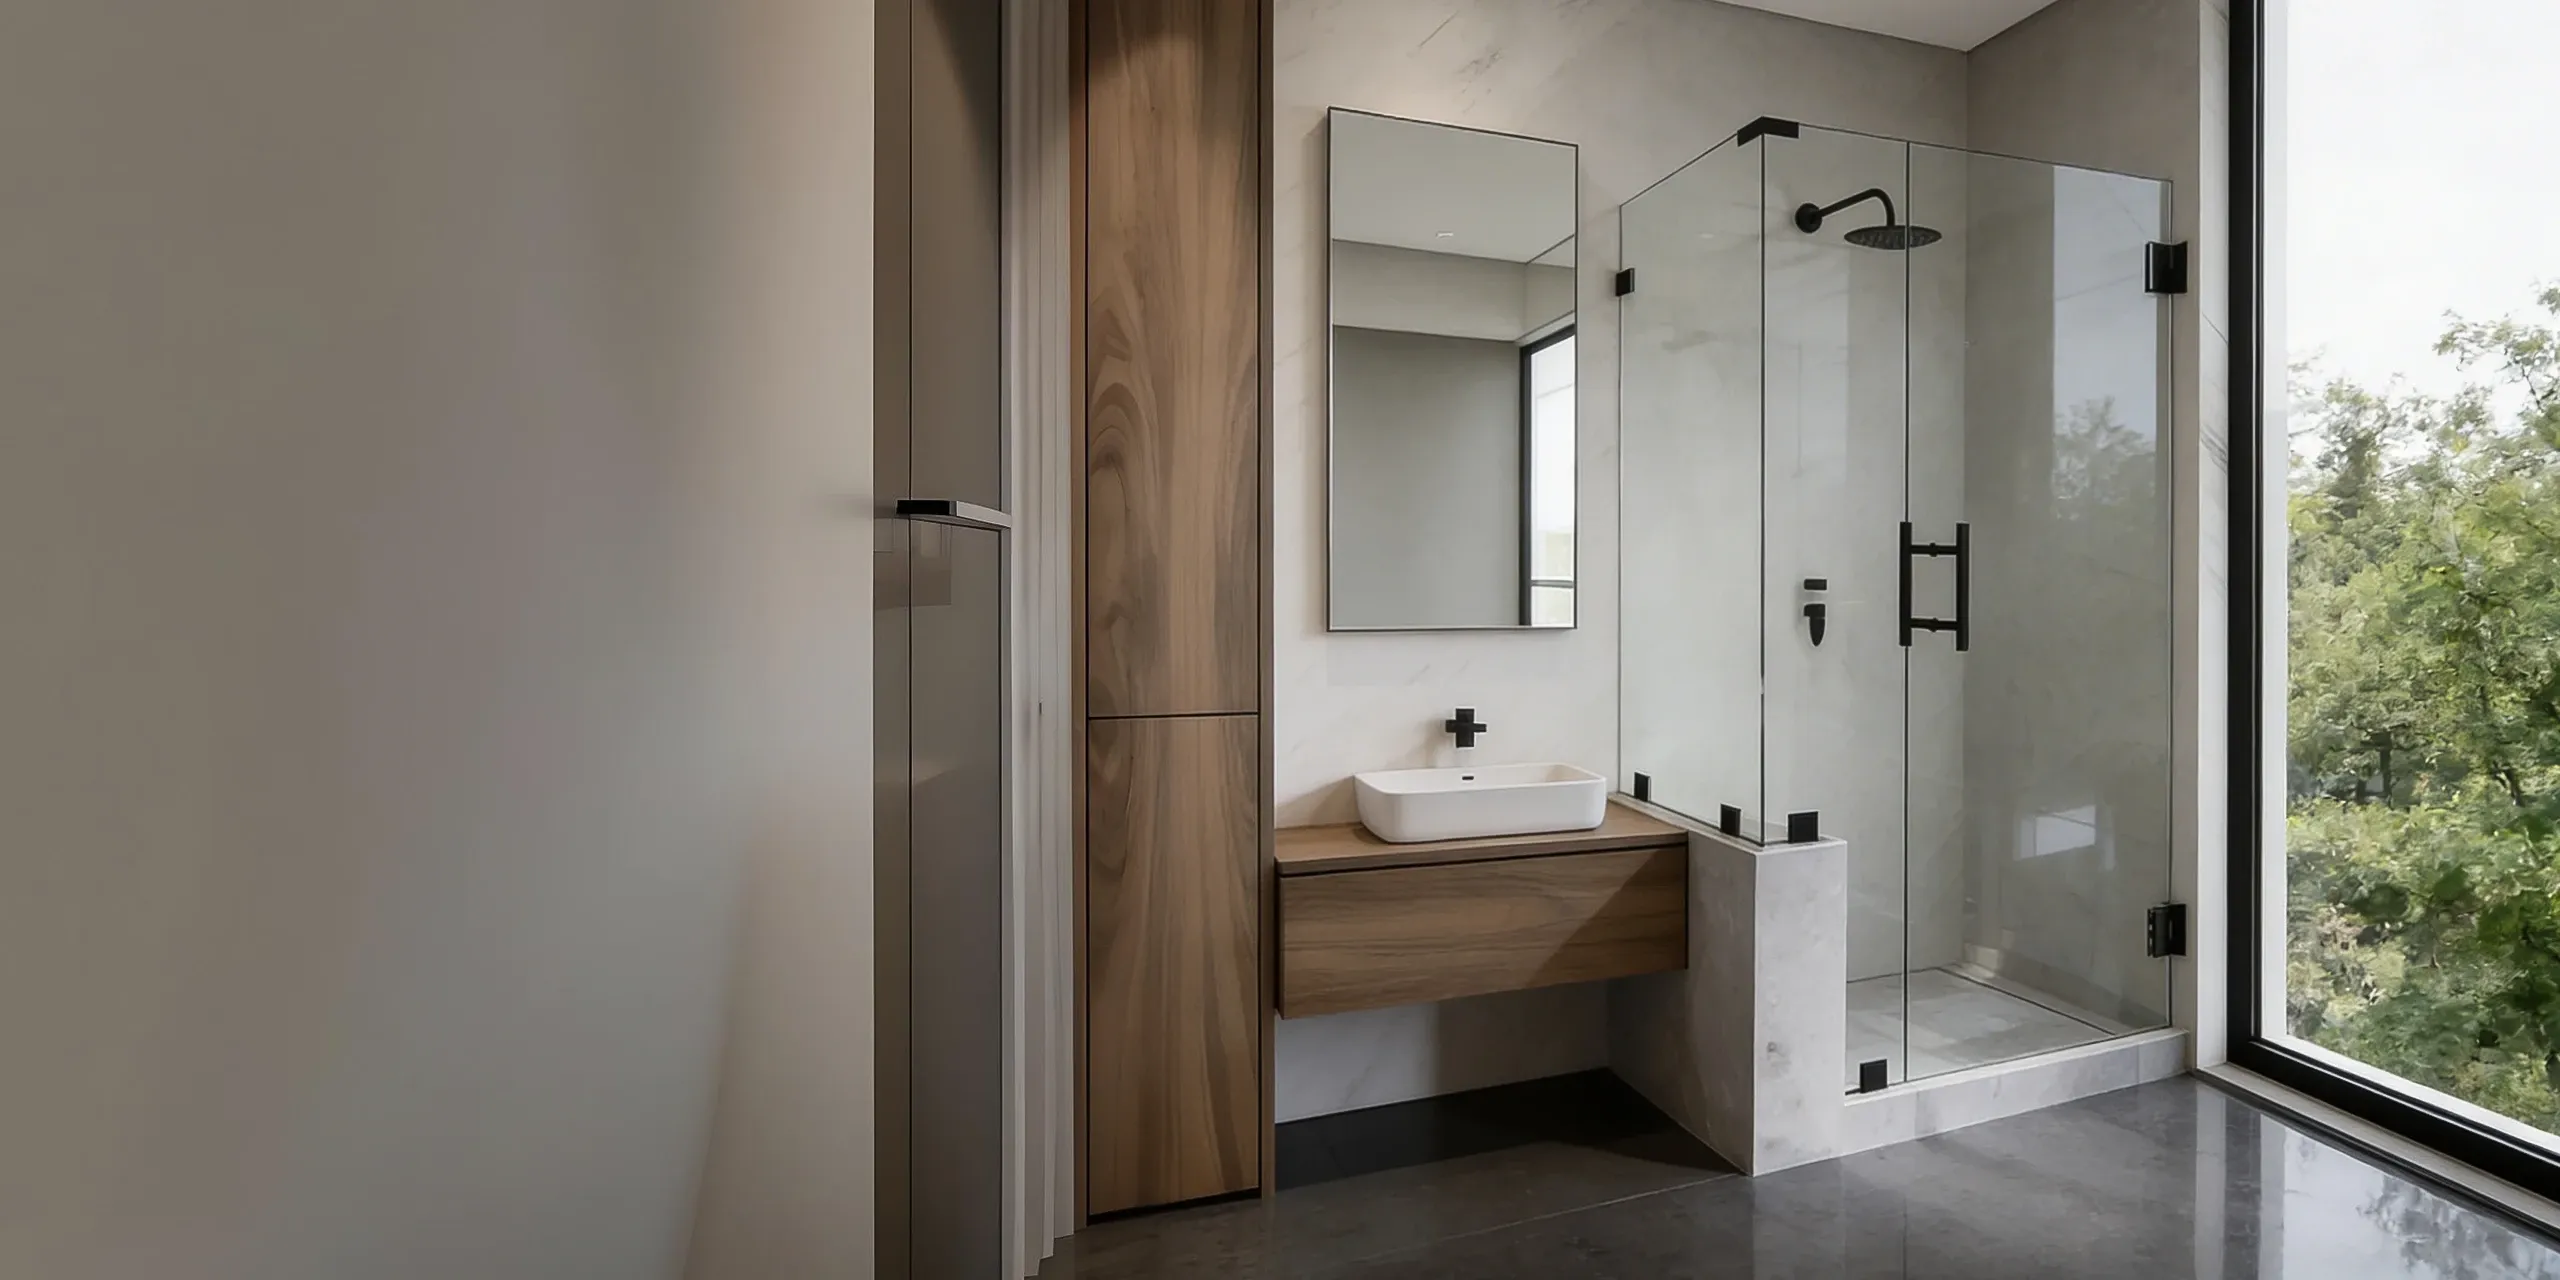
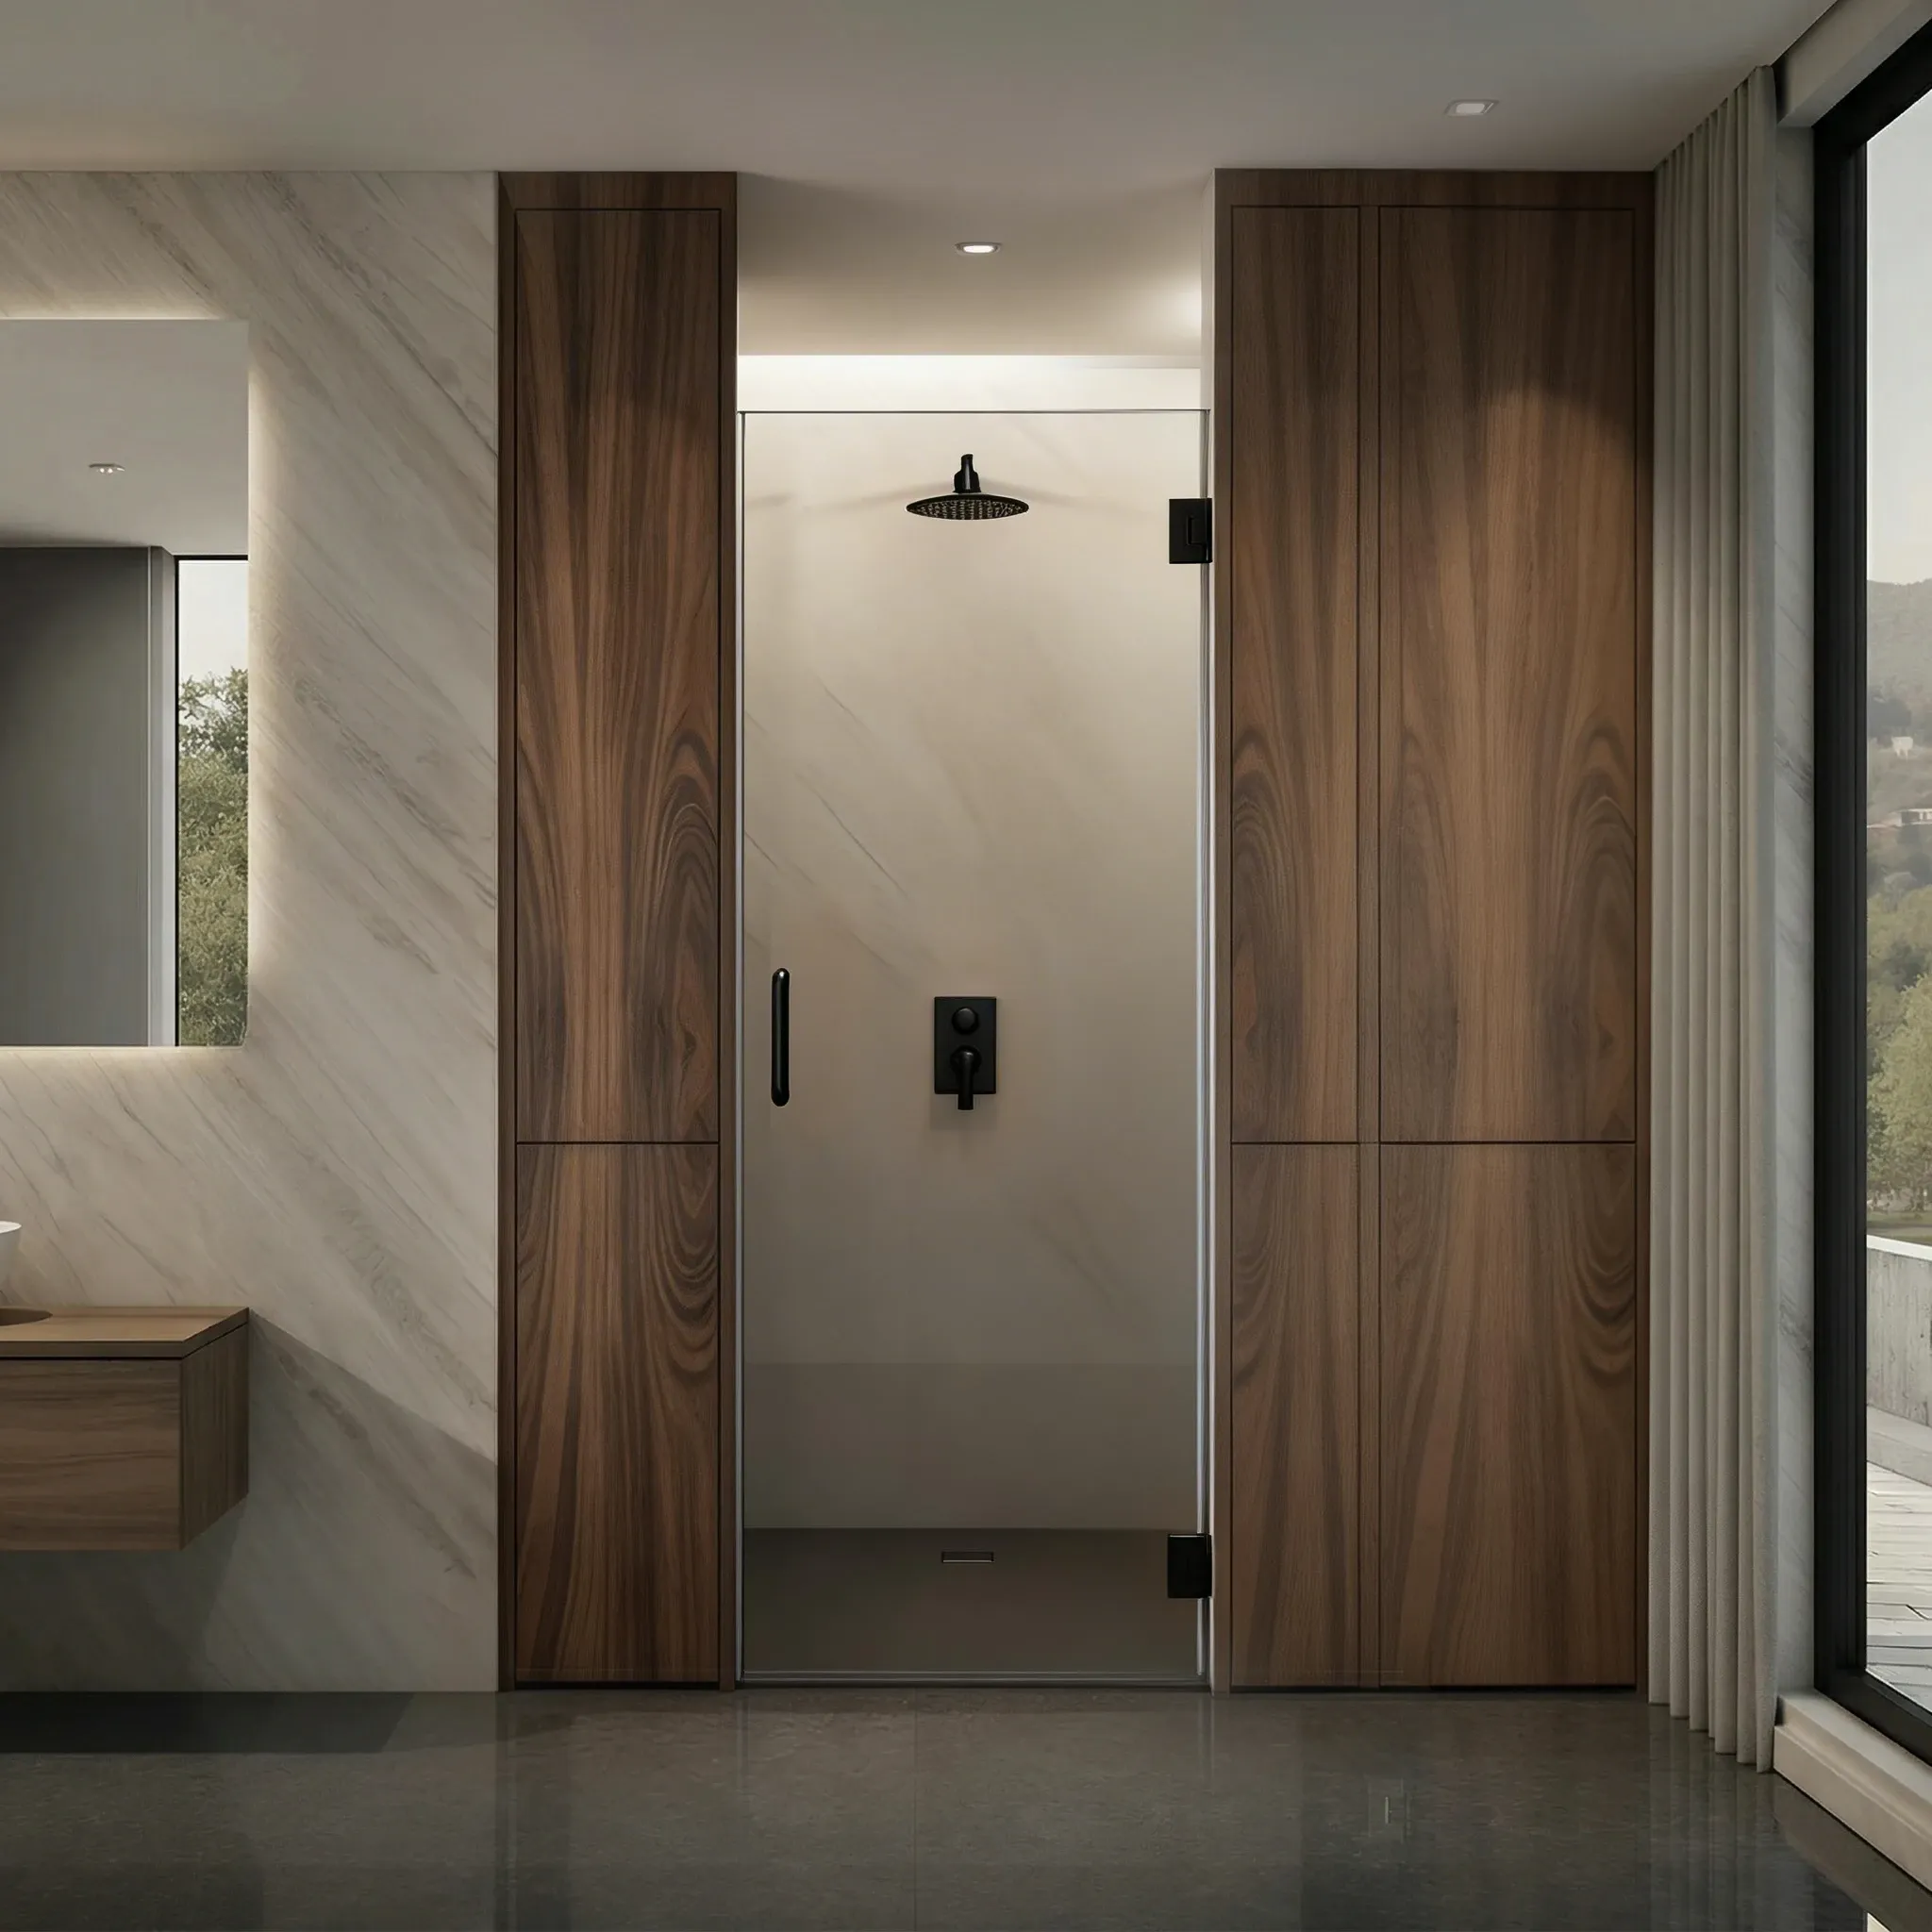
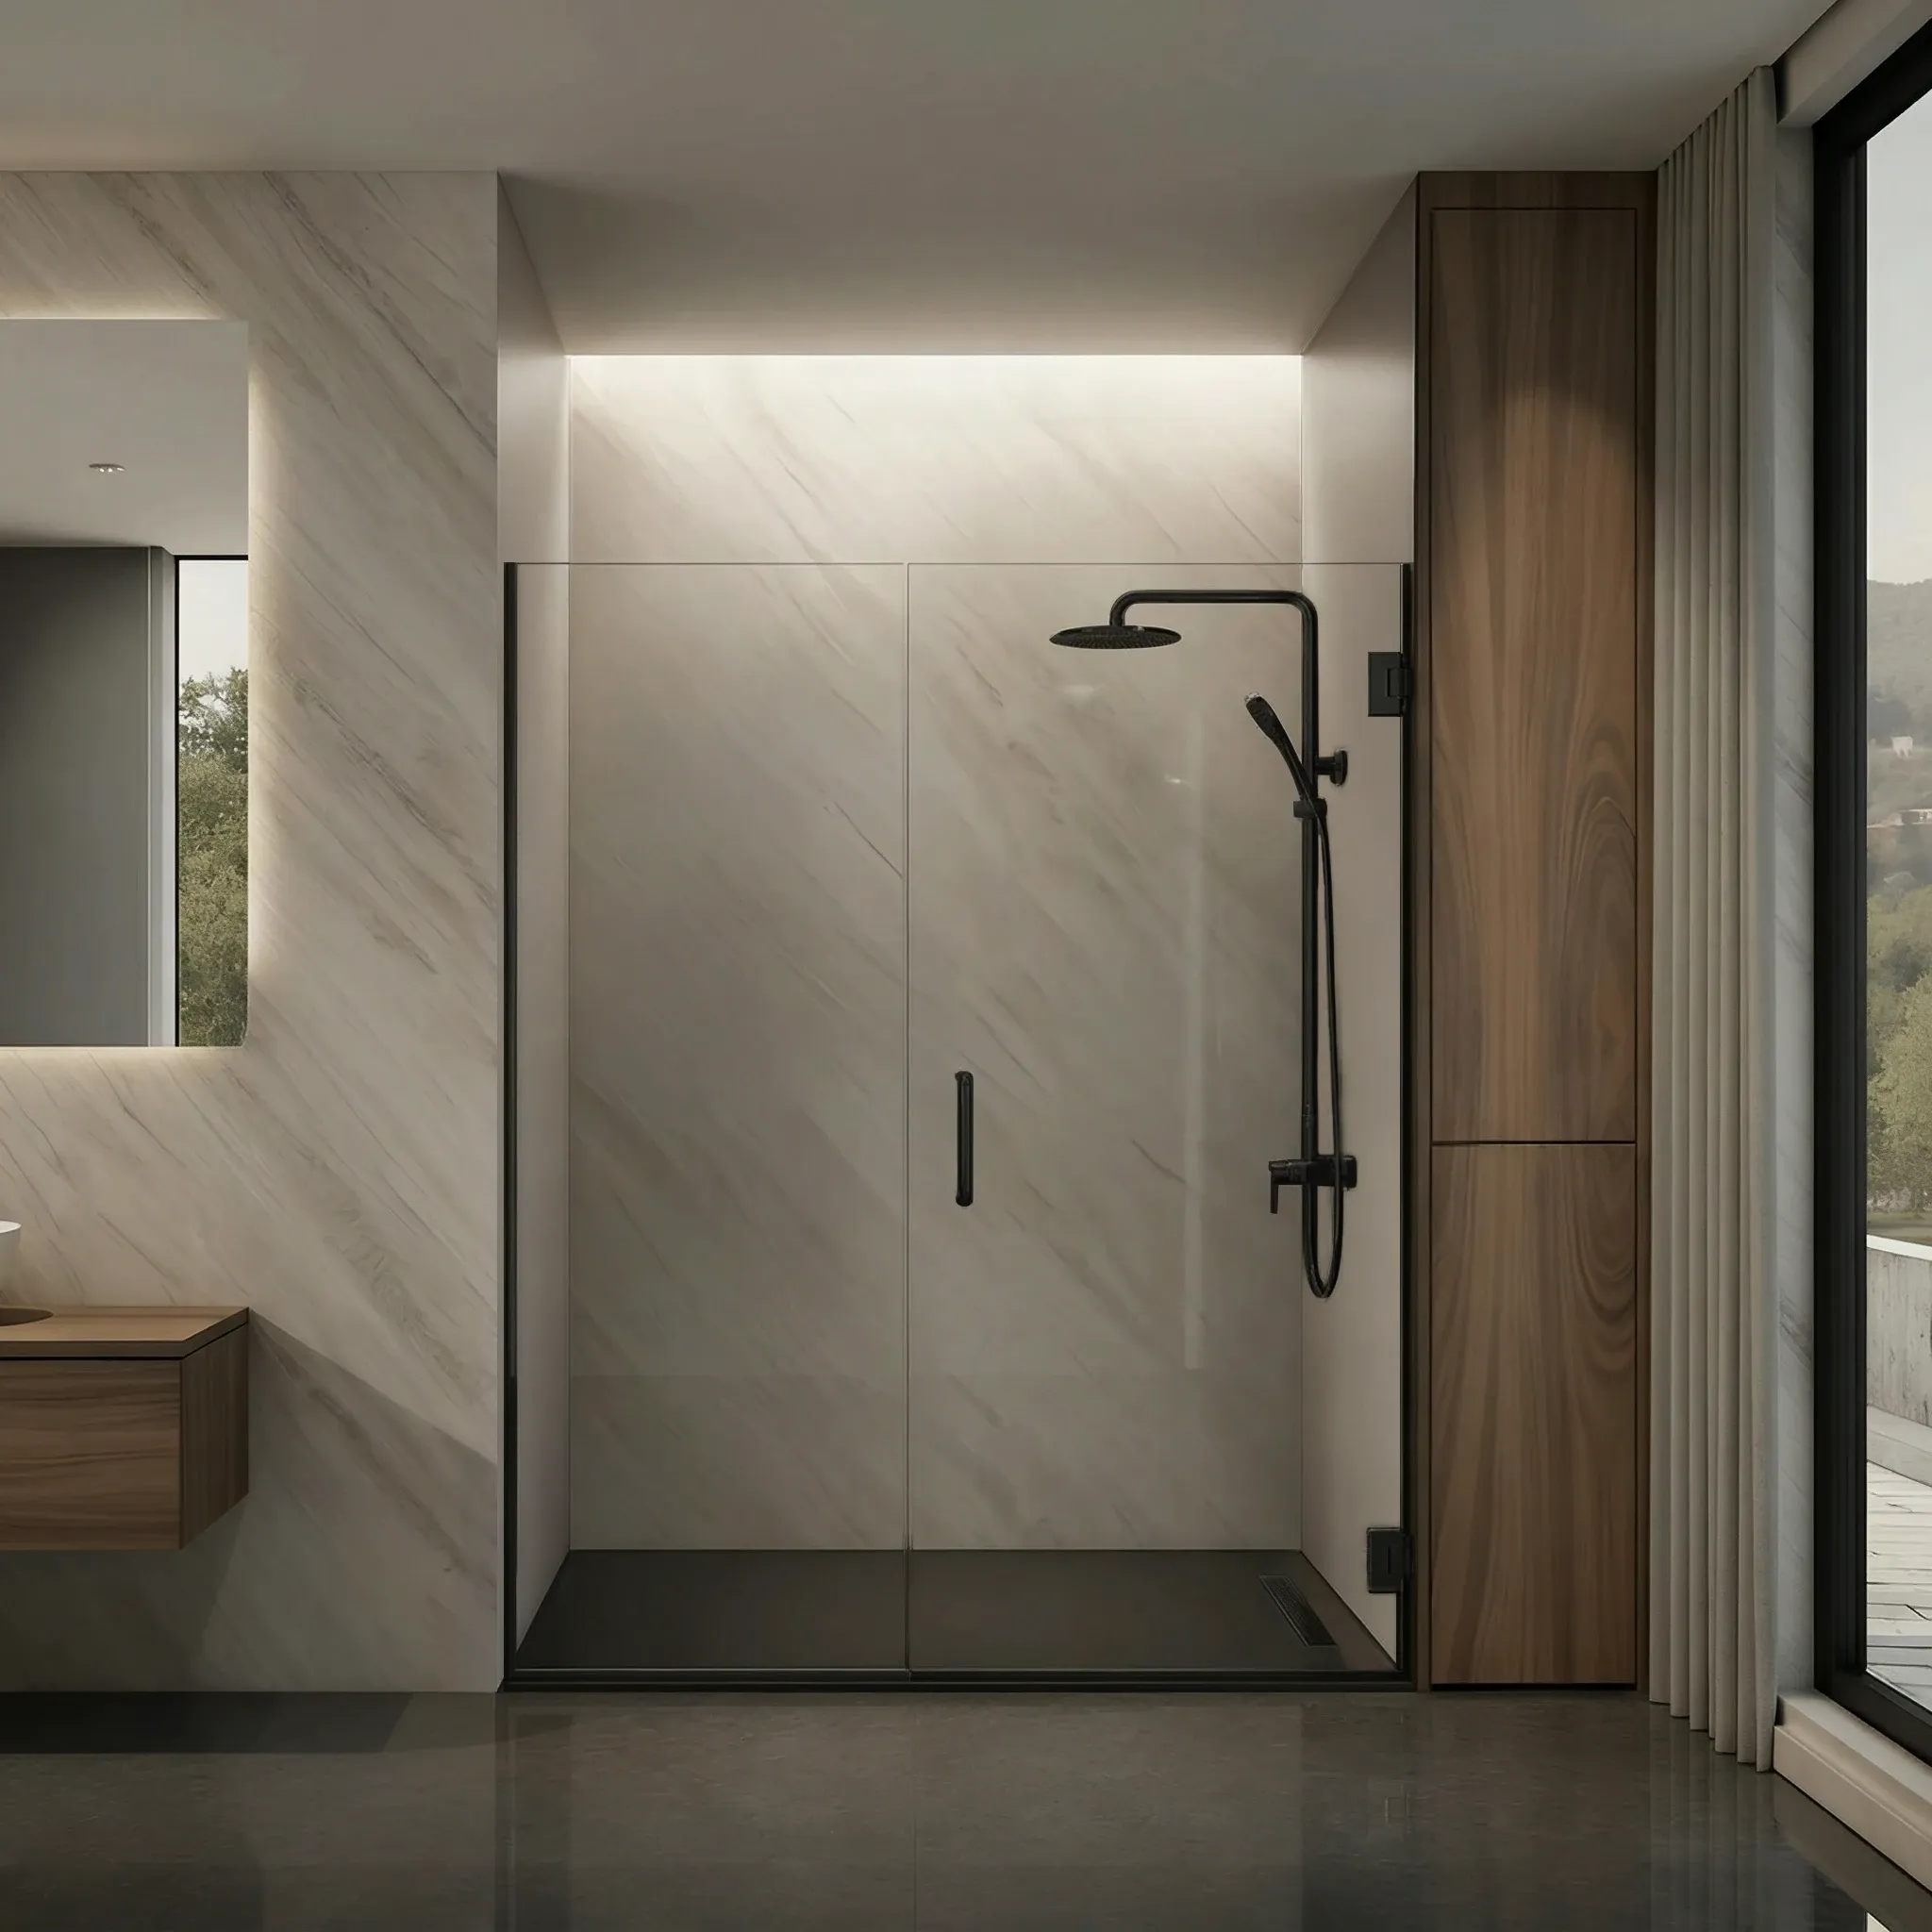
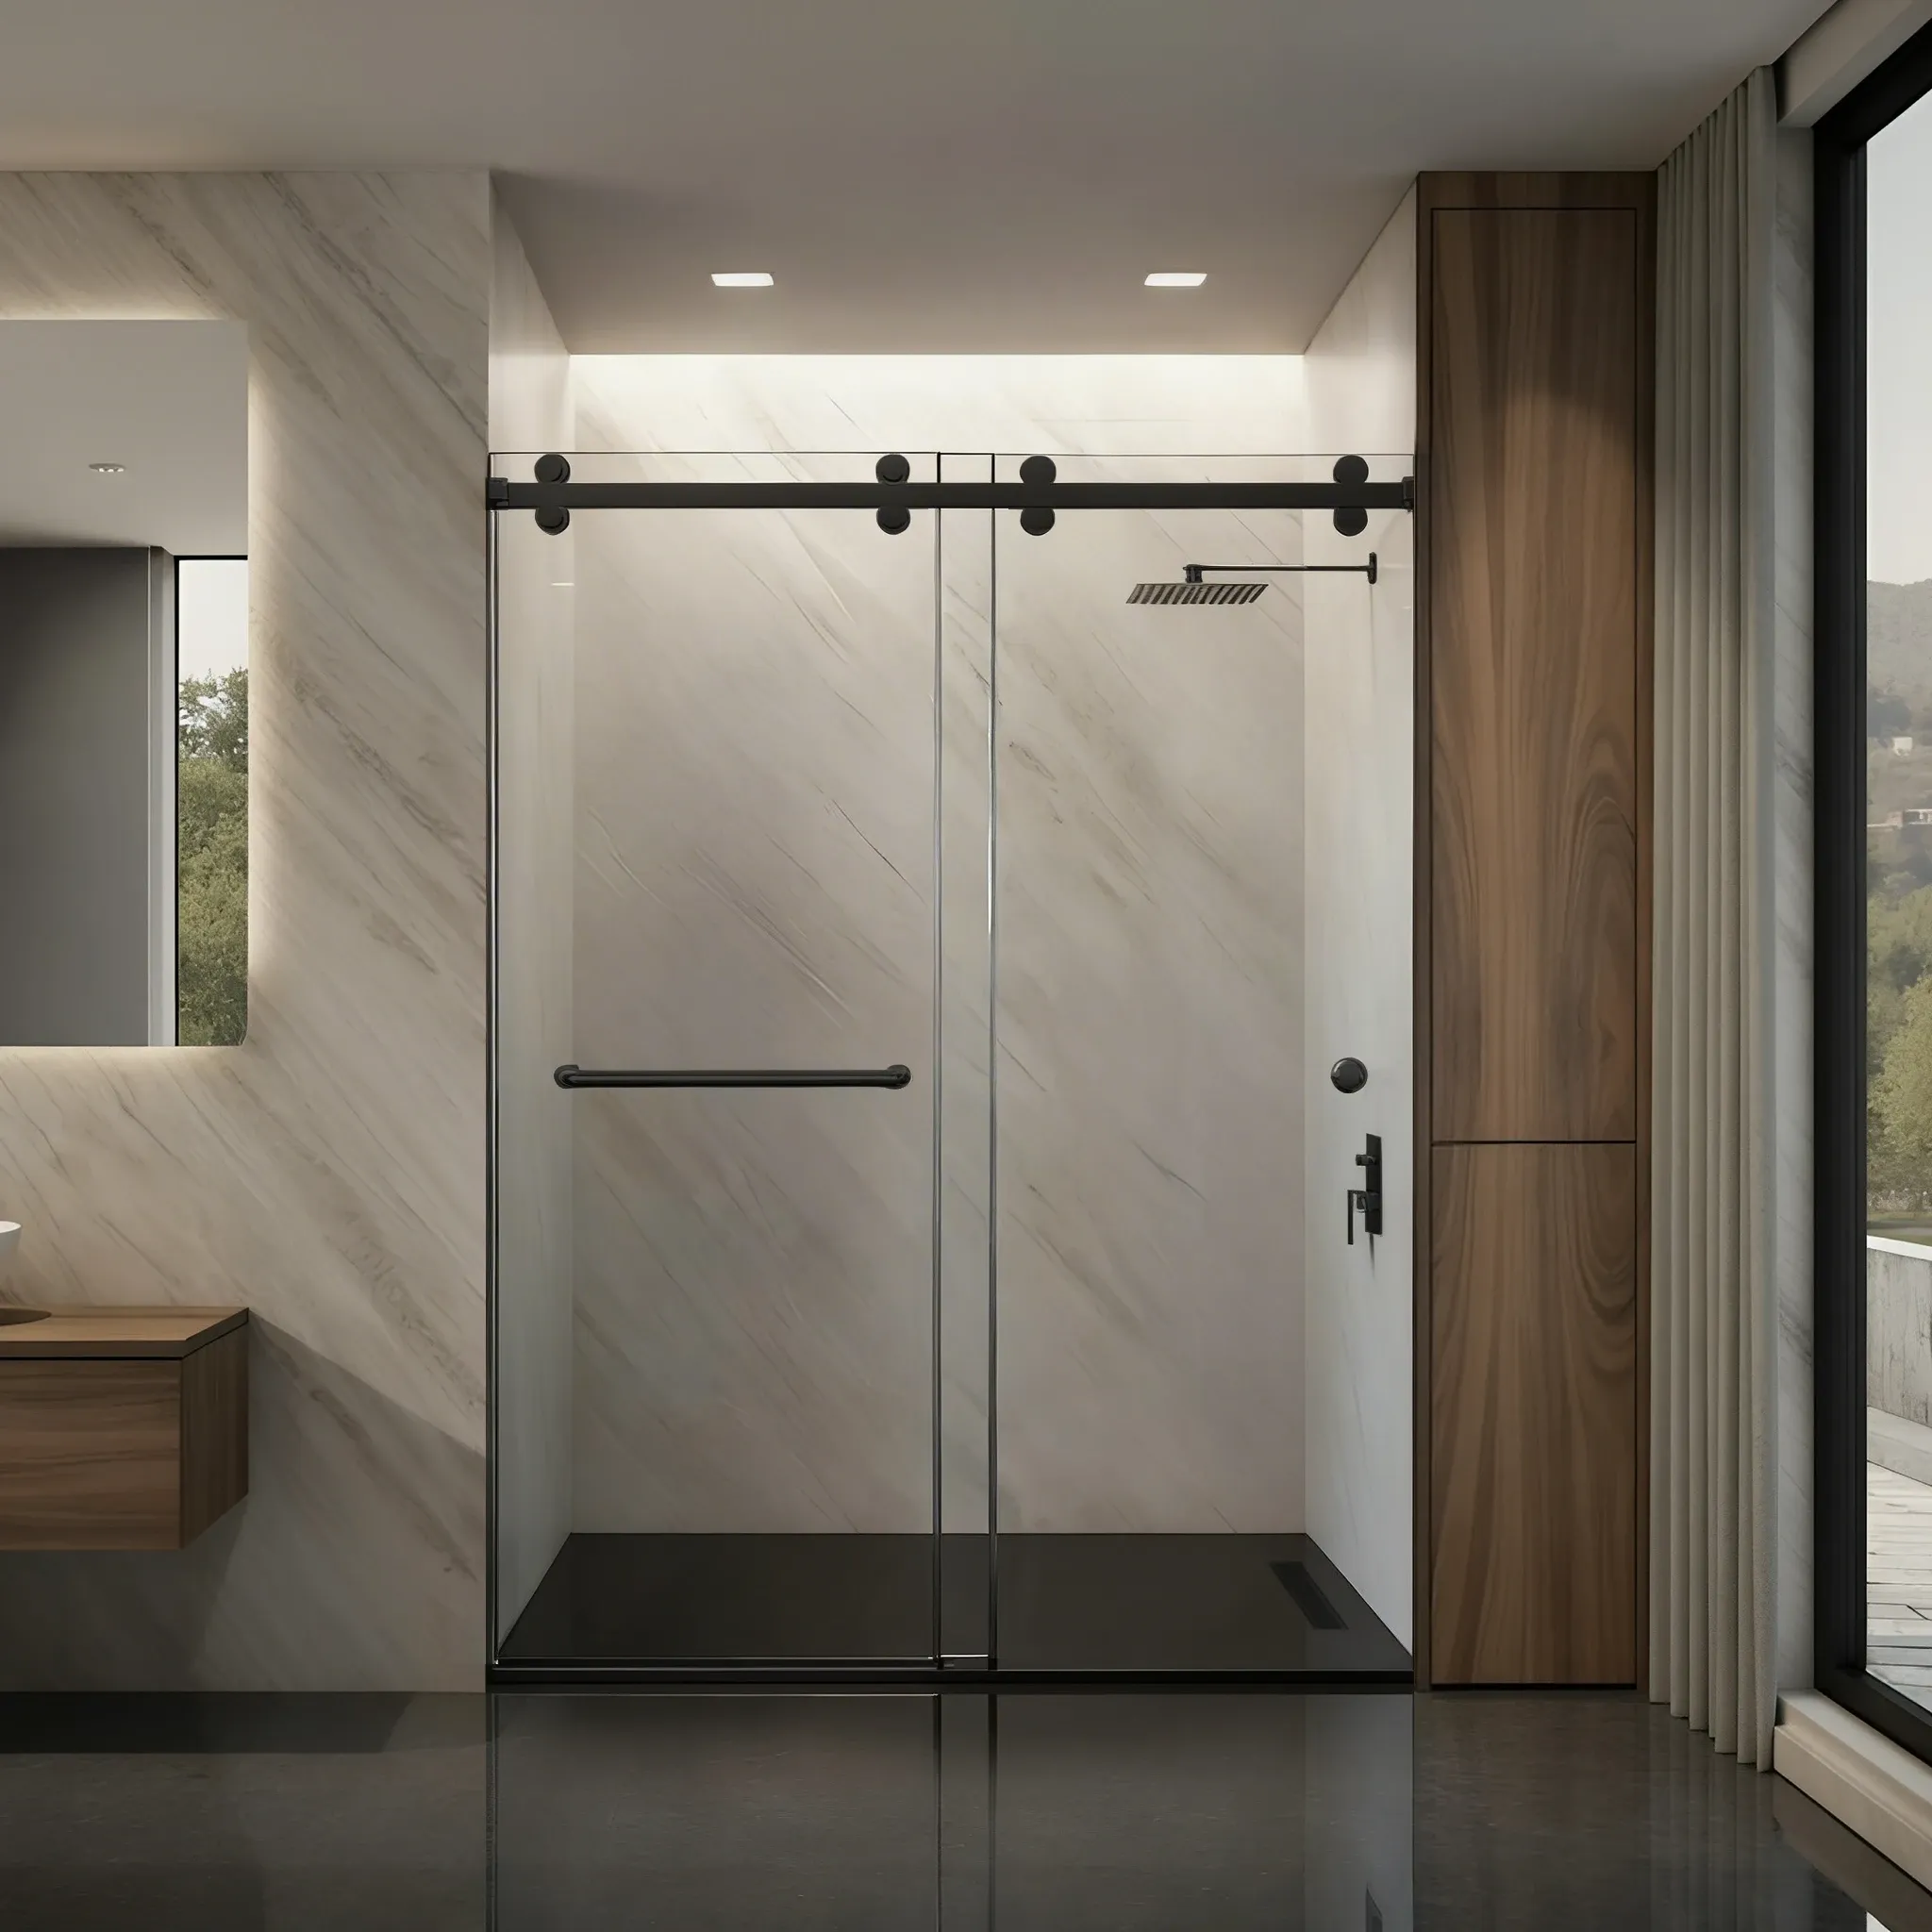
Micaela guided us through the entire process, and I’m especially grateful she encouraged us to go with a sliding door rather than a half door. Our bathroom is tiny, and I had my doubts—but she was absolutely right. It’s both functional and beautiful. It’s now my favorite room in the house!
Delivery and installation were exceptional. Kevin and Roberto arrived right on time (with a helpful call 30 minutes before), were clean and courteous, and clearly knew their craft. After installation, they walked us through cleaning tips and what to do if we ever have an issue.
There’s also a three-year warranty, and we were reassured that if anything comes up, they’ll make it right.
All around, a fantastic experience—highly recommend!
Recent review
This is the second time I've ordered glass and mirrors from Dulles Glass
This is the second time I've ordered glass and mirrors from Dulles Glass. It's been about 12 years since my first order and I was happy they still ship nationwide. We are converting a bedroom armoire to a liquor cabinet (don't judge). I needed two door glass panels, a rear mirror, and a glass shelf. I updated the photos with the before (bedroom armoire), the finished bar cabine with the Dulles mirror, door and shelf glass. The product arrived a few days ago and all pieces were perfectly sized and packed incredibly well. I live in NV and everything arrived in great shape. The fact that I lived in Manassas in the late 80's had no influence on me ordering from these guys, but I like the fact they are doing an incredible job. I will order from them again when my wife tells me what our next project is 🤔
Recent review
Dulles Glass supplied and installed glass shower doors in our bathroo...
Dulles Glass supplied and installed glass shower doors in our bathroom renovation. From measuring, giving options, pricing, and installation, they were great to work with, competitively prices (we got 3 bids), and had the doors fabricated and installed very quickly and done well. Definitely recommend them!
Recent review
We had an excellent experience with Dulles Glass from start to finish
We had an excellent experience with Dulles Glass from start to finish. They custom made three glass shower doors, a glass railing, and a wall mirror for our home, and everything turned out beautifully.
Nathalia, the sales representative, is extremely knowledgeable and helpful. She guided us through the options and made the whole process smooth and stress-free. The designer, Aldous, is very professional and detail-oriented, and the designs were exactly what we wanted.
The installation team is very experienced and did an outstanding job — precise, clean, and efficient. The final results look amazing and really elevate our home. Excellent service and great craftsmanship. Highly recommended!
Recent review