Measuring for a sliding shower door is simple, but precision matters. Because custom shower glass is fabricated to your exact dimensions and tempered after cutting, the glass cannot be trimmed later if the opening was measured incorrectly. This guide walks you through the five measurements Dulles Glass recommends checking before you order.
Reviewed by John Flouhouse, Installation Team Lead at Dulles Glass, based on field measurements and installations.
Incorrect measurements are one of the most common reasons a custom sliding shower door order runs into problems. Use the steps below to record the opening width, height, threshold level, wall plumb, and curb profile before ordering.
Quick Answer: The 5 Measurements You Need
- Check five things: opening width, opening height, threshold level, side-wall plumb, and curb/threshold profile.
- Take the smallest width reading, not the average. Bathrooms are rarely plumb, and you need the door to fit the tightest point.
- Check plumb on both side walls before ordering. Walls that lean outward more than 1/4" over 72" can cause fit problems with standard DIY configurations.
- Tape measure + 4-foot level + a notepad is the whole tool kit.
- Photograph everything. If you call us with questions, photos save back-and-forth.
Before you start
Before measuring, make sure the tilework, shower curb, and surrounding walls are complete and have fully cured. If you're replacing an existing framed door, remove the old door and measure the bare opening whenever possible. A measurement taken through a temporary covering or against unfinished walls is rarely the same as the final dimension.
What you'll need
- A retractable steel tape measure, 12-foot minimum (avoid soft tape — it stretches)
- A 4-foot level (longer is better; a 2-foot level is too short for shower wall plumb checks)
- A pencil and notepad, because the numbers are easy to mix up while measuring
- A phone for photos
- A second person if the opening is wider than 60"
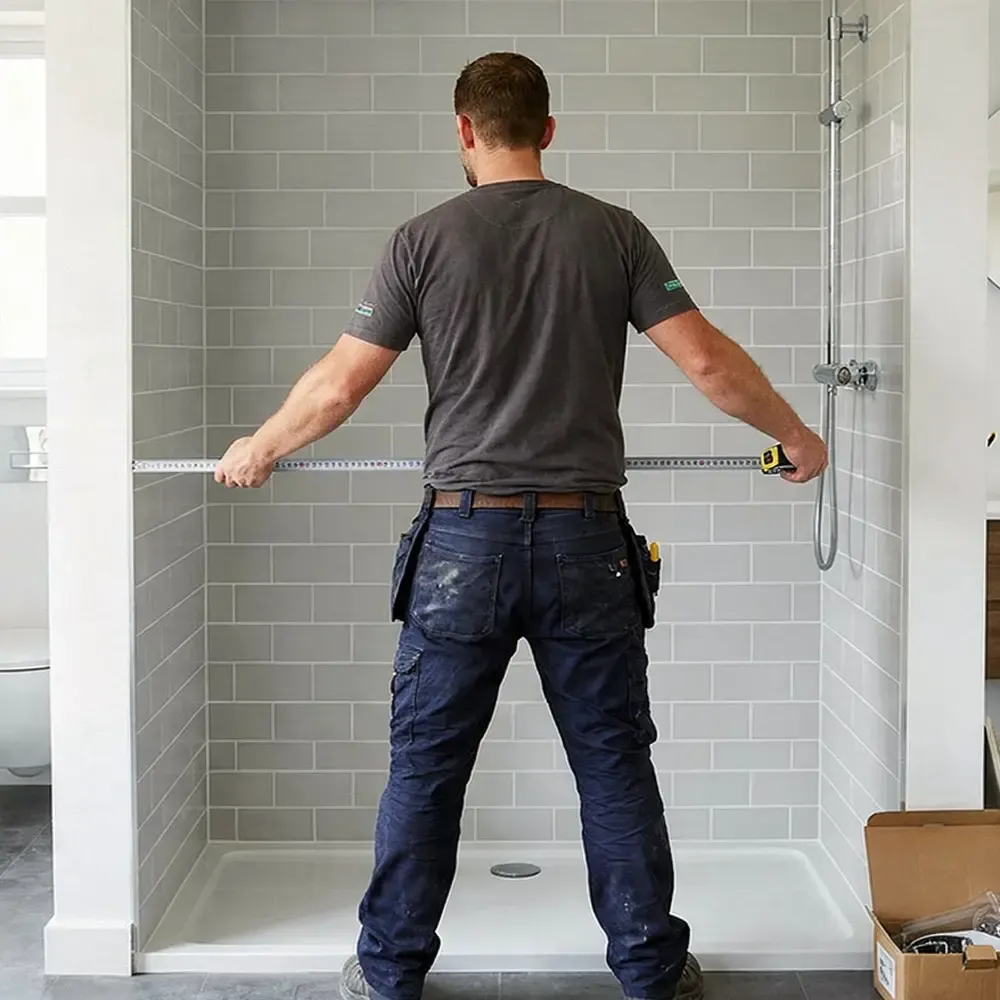
Step 1: Measure the width at three heights
The opening width is your most important measurement, and it almost always varies between the top, middle, and bottom of the opening. Tile and drywall are rarely installed perfectly plumb on both sides; doorways out of square by 1/4" over 72" are completely normal.
Measure the inside width:
- At the top — at the top of the opening, or about 4" below the header or top of the planned door area
- At the middle — 36" up from the threshold
- At the bottom — just above the threshold or curb
Write down all three numbers. The smallest of the three is the one that determines what size door fits. Ordering to the average or the largest reading is how doors end up not fitting.
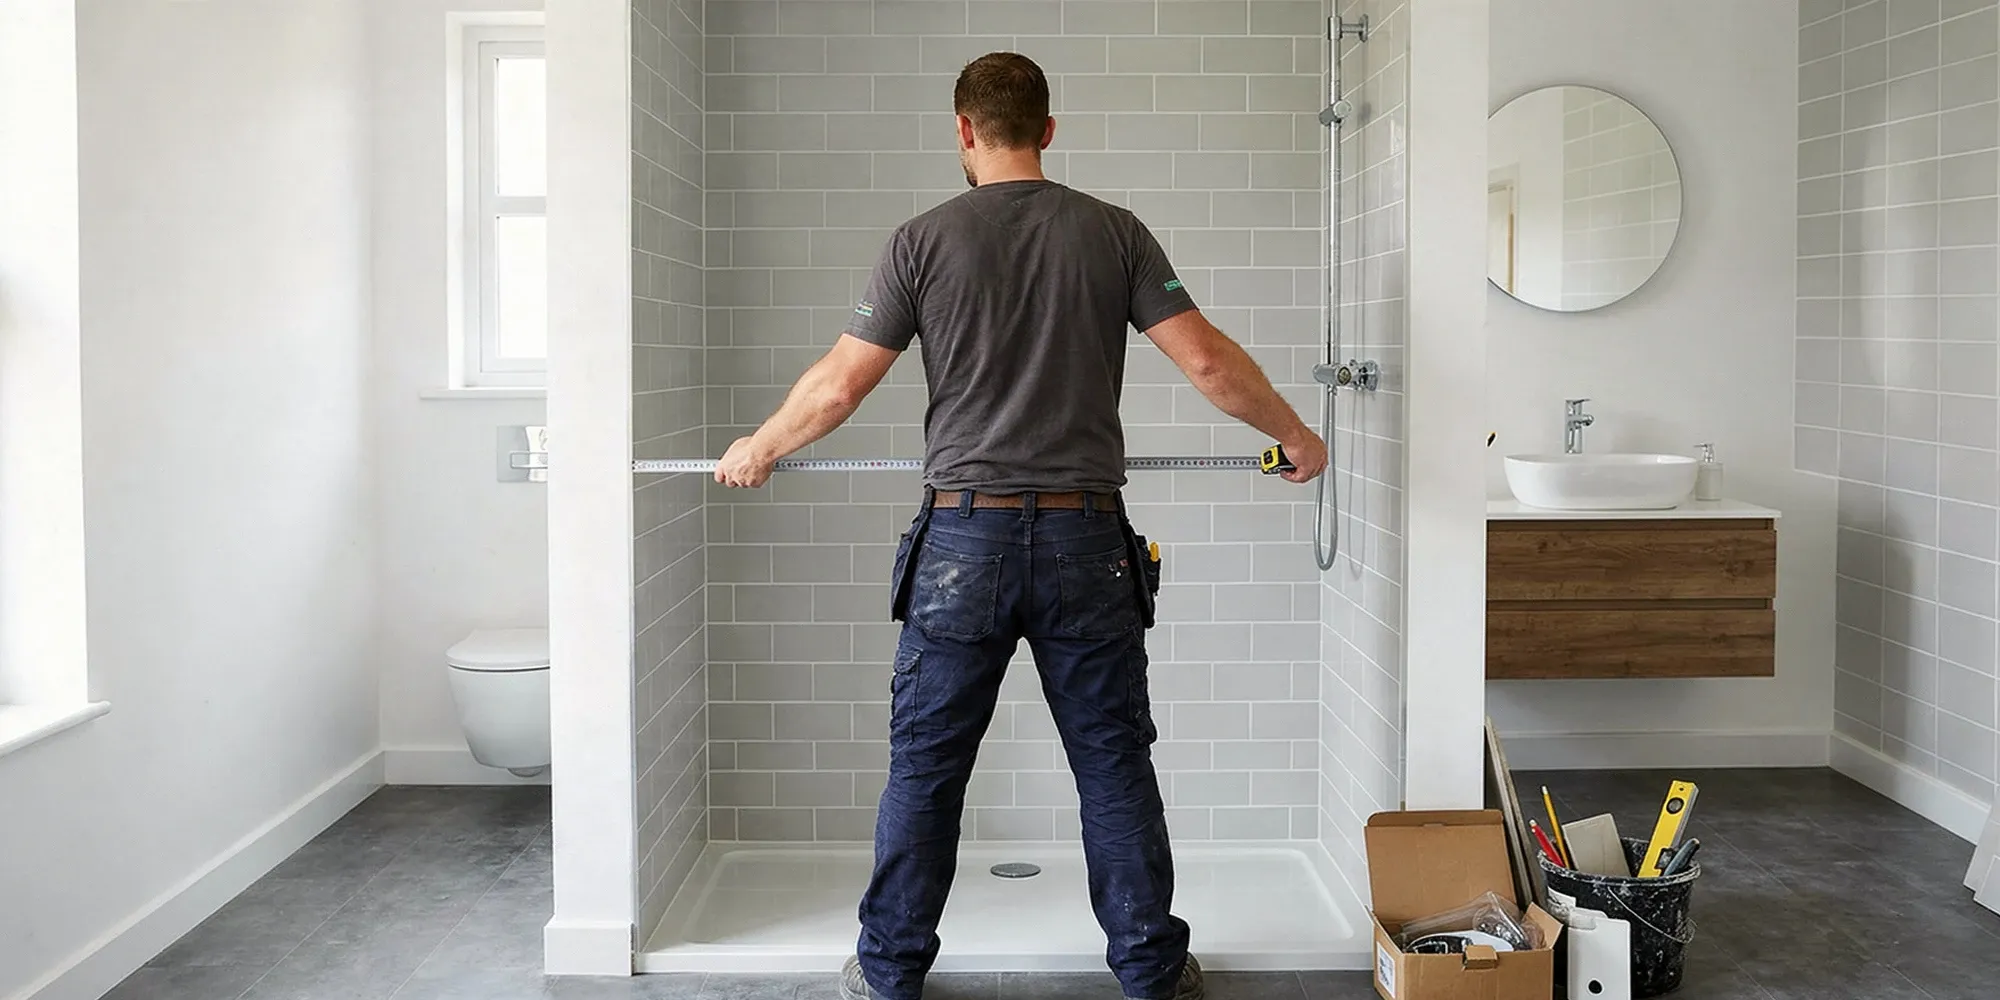
Width is measured at three heights because tile and drywall are rarely installed perfectly plumb on both sides. Use the smallest of the three numbers.
If the three measurements differ by more than 1/2 inch
Your walls are far enough out of plumb that a standard DIY configuration may not seal cleanly at every point. Call us before ordering — we can either recommend a configuration that handles the variance, or measure on-site for a custom install.
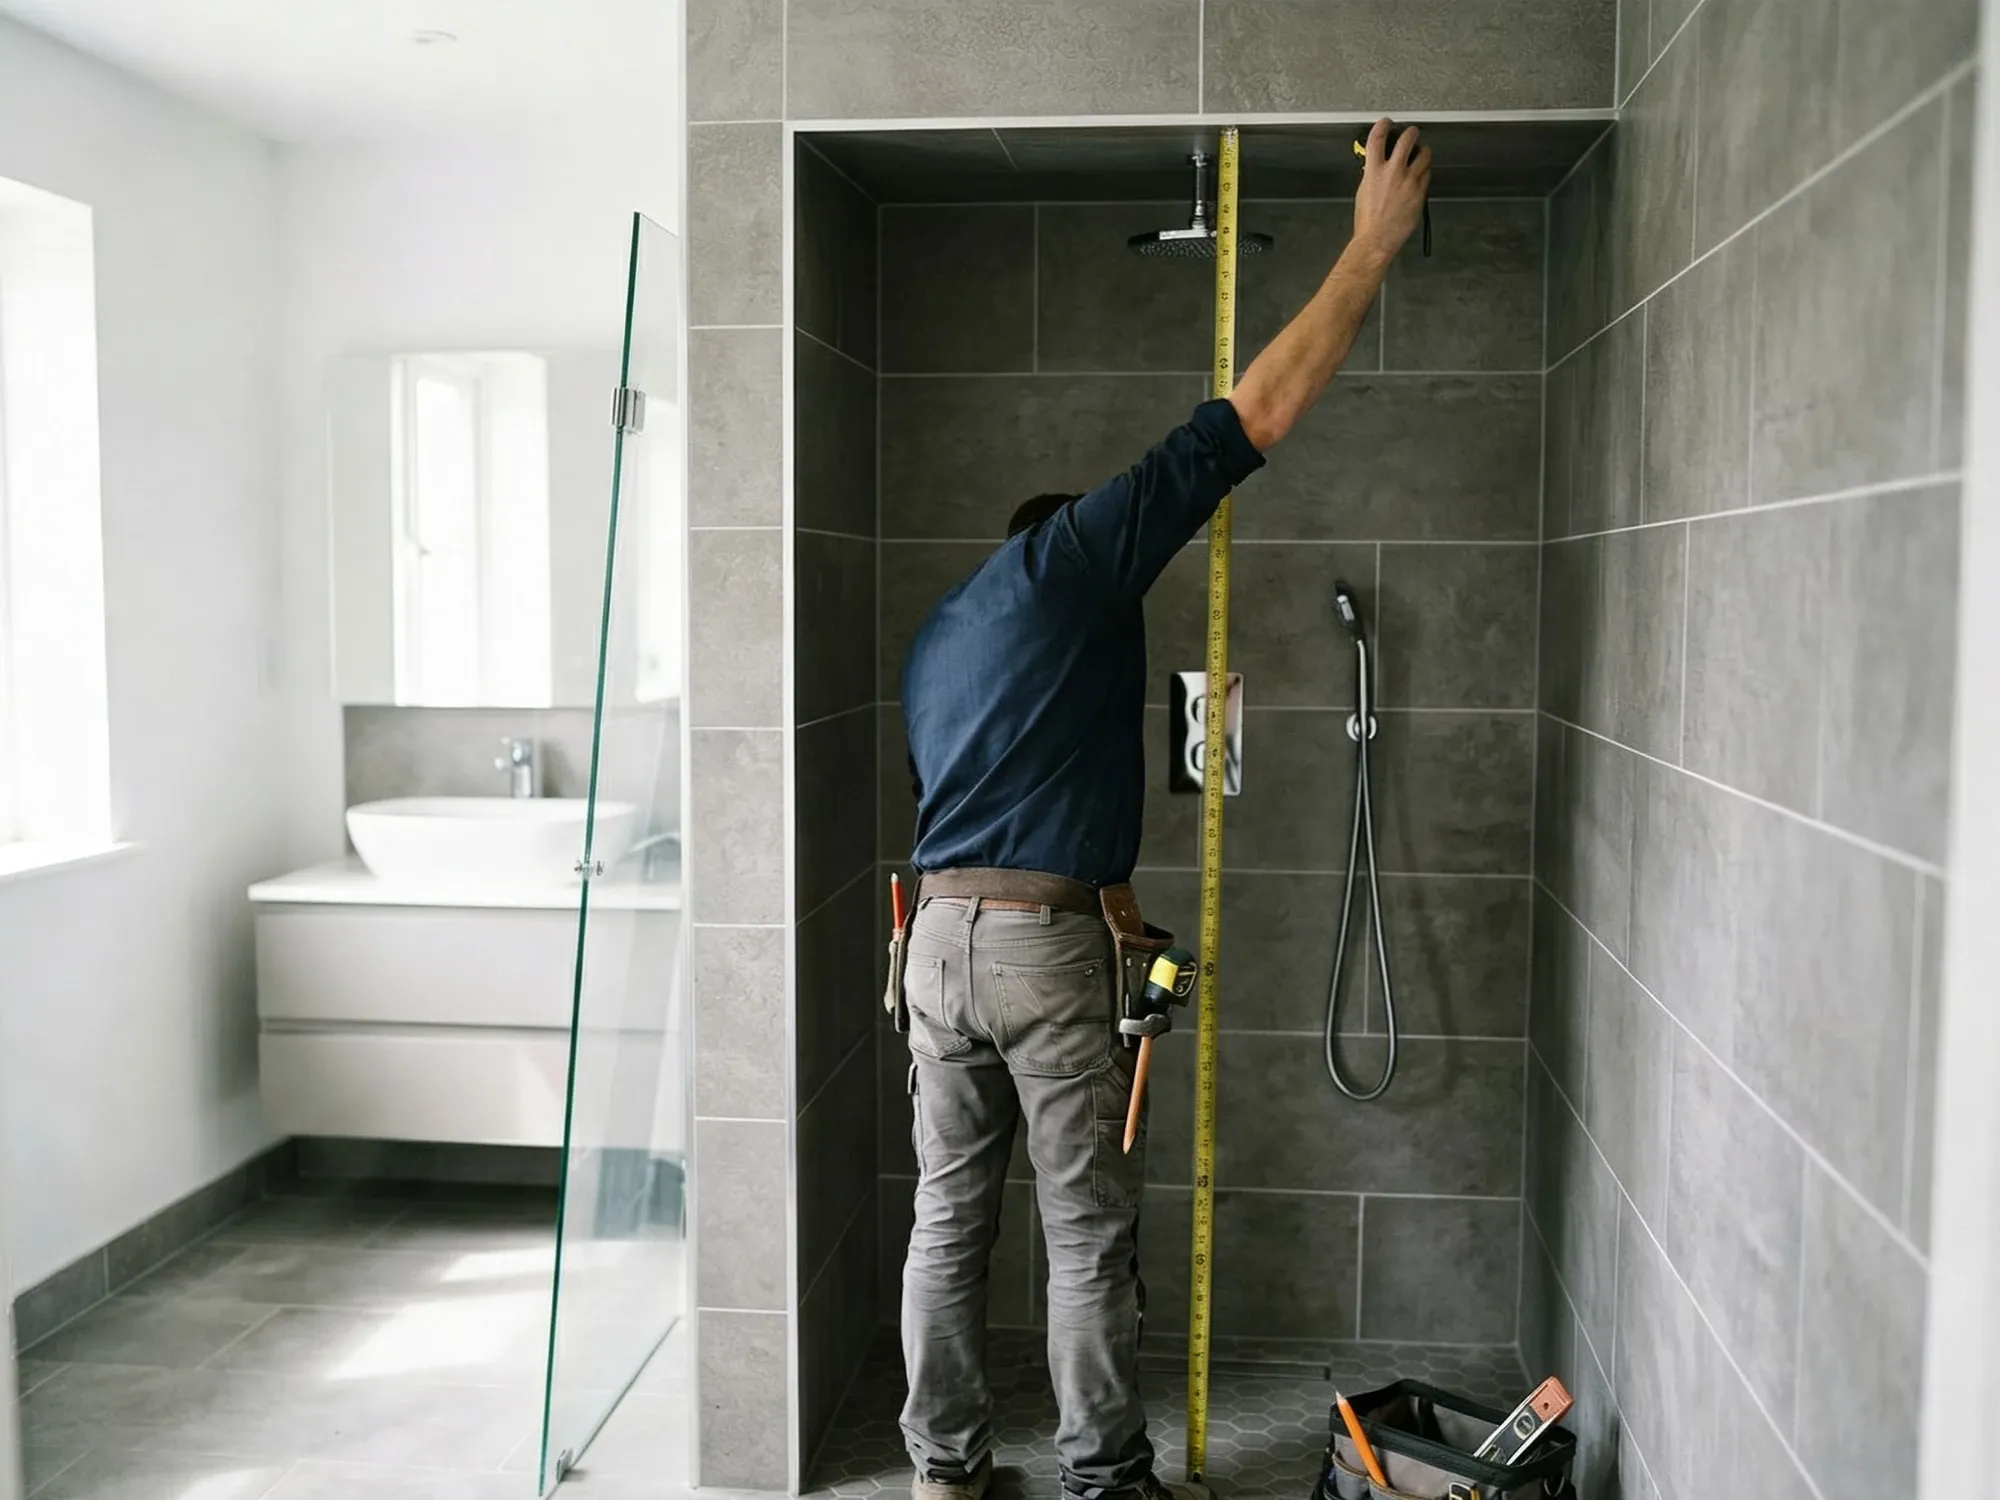
Step 2: Measure the height at two locations
Measure floor (or threshold) to ceiling (or top header) at two positions:
- Near the left wall
- Near the right wall
Take both numbers. For most standard sliders, the height isn't as critical as the width because the door is shorter than the opening — the top track mounts below the ceiling, and any small height variance is hidden. Where height matters is on full-height shower walls (showers without a ceiling) and walk-in configurations.
Step 3: Check the threshold level
Lay your 4-foot level across the threshold or curb at the bottom of the opening. The bubble should be centered. If it's off, note which side is high and by how much.
Why this matters: a sliding door panel needs the threshold reasonably level for the bottom guide channel to engage evenly. An out-of-level threshold causes one side of each panel to drag against the channel, accelerating wear.
Out-of-level threshold guidelines
- Under 1/8" out of level over the full width: fine, no adjustment needed
- 1/8" to 1/4" out: shim the bottom guide channel to compensate
- Over 1/4" out: investigate before ordering — the threshold may need leveling, or the door configuration may need to change
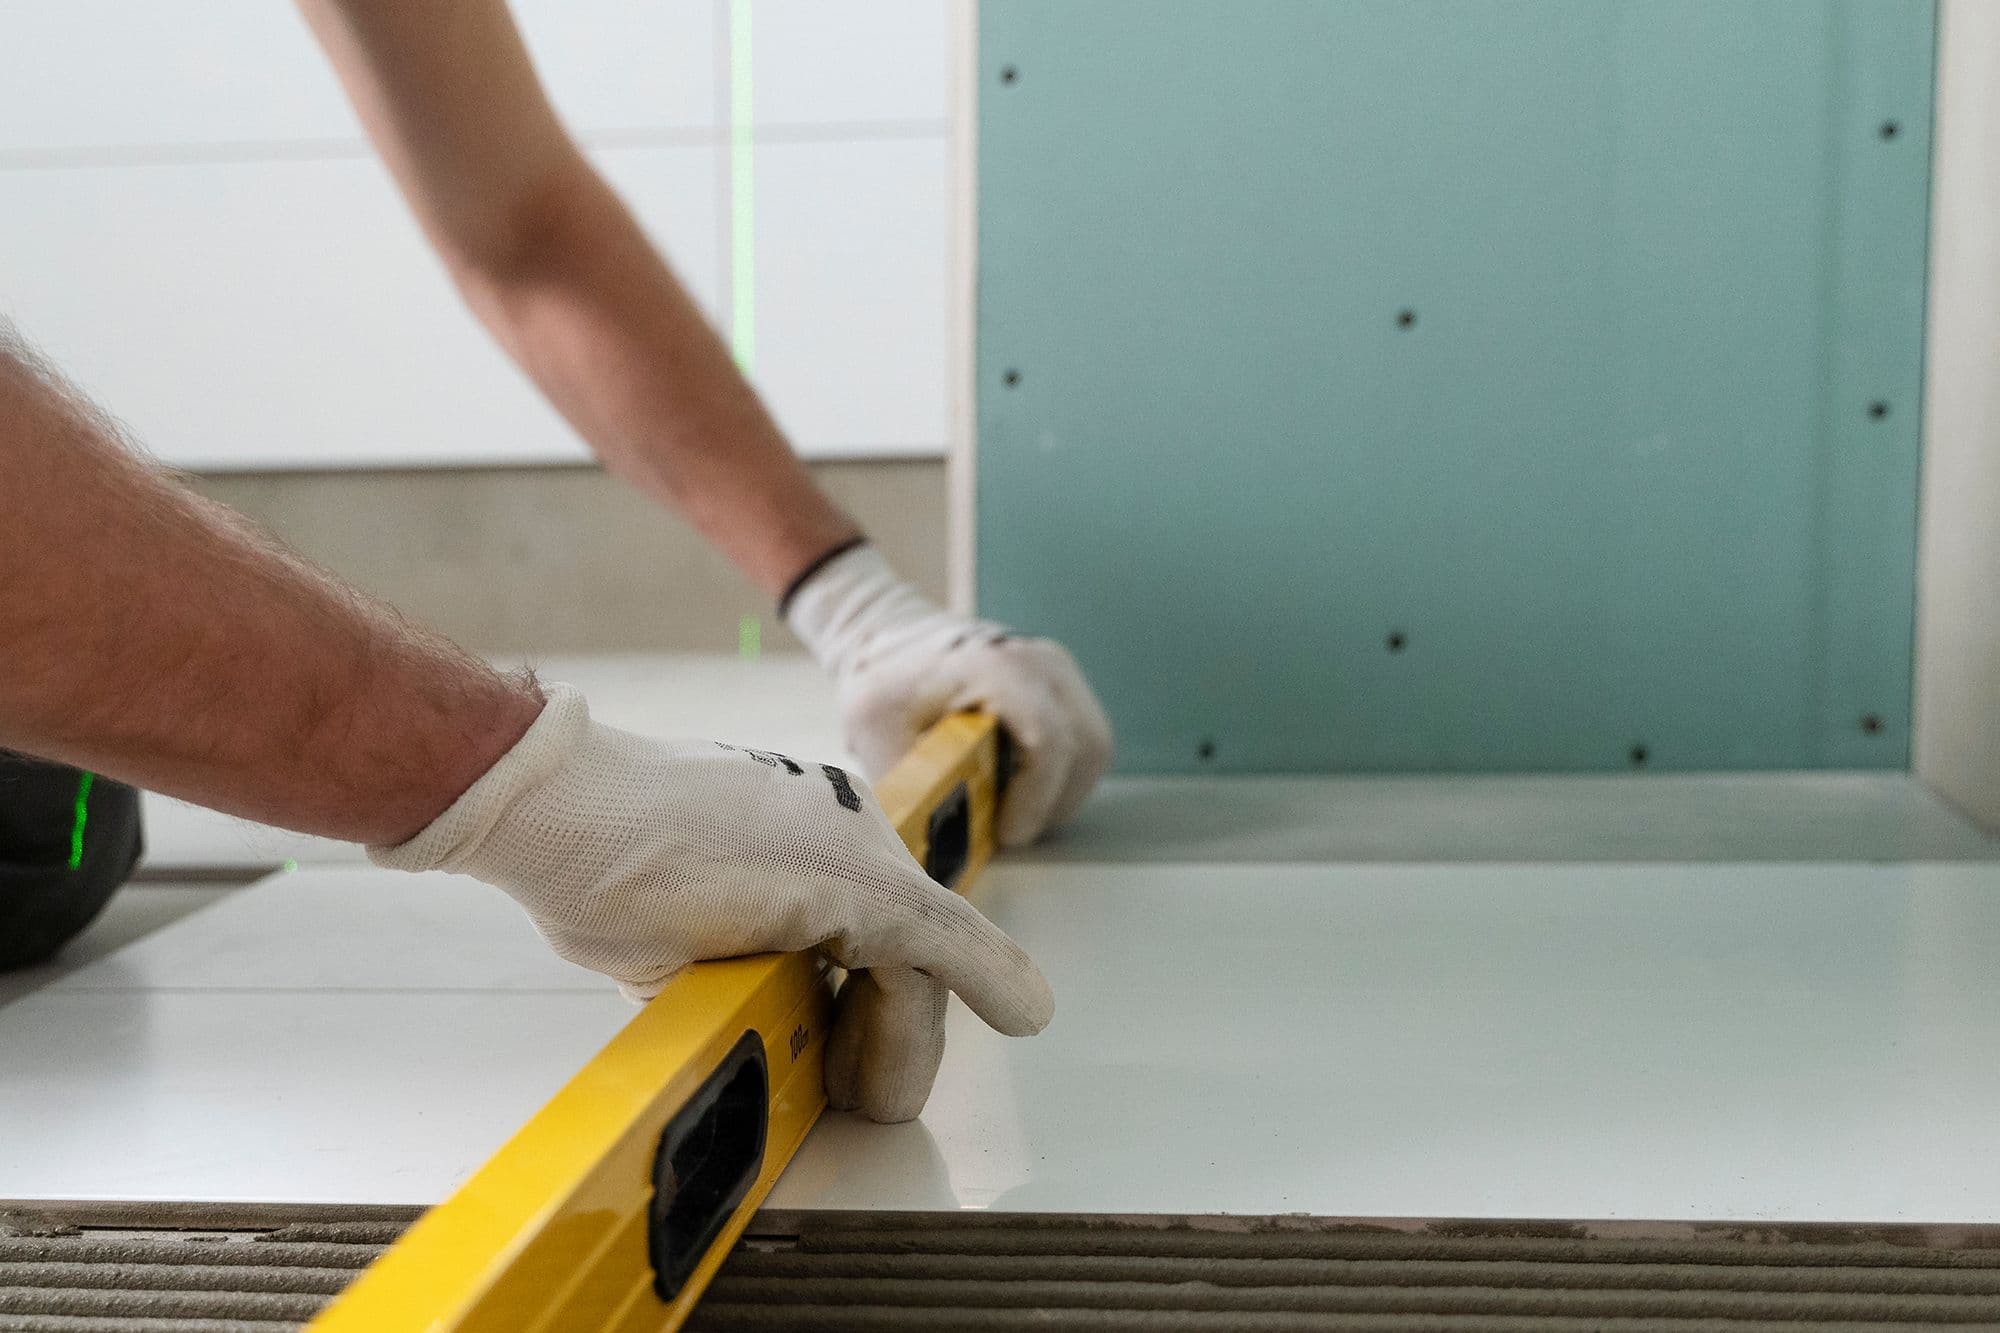
The threshold needs to be reasonably level for the bottom guide channel to engage evenly across the panel.
Step 4: Check side-wall plumb
This is the check most DIY shoppers skip, and it's the one that causes the most fit issues.
Hold the 4-foot level vertically against each side wall, with one end at the threshold. The bubble should be centered. Note which way the wall leans — toward the shower (inward) or away from it (outward) — and roughly how much.
| Plumb deviation | Fit implication |
|---|---|
| Within 1/8" over 72" | Usually suitable for standard DIY configurations |
| 1/8" to 1/4" over 72" | Standard DIY configuration usually fits with extra shimming or silicone |
| 1/4" to 3/8" over 72" | Marginal — call before ordering |
| Over 3/8" over 72" | Custom install recommended — standard DIY won't seal cleanly |
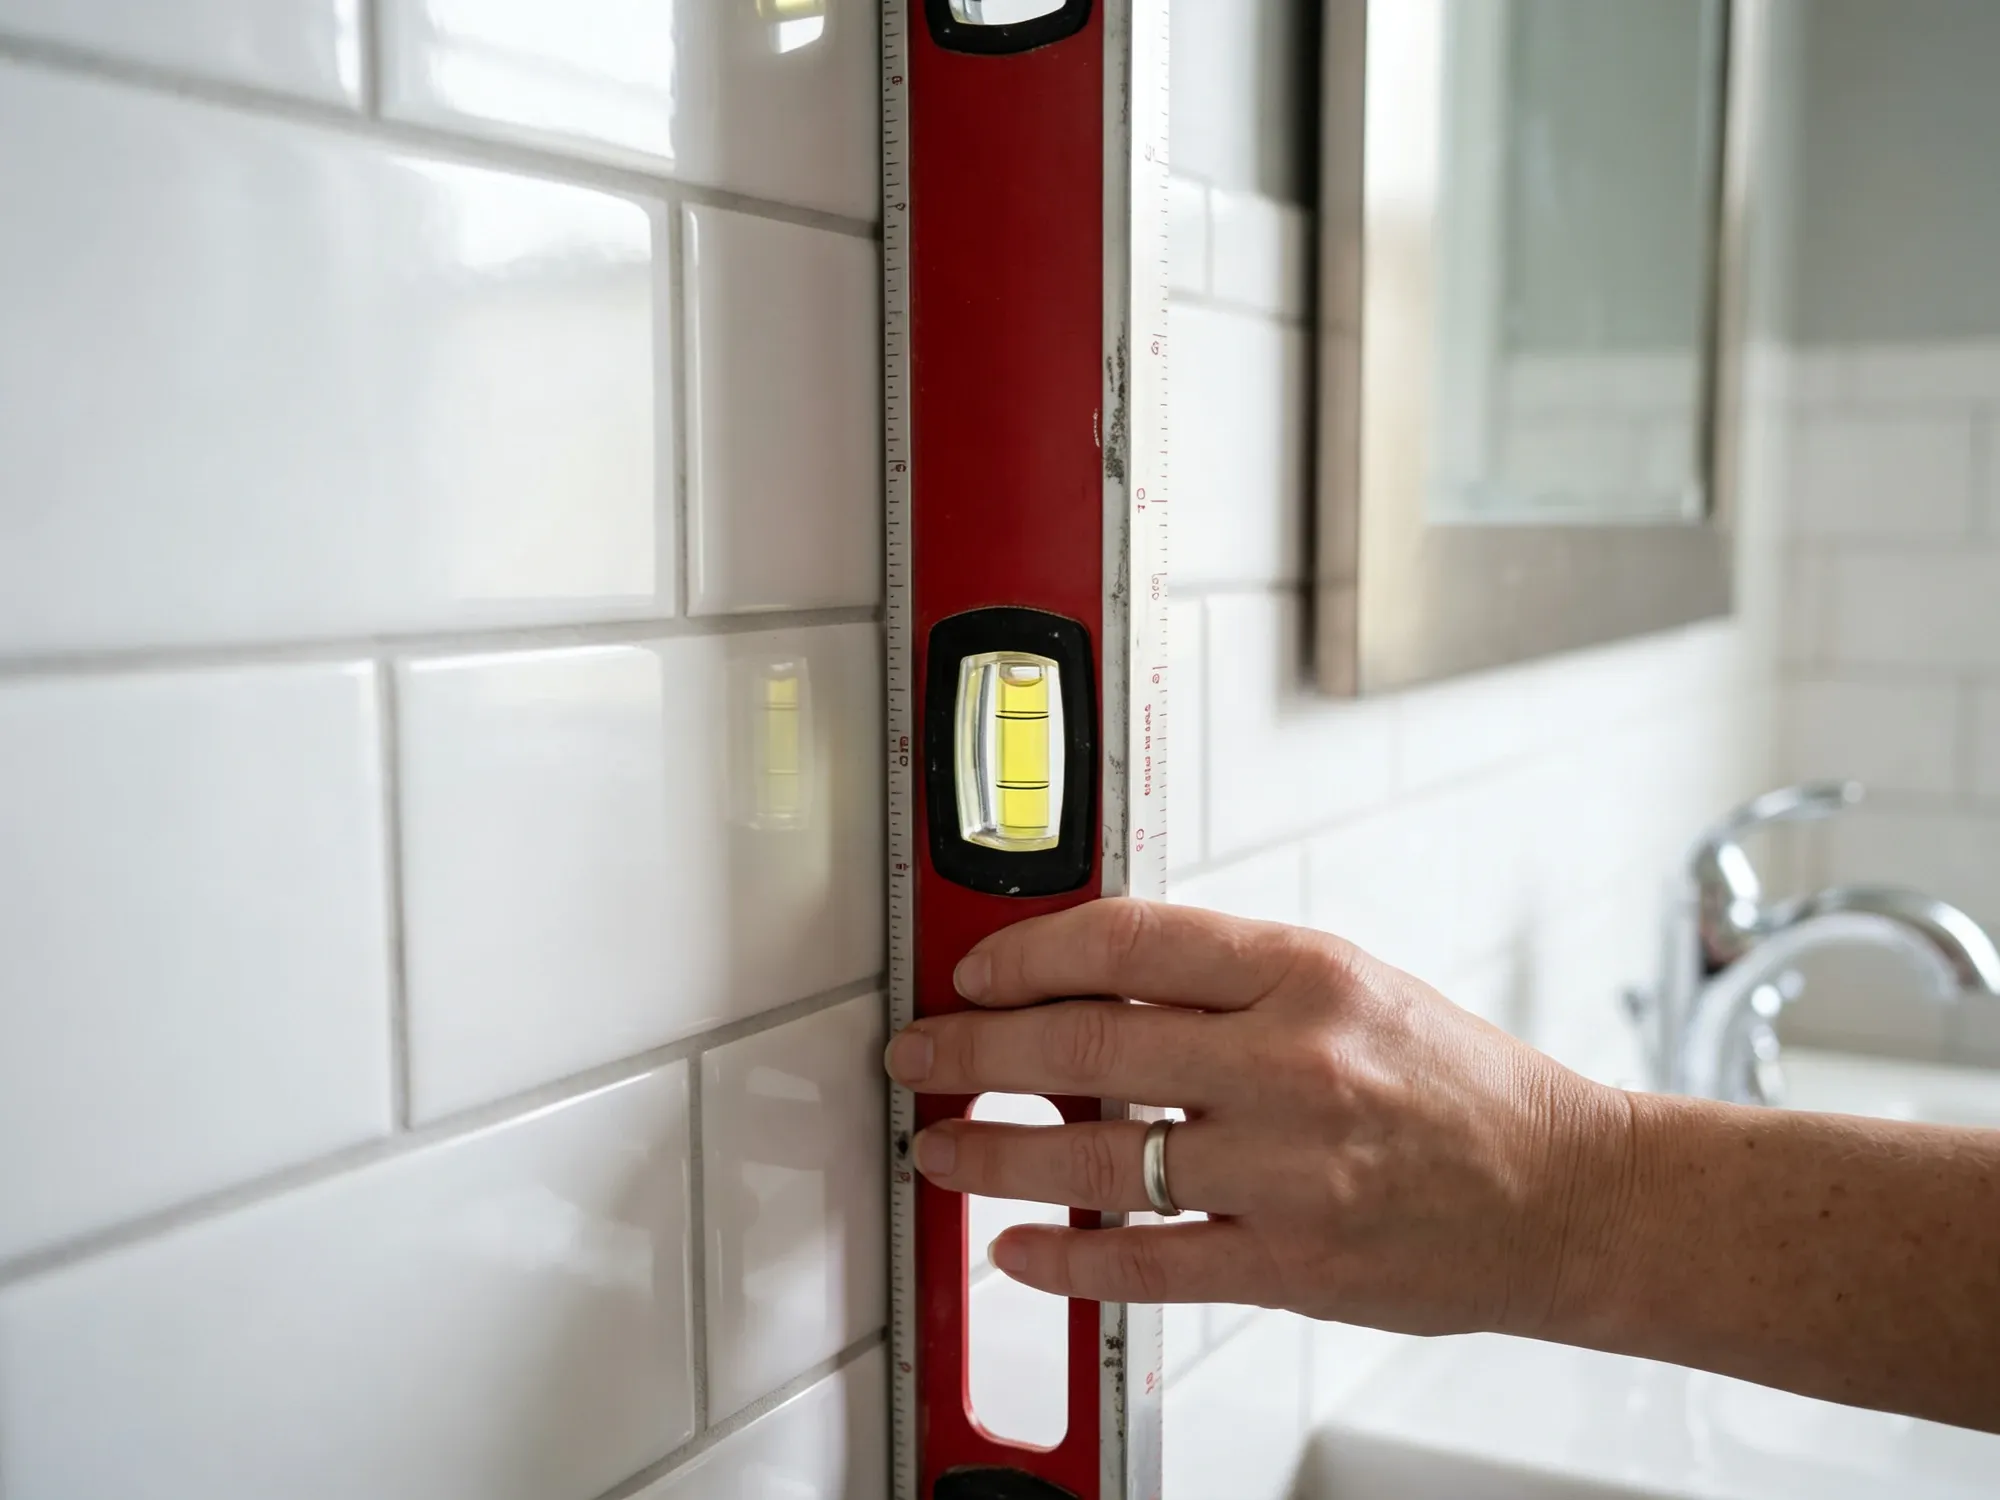
Side-wall plumb is the check most DIY shoppers skip and the one that causes the most fit issues.
Step 5: Note the curb/threshold profile
Bypass sliders and most other sliding configurations need a flat or near-flat threshold to seat properly. Check:
- Curb width: at least 2" wide is ideal (gives the bottom channel room)
- Curb height: note this so we can match the bottom seal/sweep height
- Curb finish: tile, stone, or solid surface — affects how silicone bonds at the wall-curb junction
- Slope toward the shower: the curb should slope back toward the shower interior, not the bathroom floor
The six most common measurement mistakes
Things that go wrong
- Measuring opening width at only one height. Walls are rarely parallel; you need the smallest reading.
- Using a soft (cloth) measuring tape. They stretch under tension; off by up to 1/4" over a 60-inch opening.
- Including the existing door or frame in the measurement. If you're replacing an old door, remove it before measuring — the opening underneath is what matters.
- Not checking plumb. An out-of-plumb opening can make installation harder and may affect how cleanly the door seals.
- Rounding up or down. Note exact dimensions to the nearest 1/16" — don't round until we tell you to.
- Measuring through a curtain. Pull any shower curtain or temporary covering out of the opening before measuring.
When to have us measure
If the opening is over 72" wide, out of plumb more than 1/4", or you're not sure about any of the readings, request an installation quote or measurement appointment in our service area. Outside our service area, call us and walk through your numbers — we'd rather catch a problem on the phone than after the glass ships. For non-standard openings, see our custom shower glass options.
Frequently asked questions
What tools do I need to measure for a sliding shower door?
A steel retractable tape measure (12 ft minimum), a 4-foot level, pencil and paper, and a phone for photos. Avoid soft cloth tape measures — they stretch under tension and will be off by 1/4 inch or more on a wide opening.
Where should I take the width measurement?
At three heights: near the top of the opening, at the middle about 36 inches above the threshold, and just above the threshold or curb. Record all three and use the smallest width.
How accurate do my measurements need to be?
To the nearest 1/16 inch for width. To the nearest 1/8 inch for height. Don't round — we'd rather you over-report precision and we'll adjust on our end if needed.
What if my walls aren't plumb?
Walls within 1/8" over 72" are usually suitable for standard DIY configurations. 1/8 to 1/4 inch usually fits with shimming. Beyond 1/4 inch over 72 inches, call before ordering — a custom install may be a better fit.
Do I need to remove the existing door before measuring?
Yes. The existing frame and door change the inside dimensions of the opening. Pull the old door, measure the bare opening, then order. If you can't remove it before ordering, take photos of the existing frame so we can estimate the bare-opening dimensions on our end.
Can I measure for a sliding door without a level?
No. The level is what tells you whether the walls are plumb and the threshold is even. Both are critical for the door to seat properly. A 4-foot level is inexpensive to rent or buy from most home improvement stores.
Can Dulles Glass help check my sliding shower door measurements?
Yes. If you are unsure about your measurements, take photos of the opening and contact us before ordering. For installation projects in our service area, our technicians take final measurements before fabrication.
References
- Dulles Glass DIY catalog specifications and tolerance ranges for sliding shower doors
- Field-team measurement notes from 1,000+ residential sliding shower door installations
Need a measurement consult before ordering?
Request an installation quote or measurement appointment in our service area, or call us with your numbers if you're outside it. We'd rather walk through your dimensions on the phone than have the glass arrive at the wrong size.


