Emma D.
Yelp
Our new glass shower is gorgeous
Nov 11, 2025
SHOP DIY FIXED PANELS
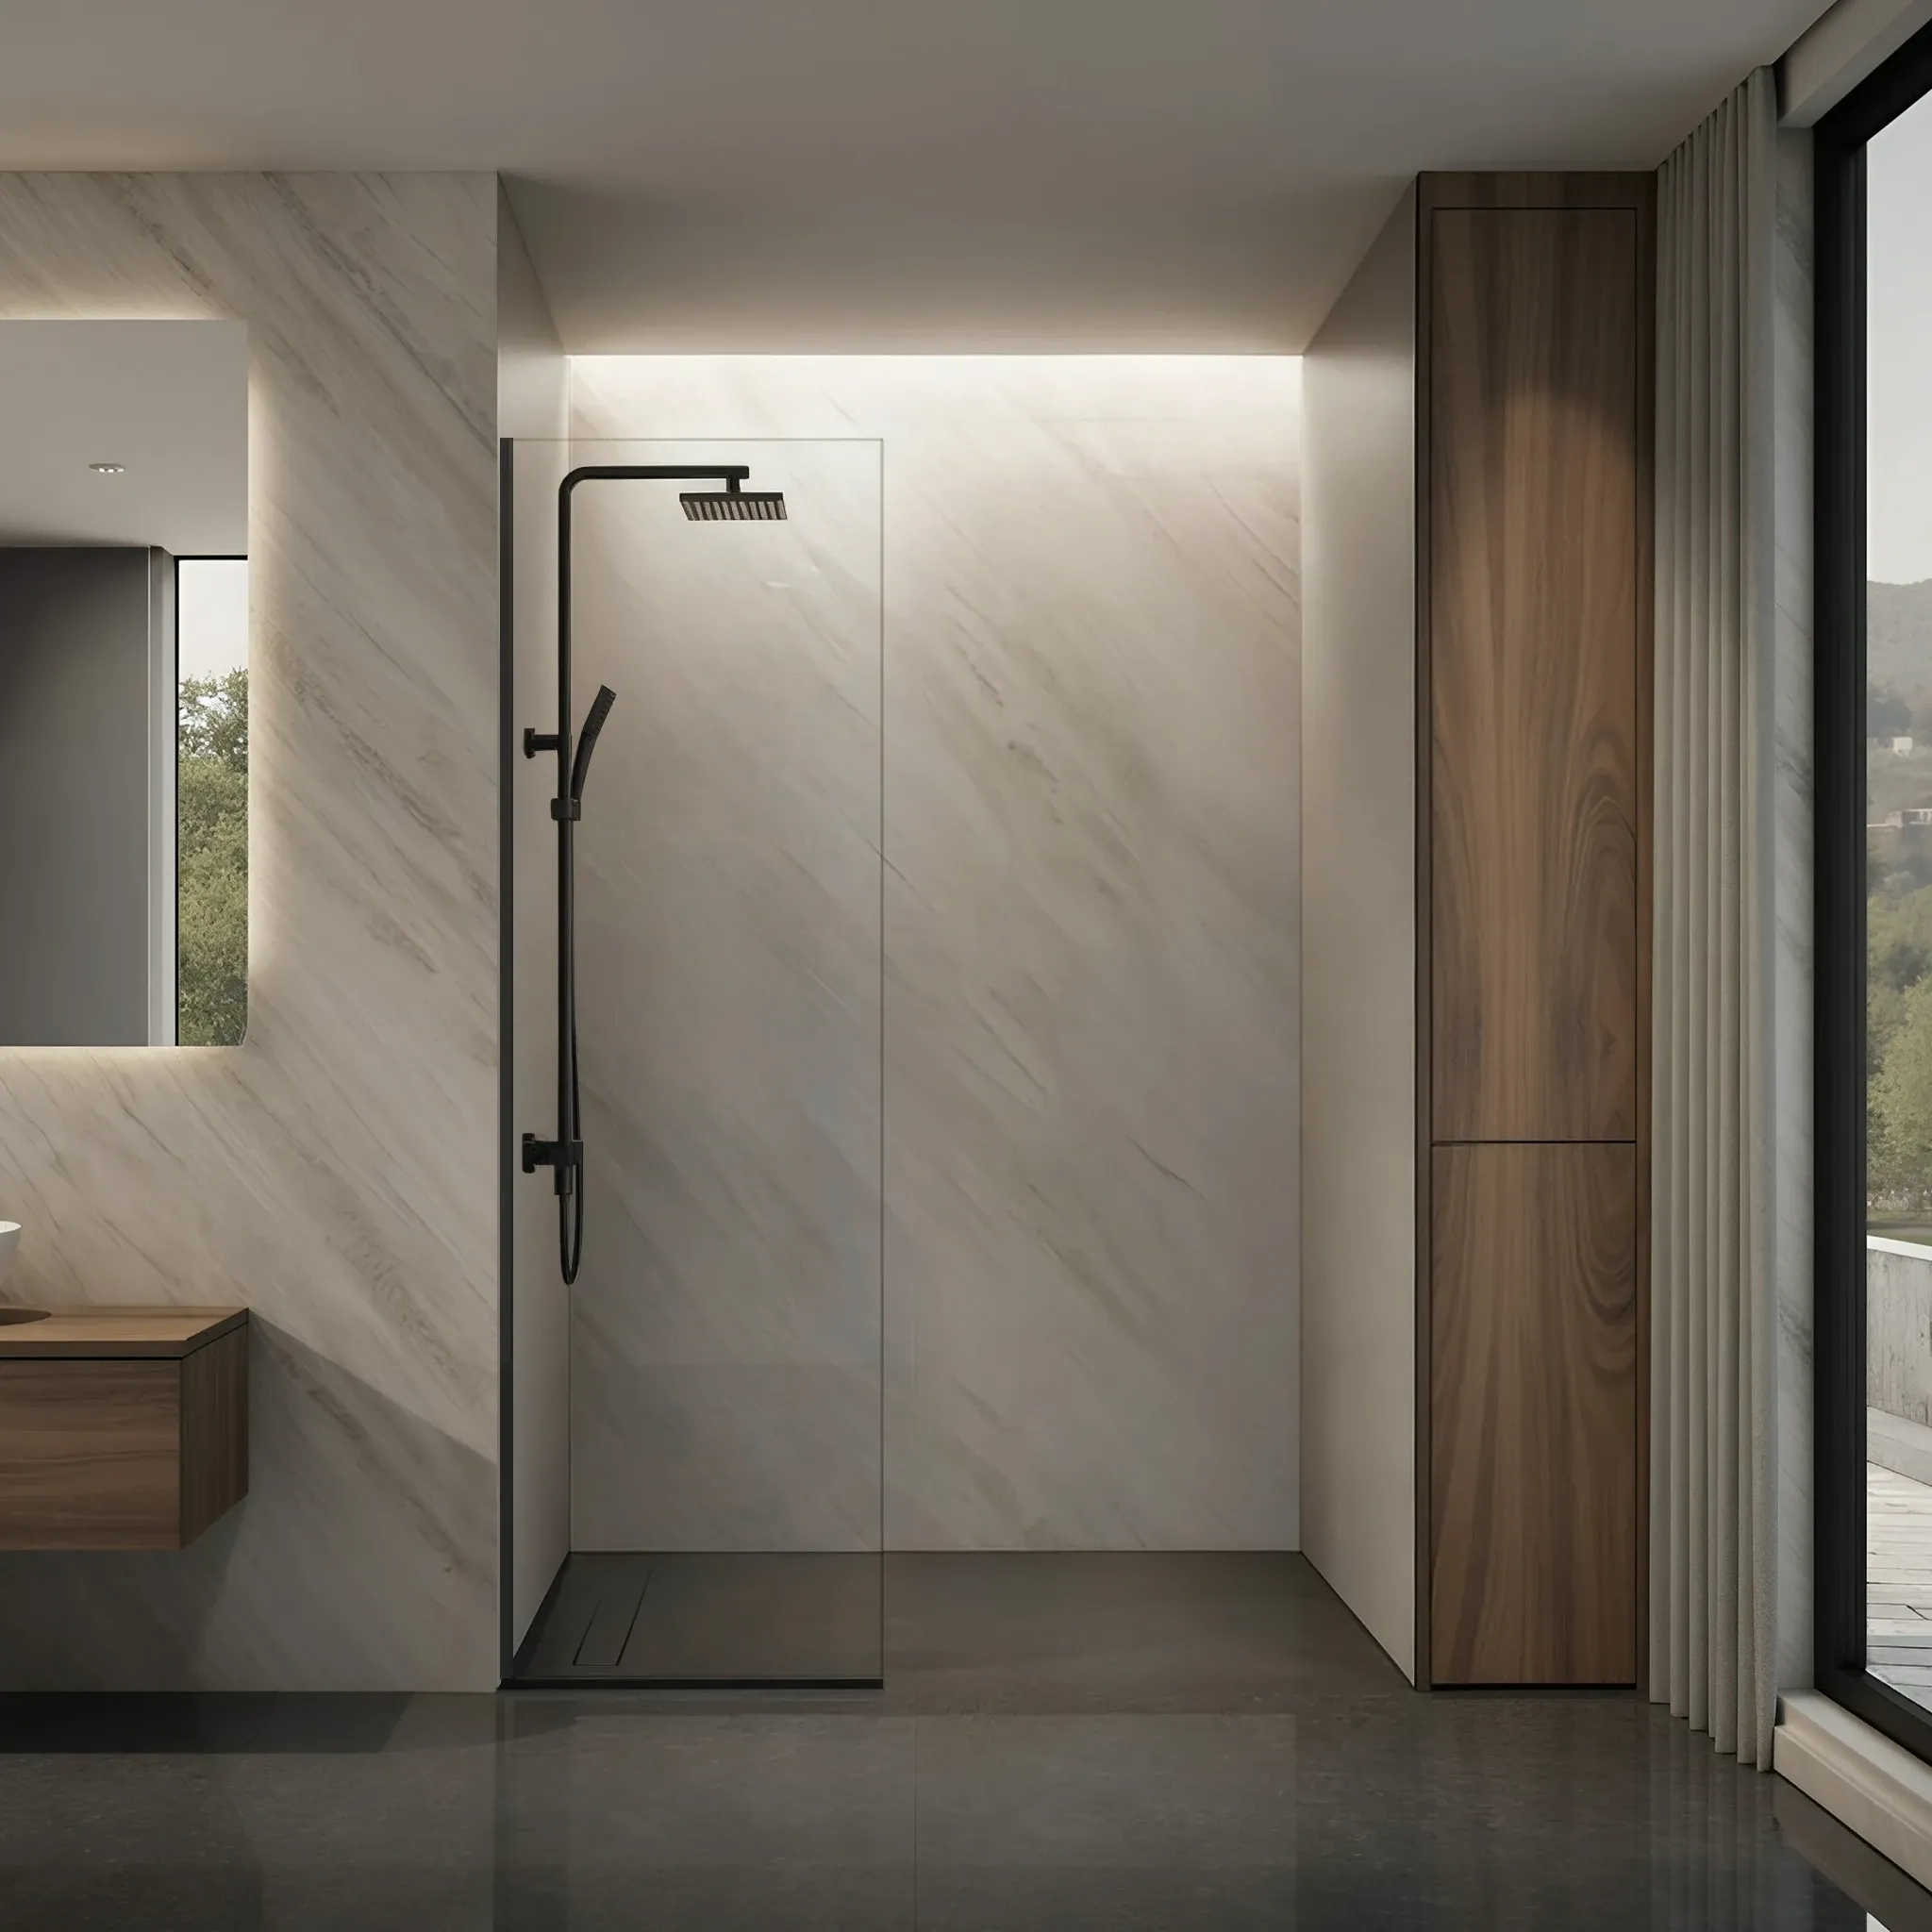
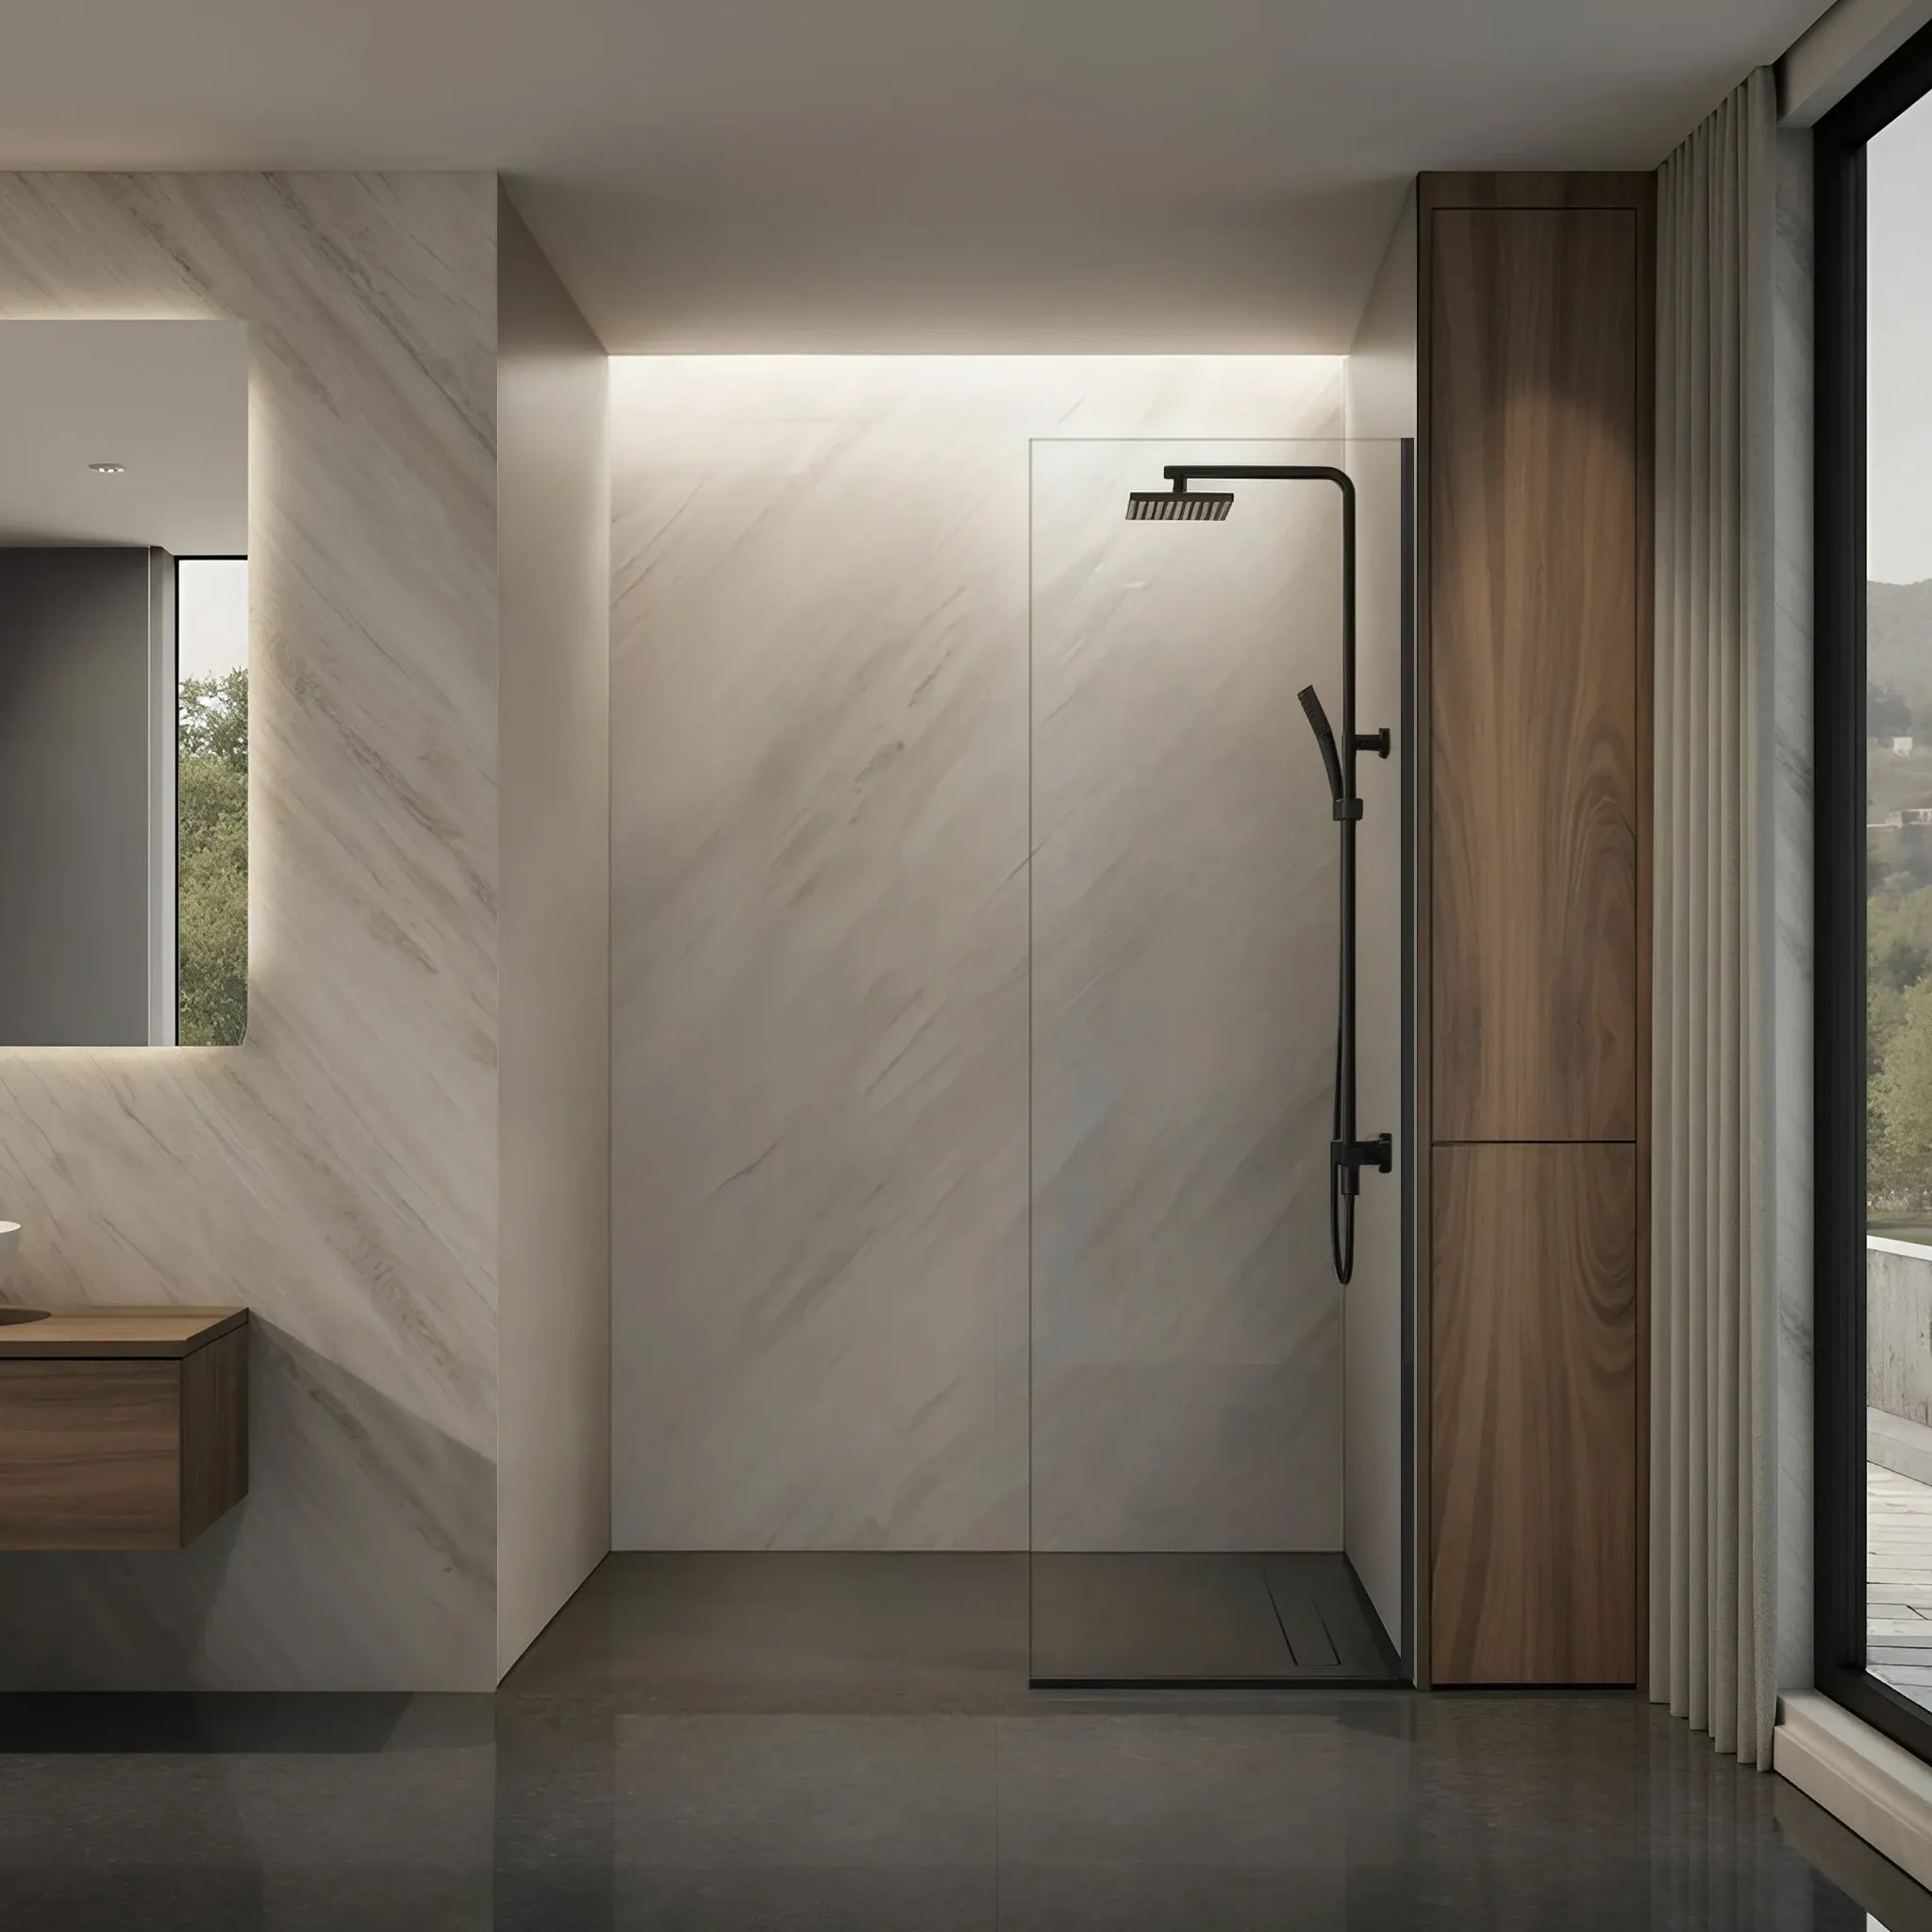
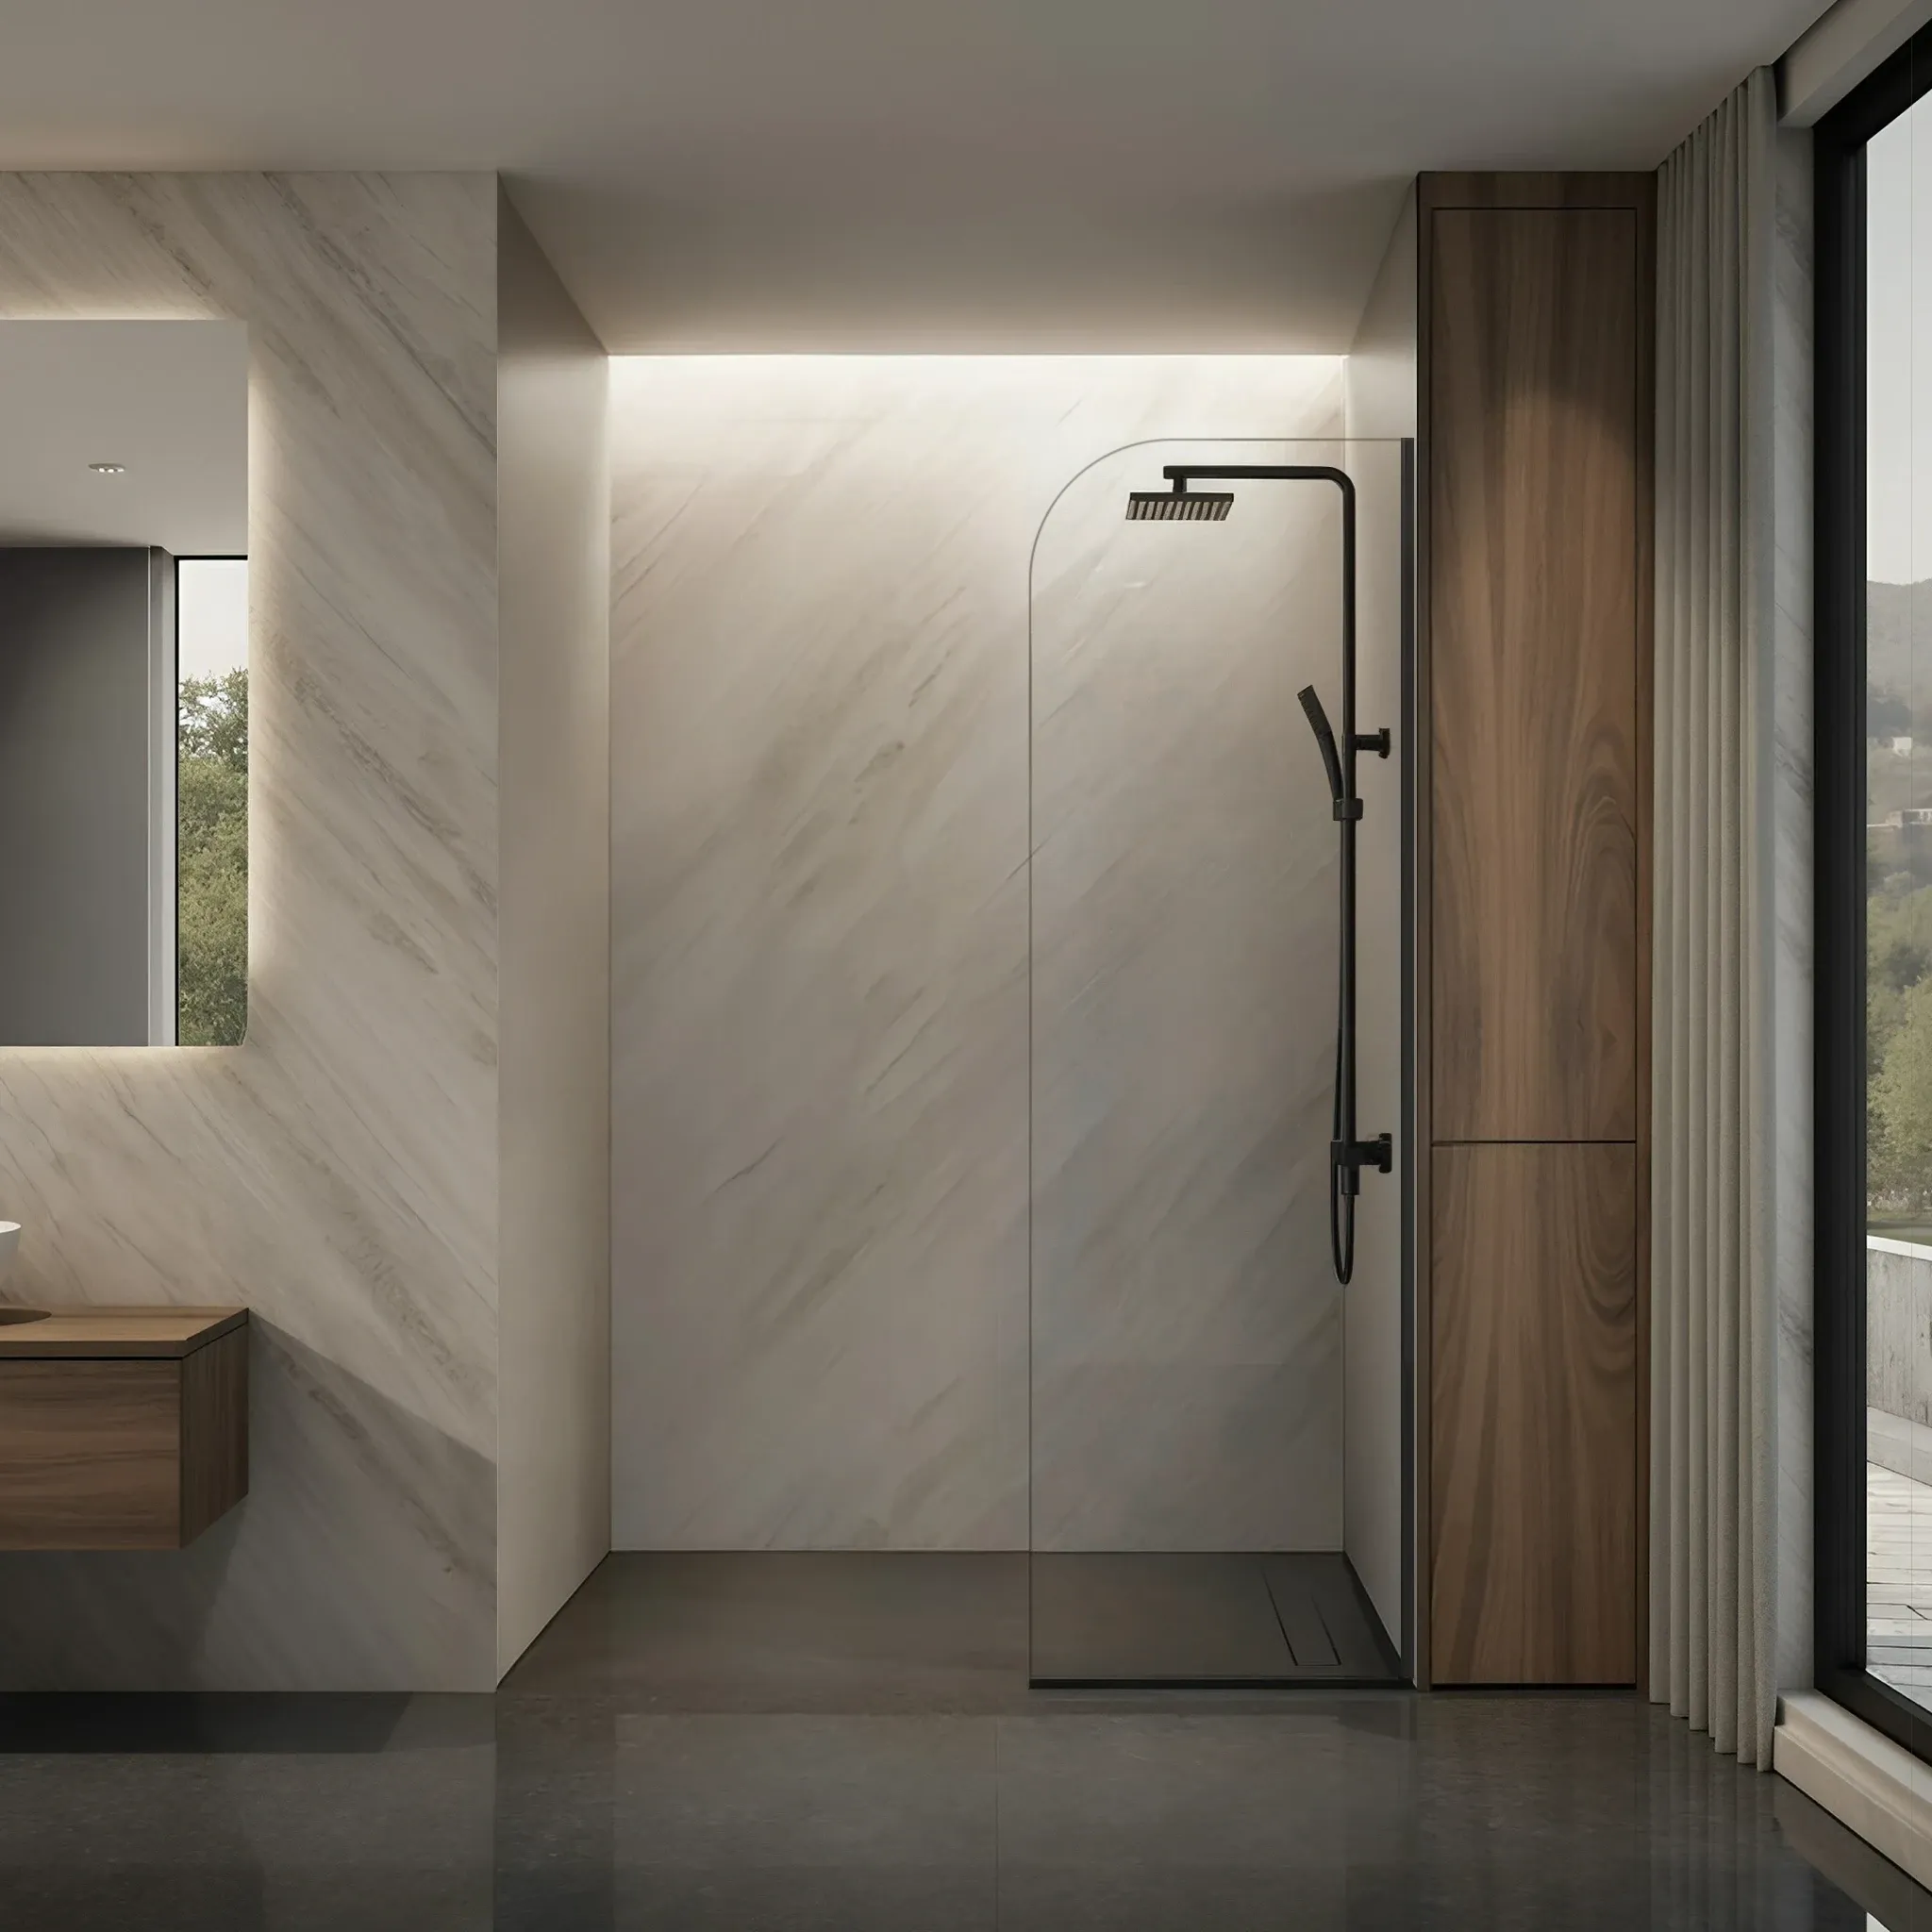
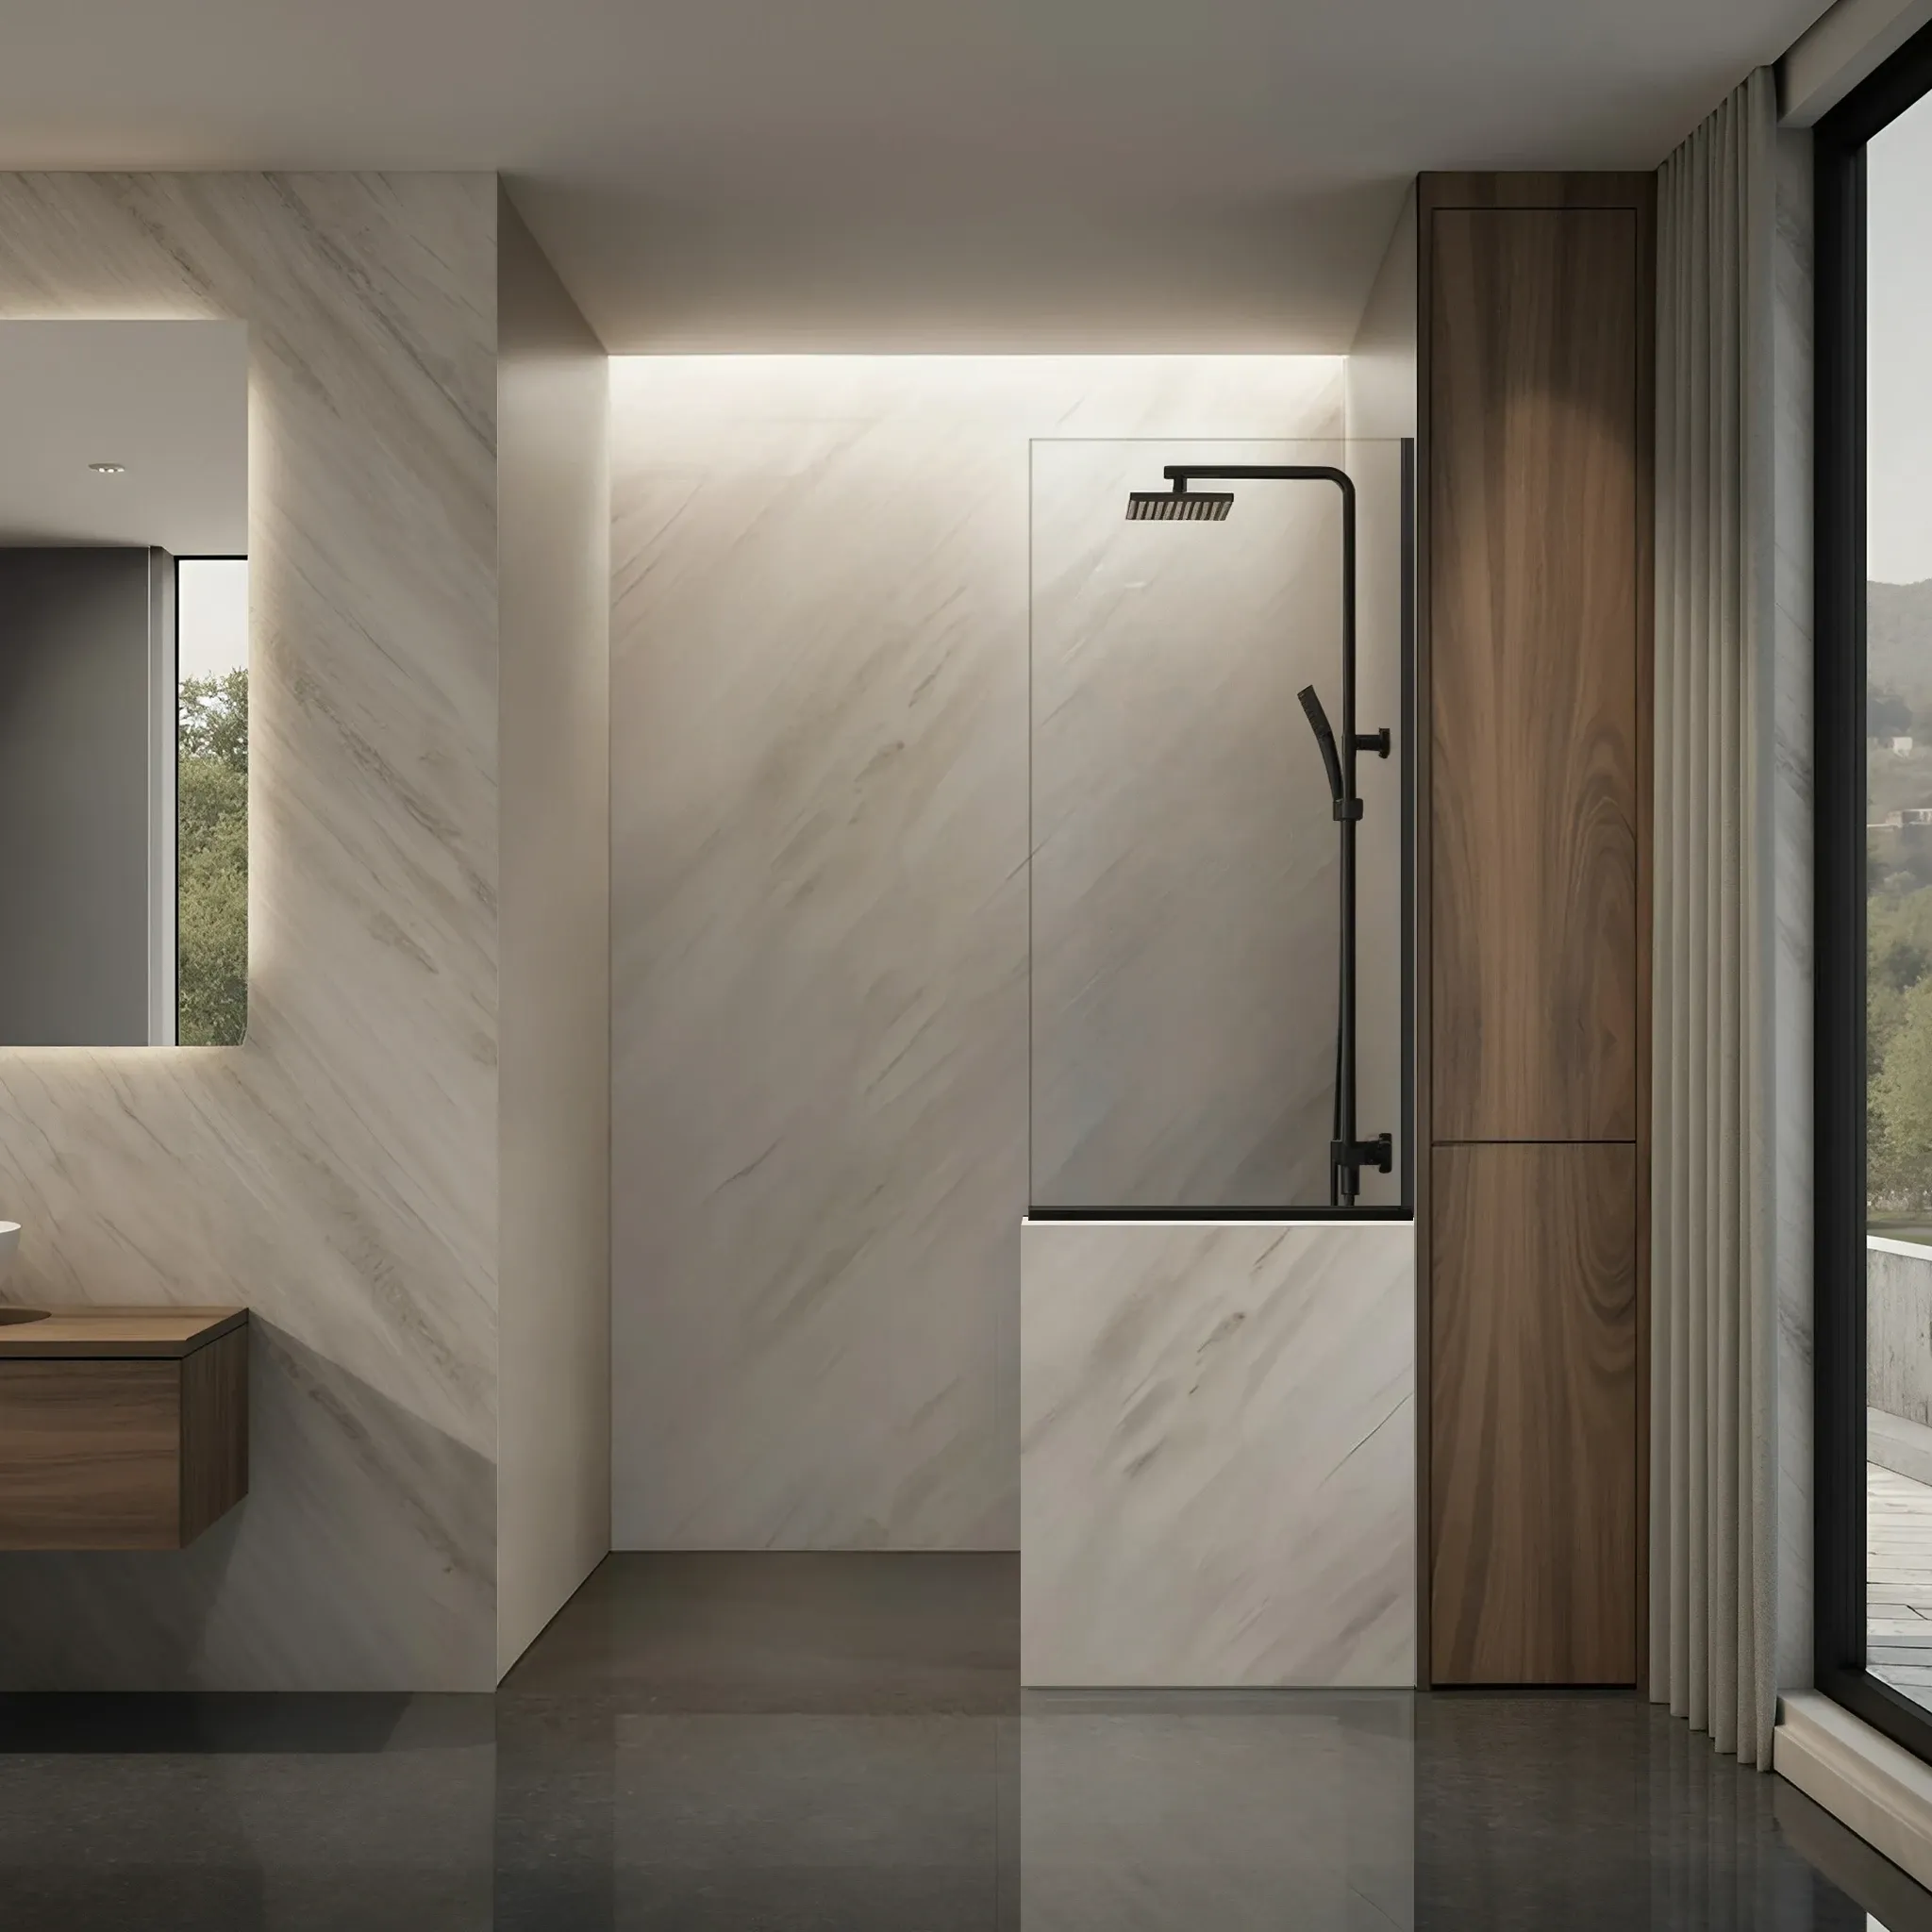
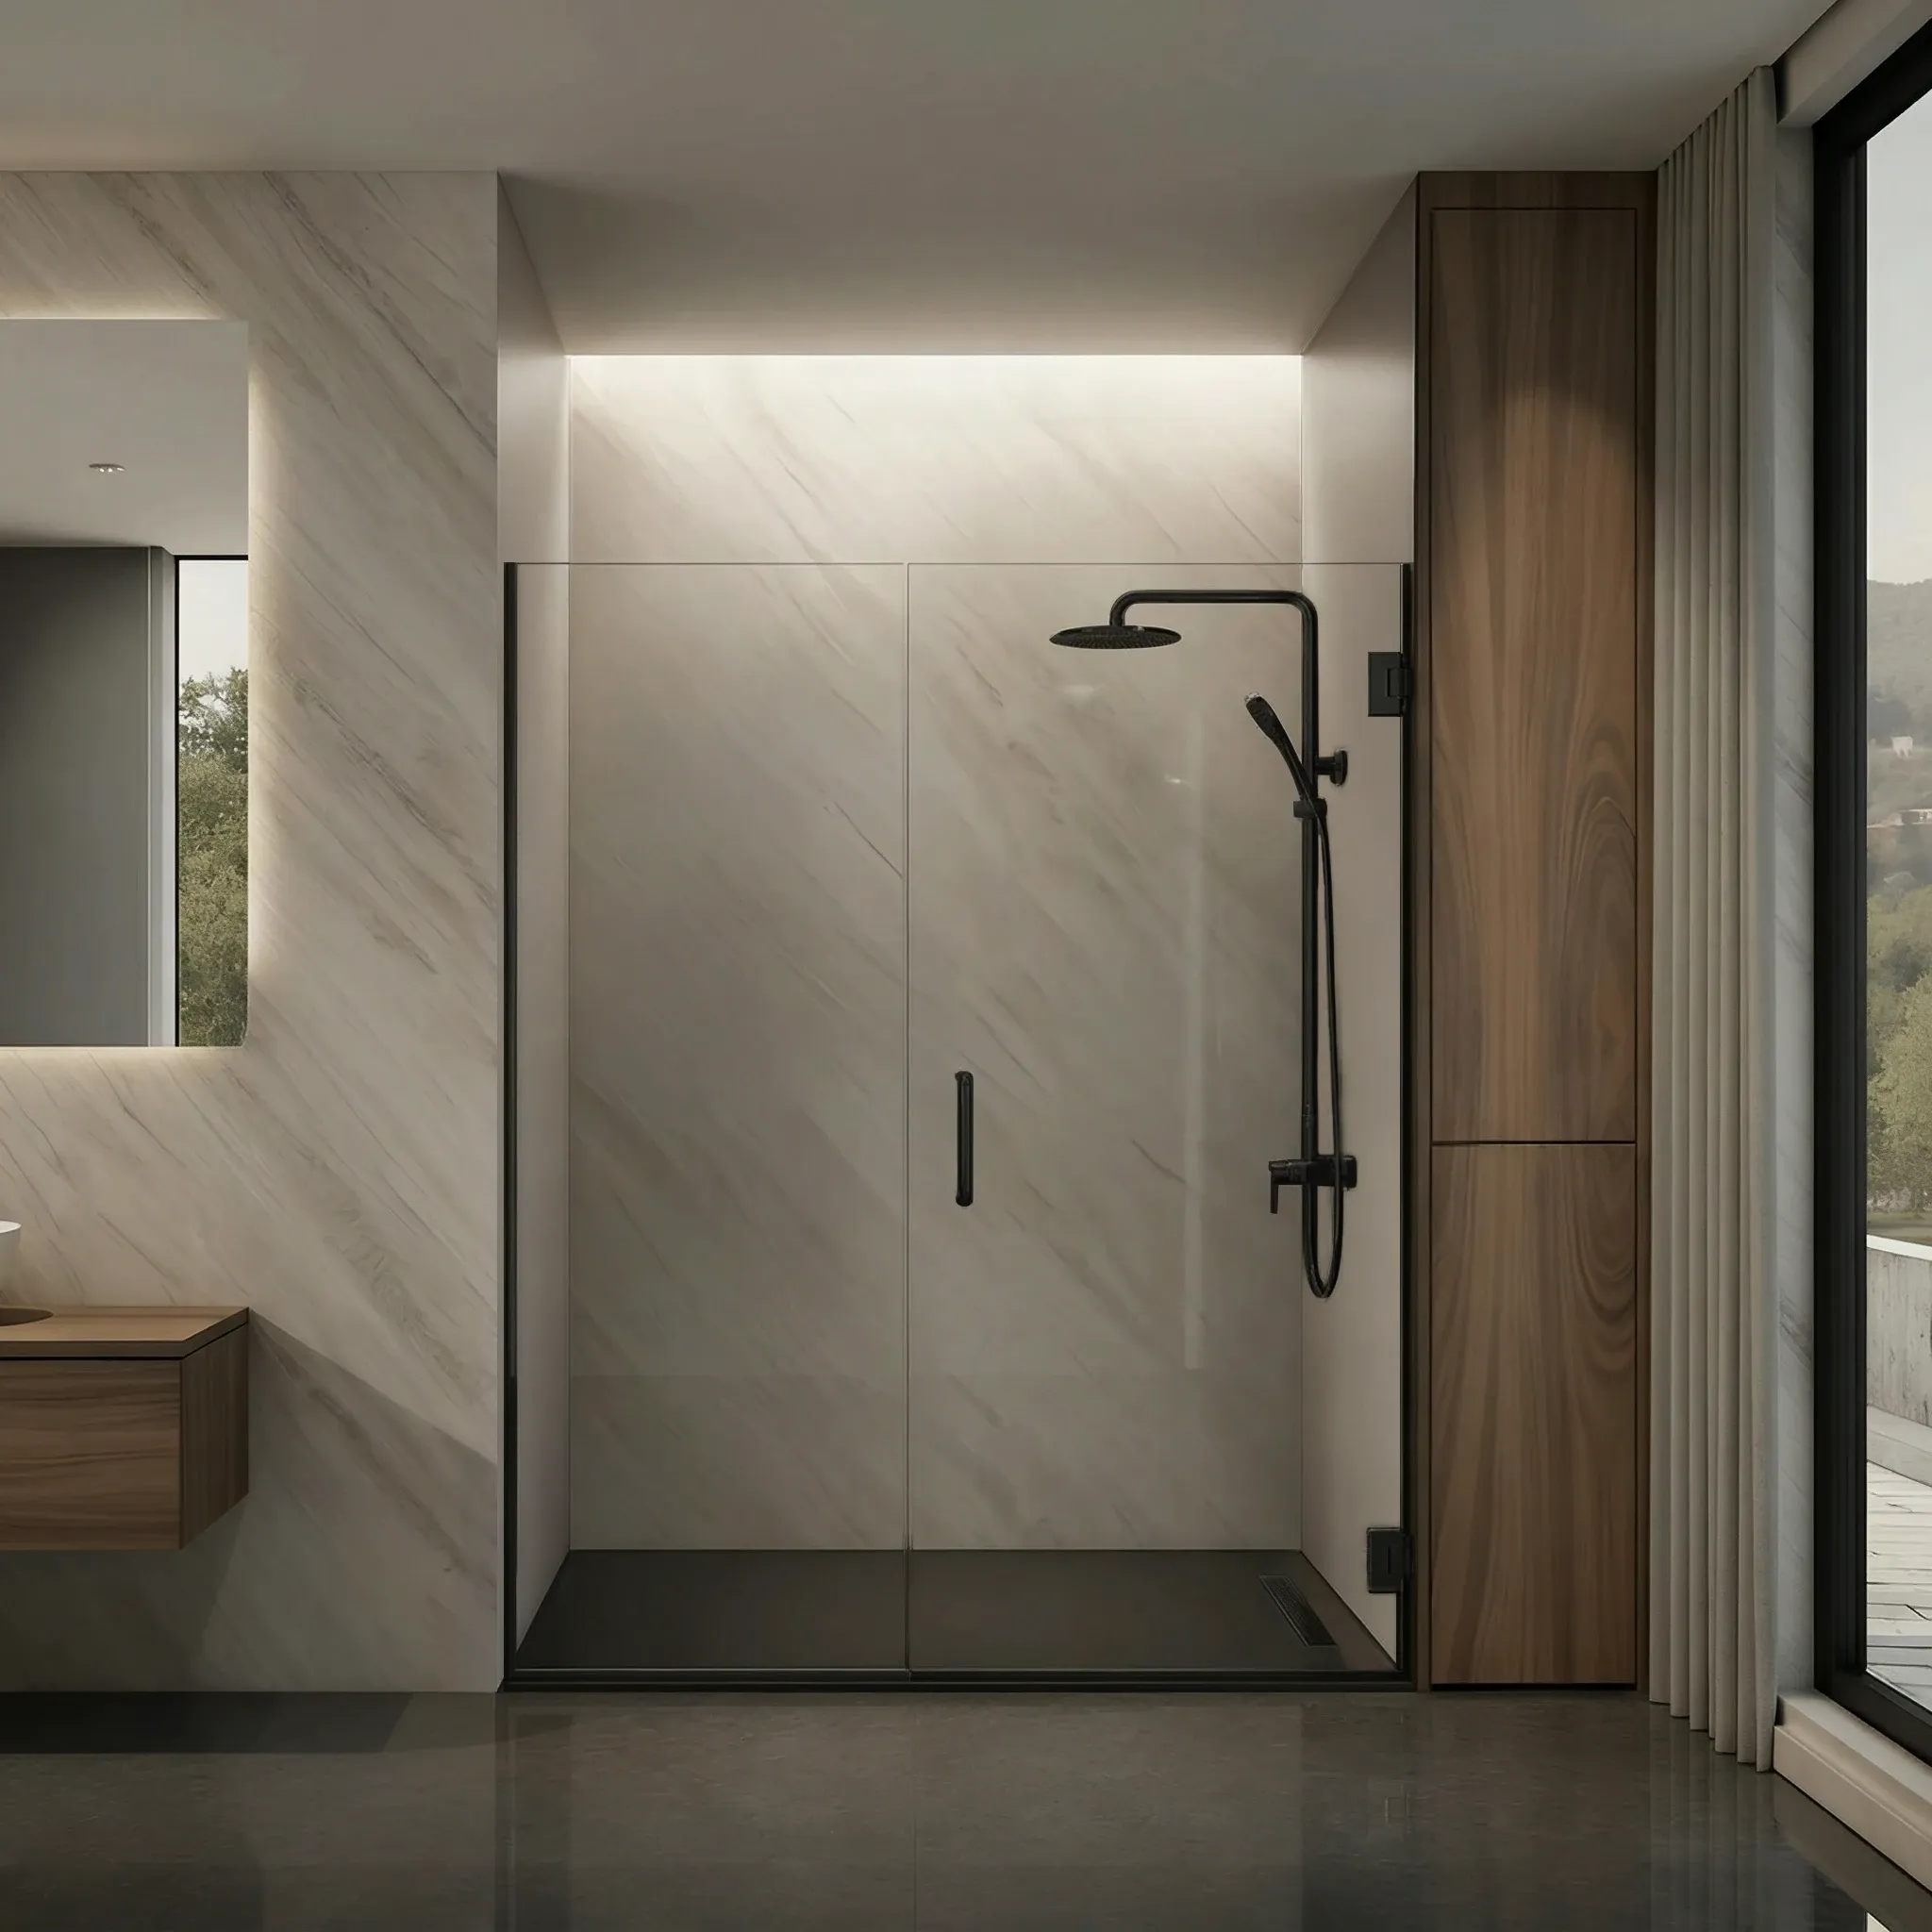
Create a modern doorless shower with Tela frameless fixed glass panels. Choose a standard size when possible, or customize your dimensions when needed.
4.9/5 customer rating
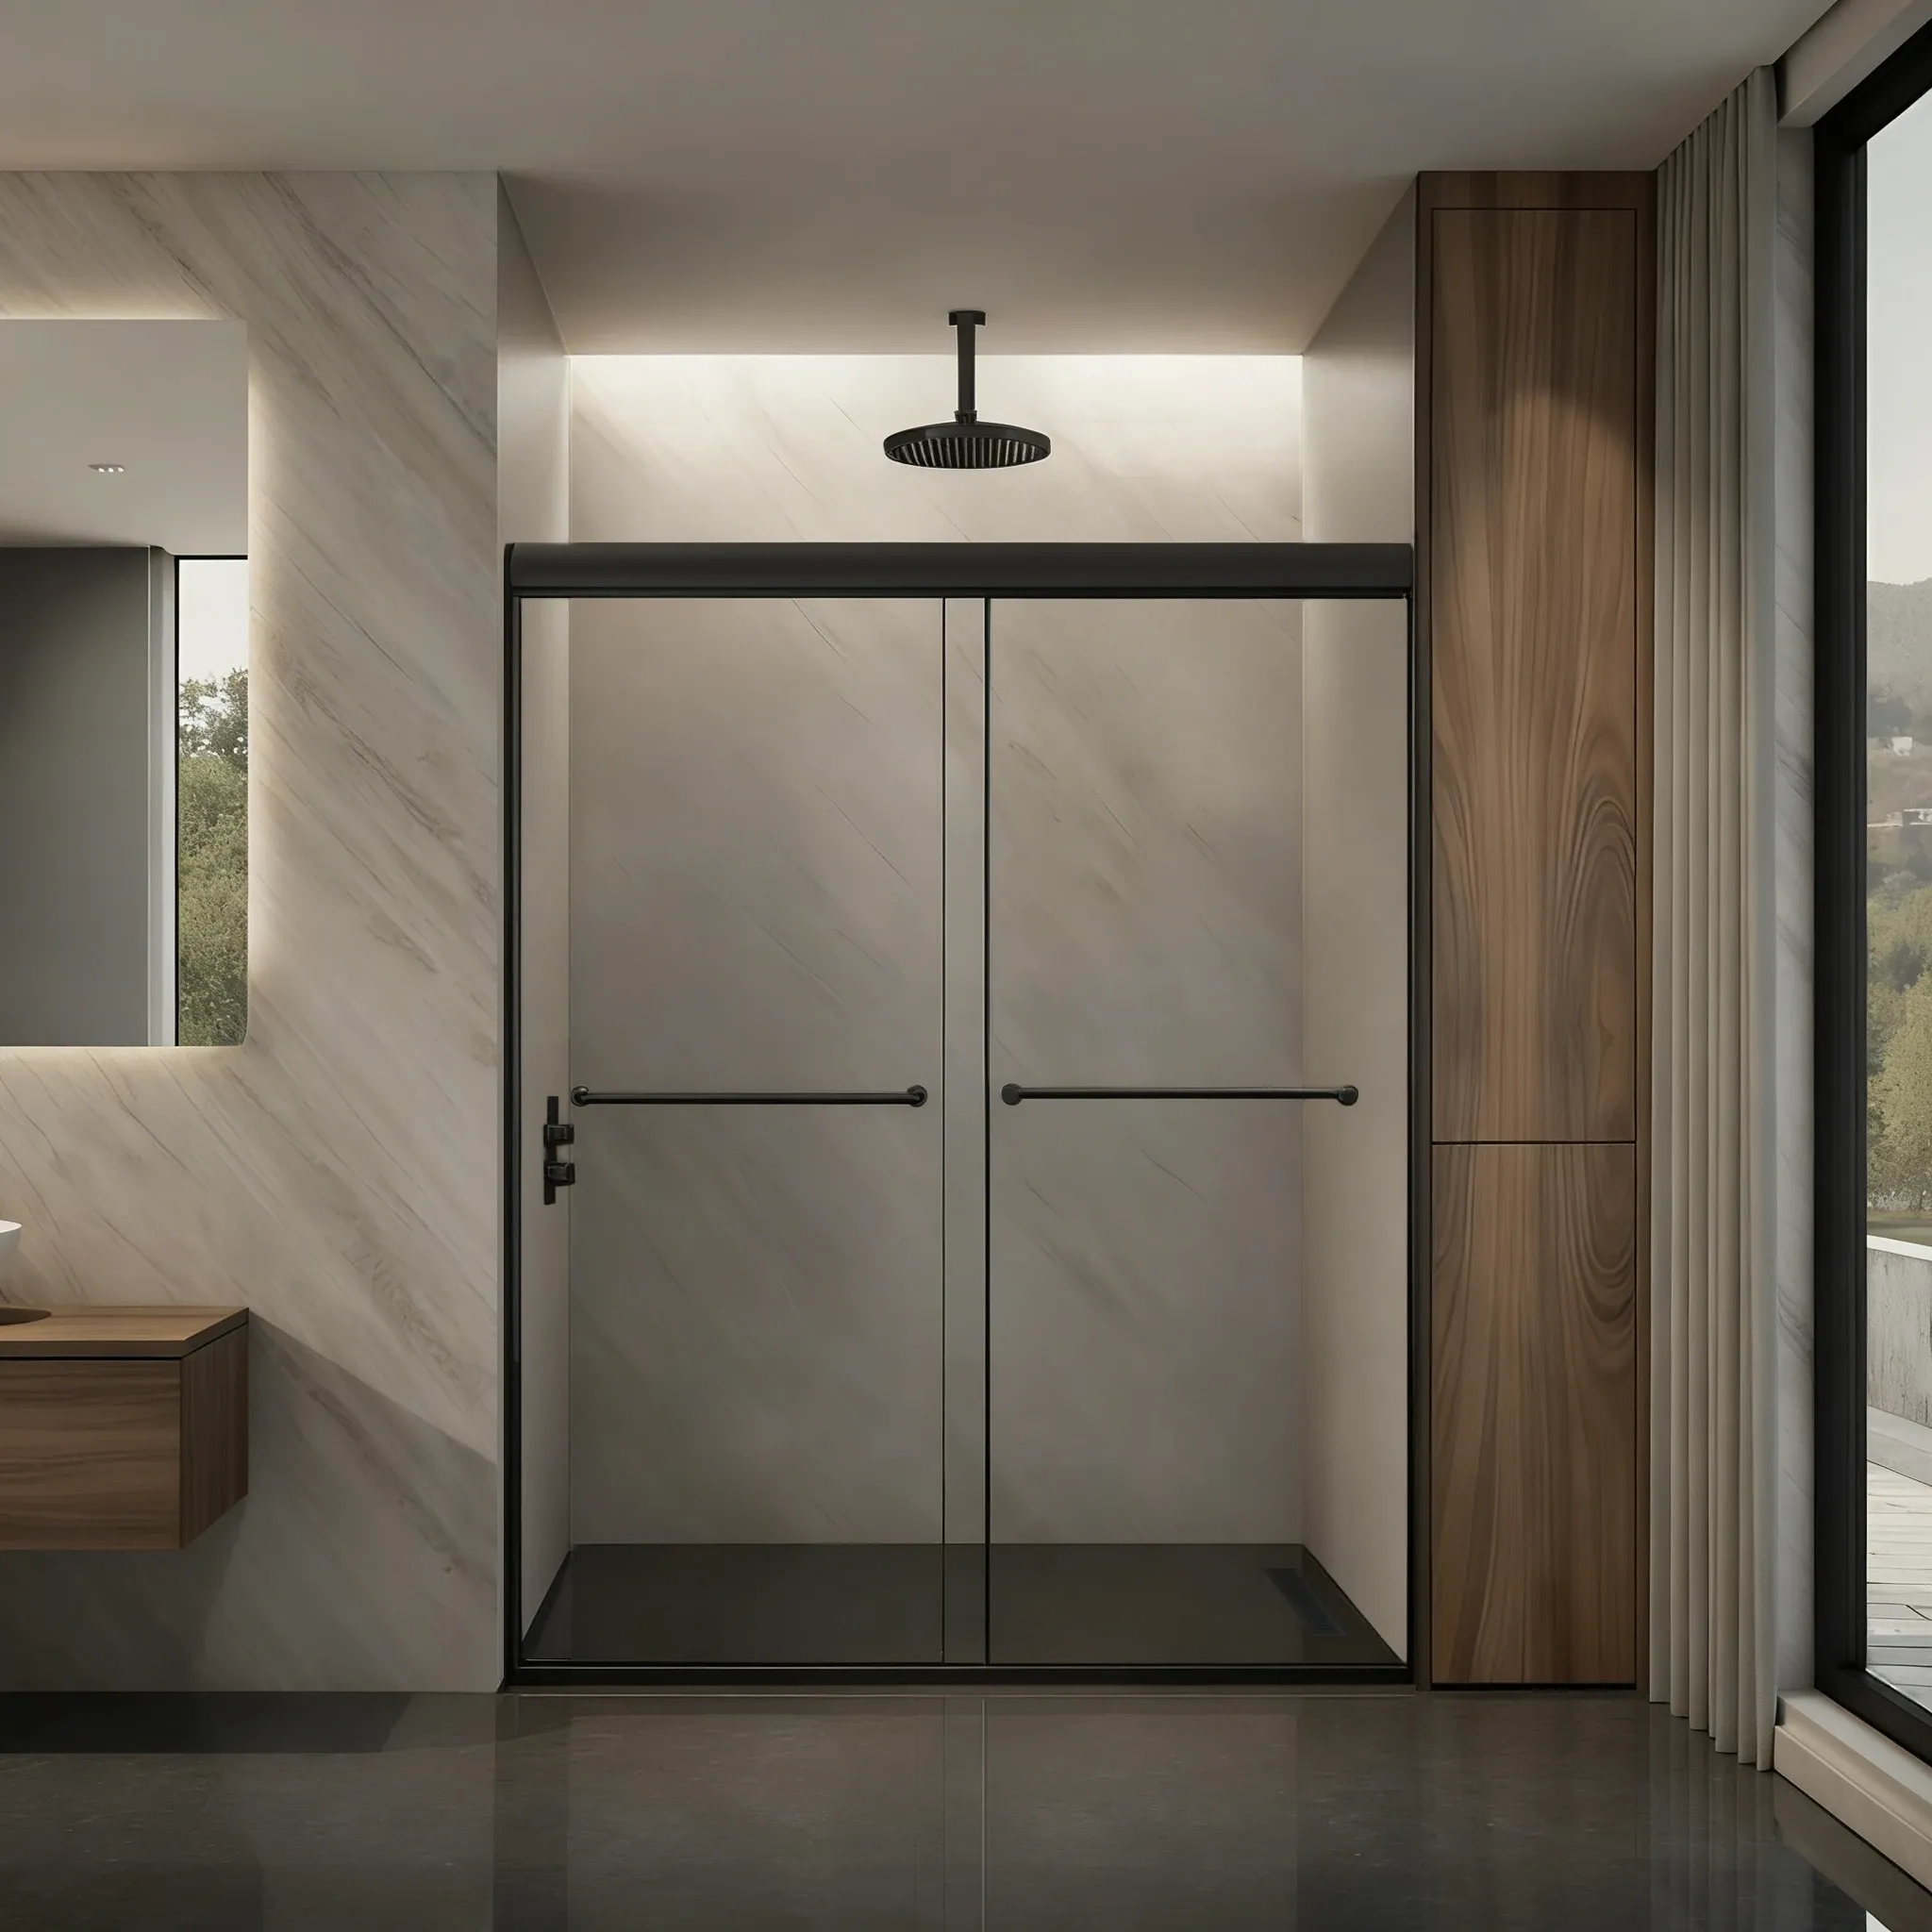
Choose Your Layout
Start with the standard fixed-screen layouts below, then open the matching Tela configuration to continue into the DIY flow.


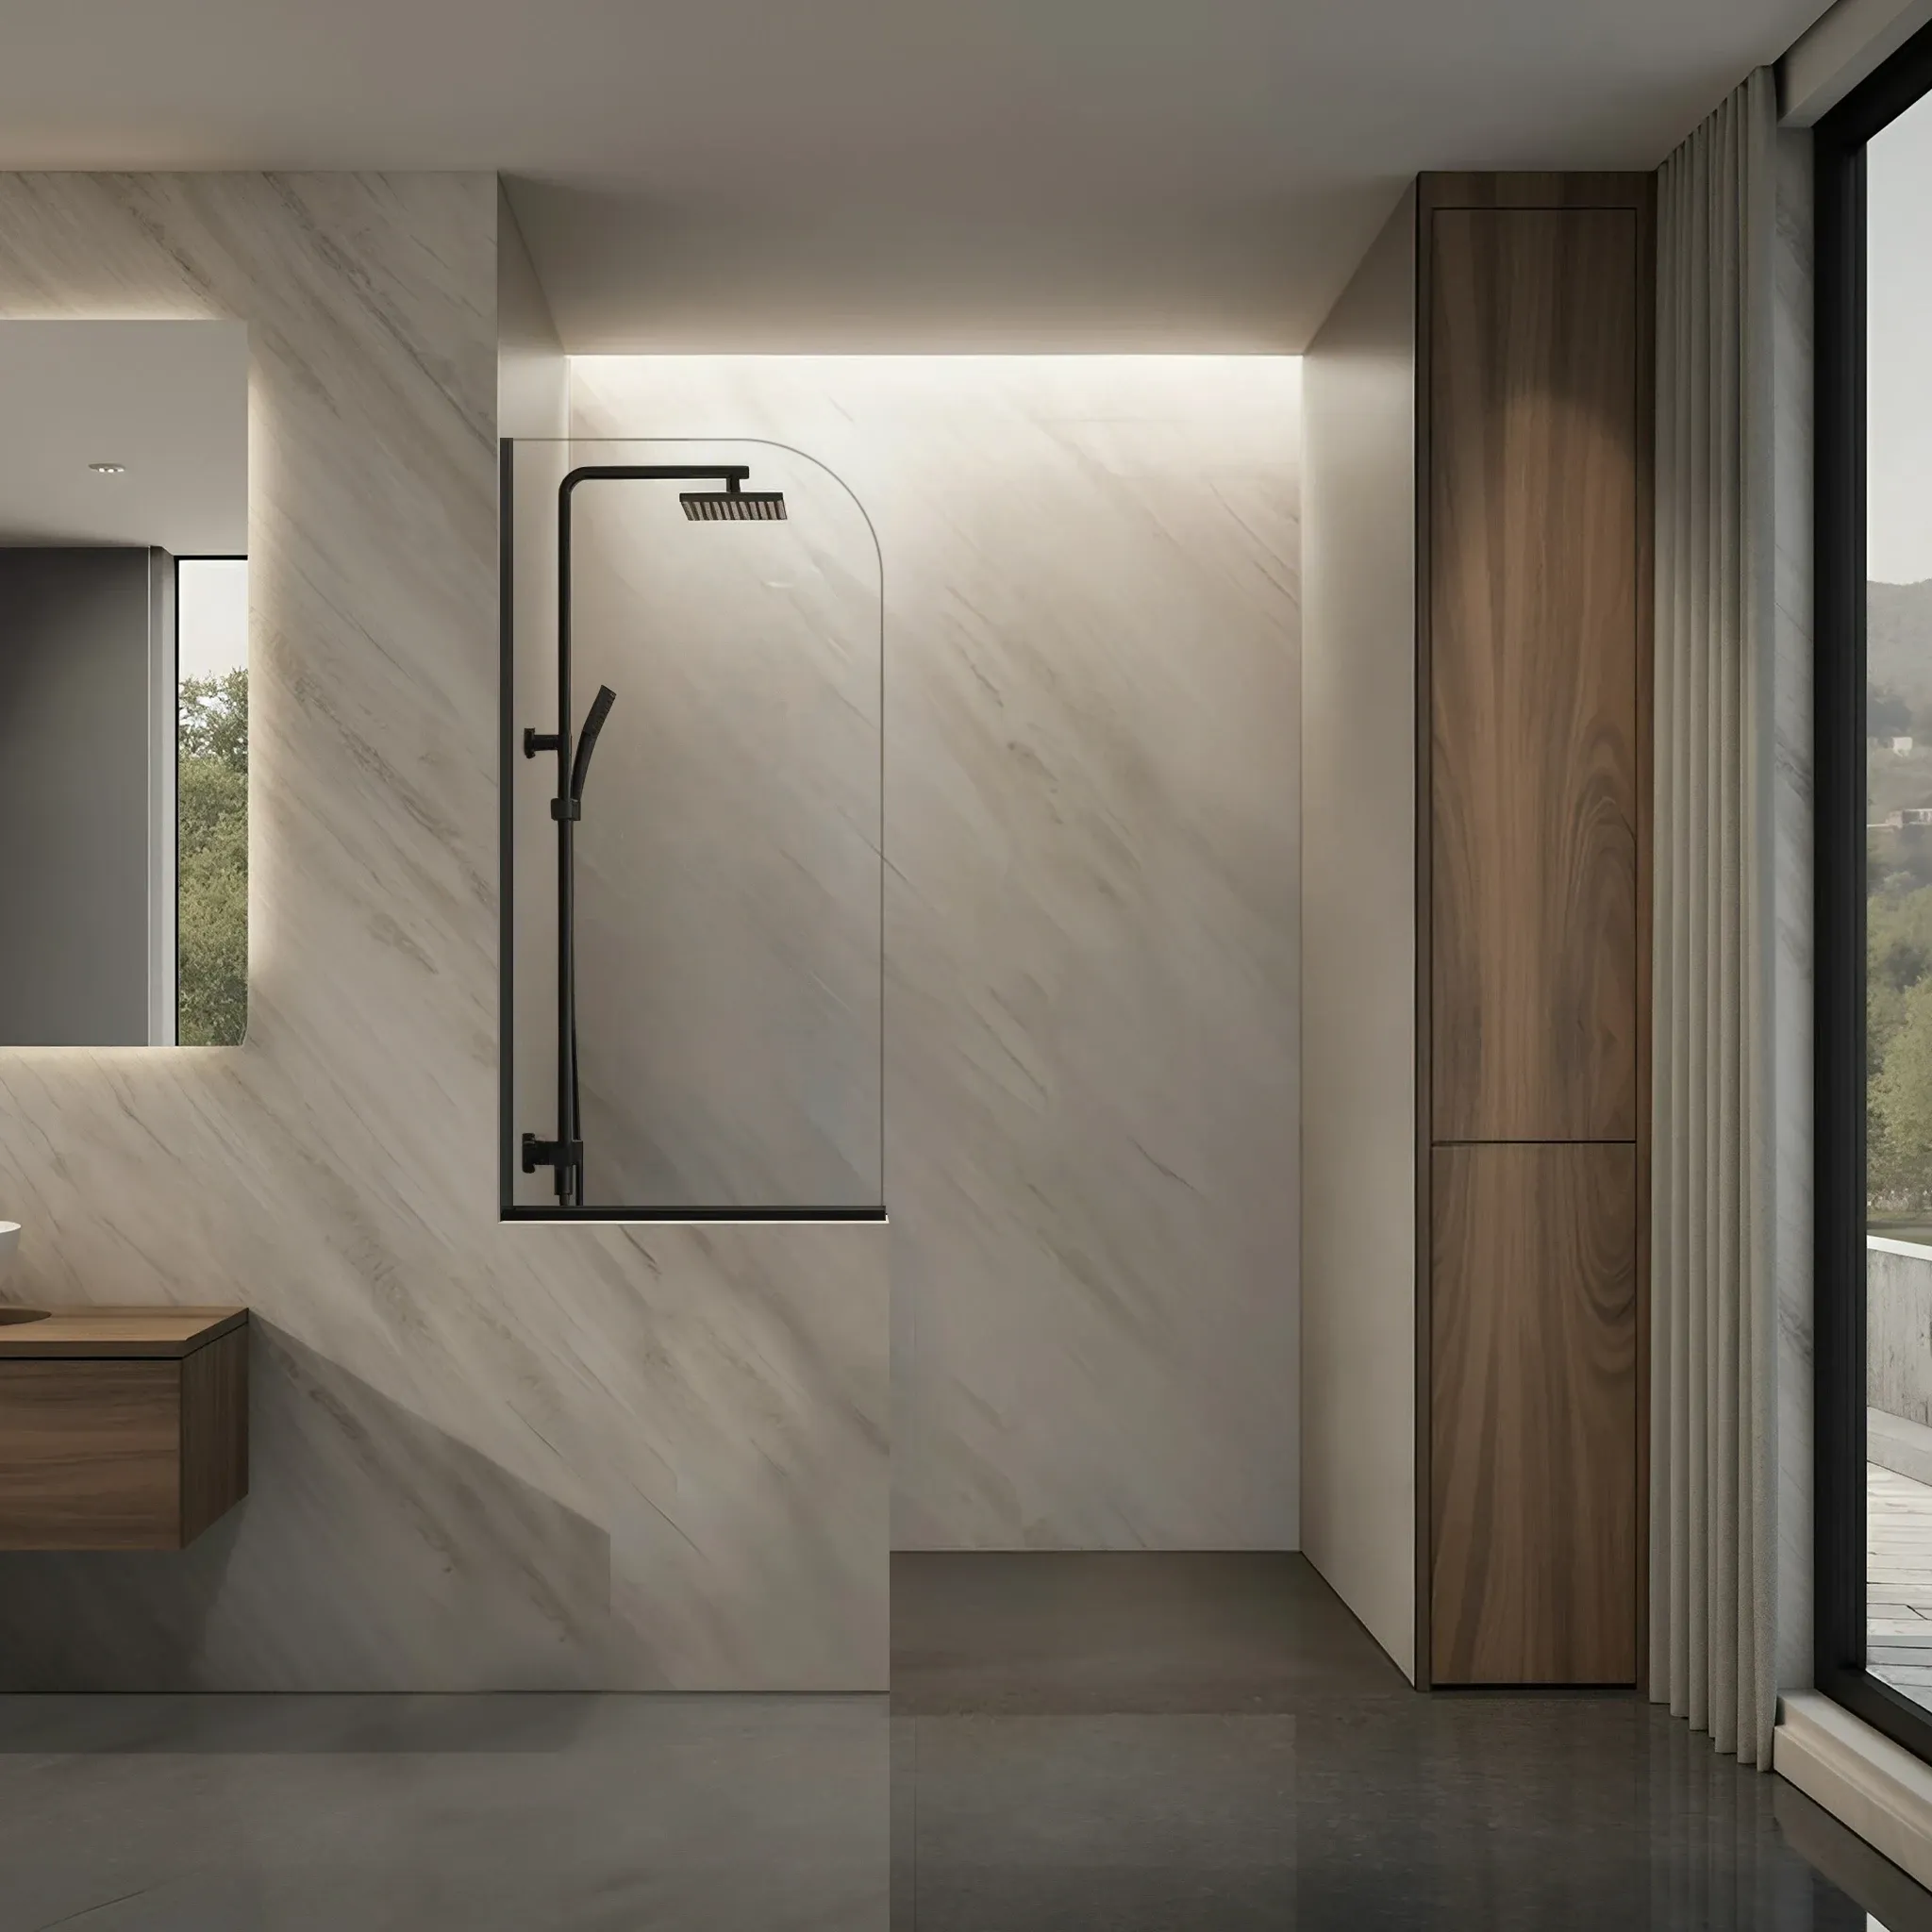
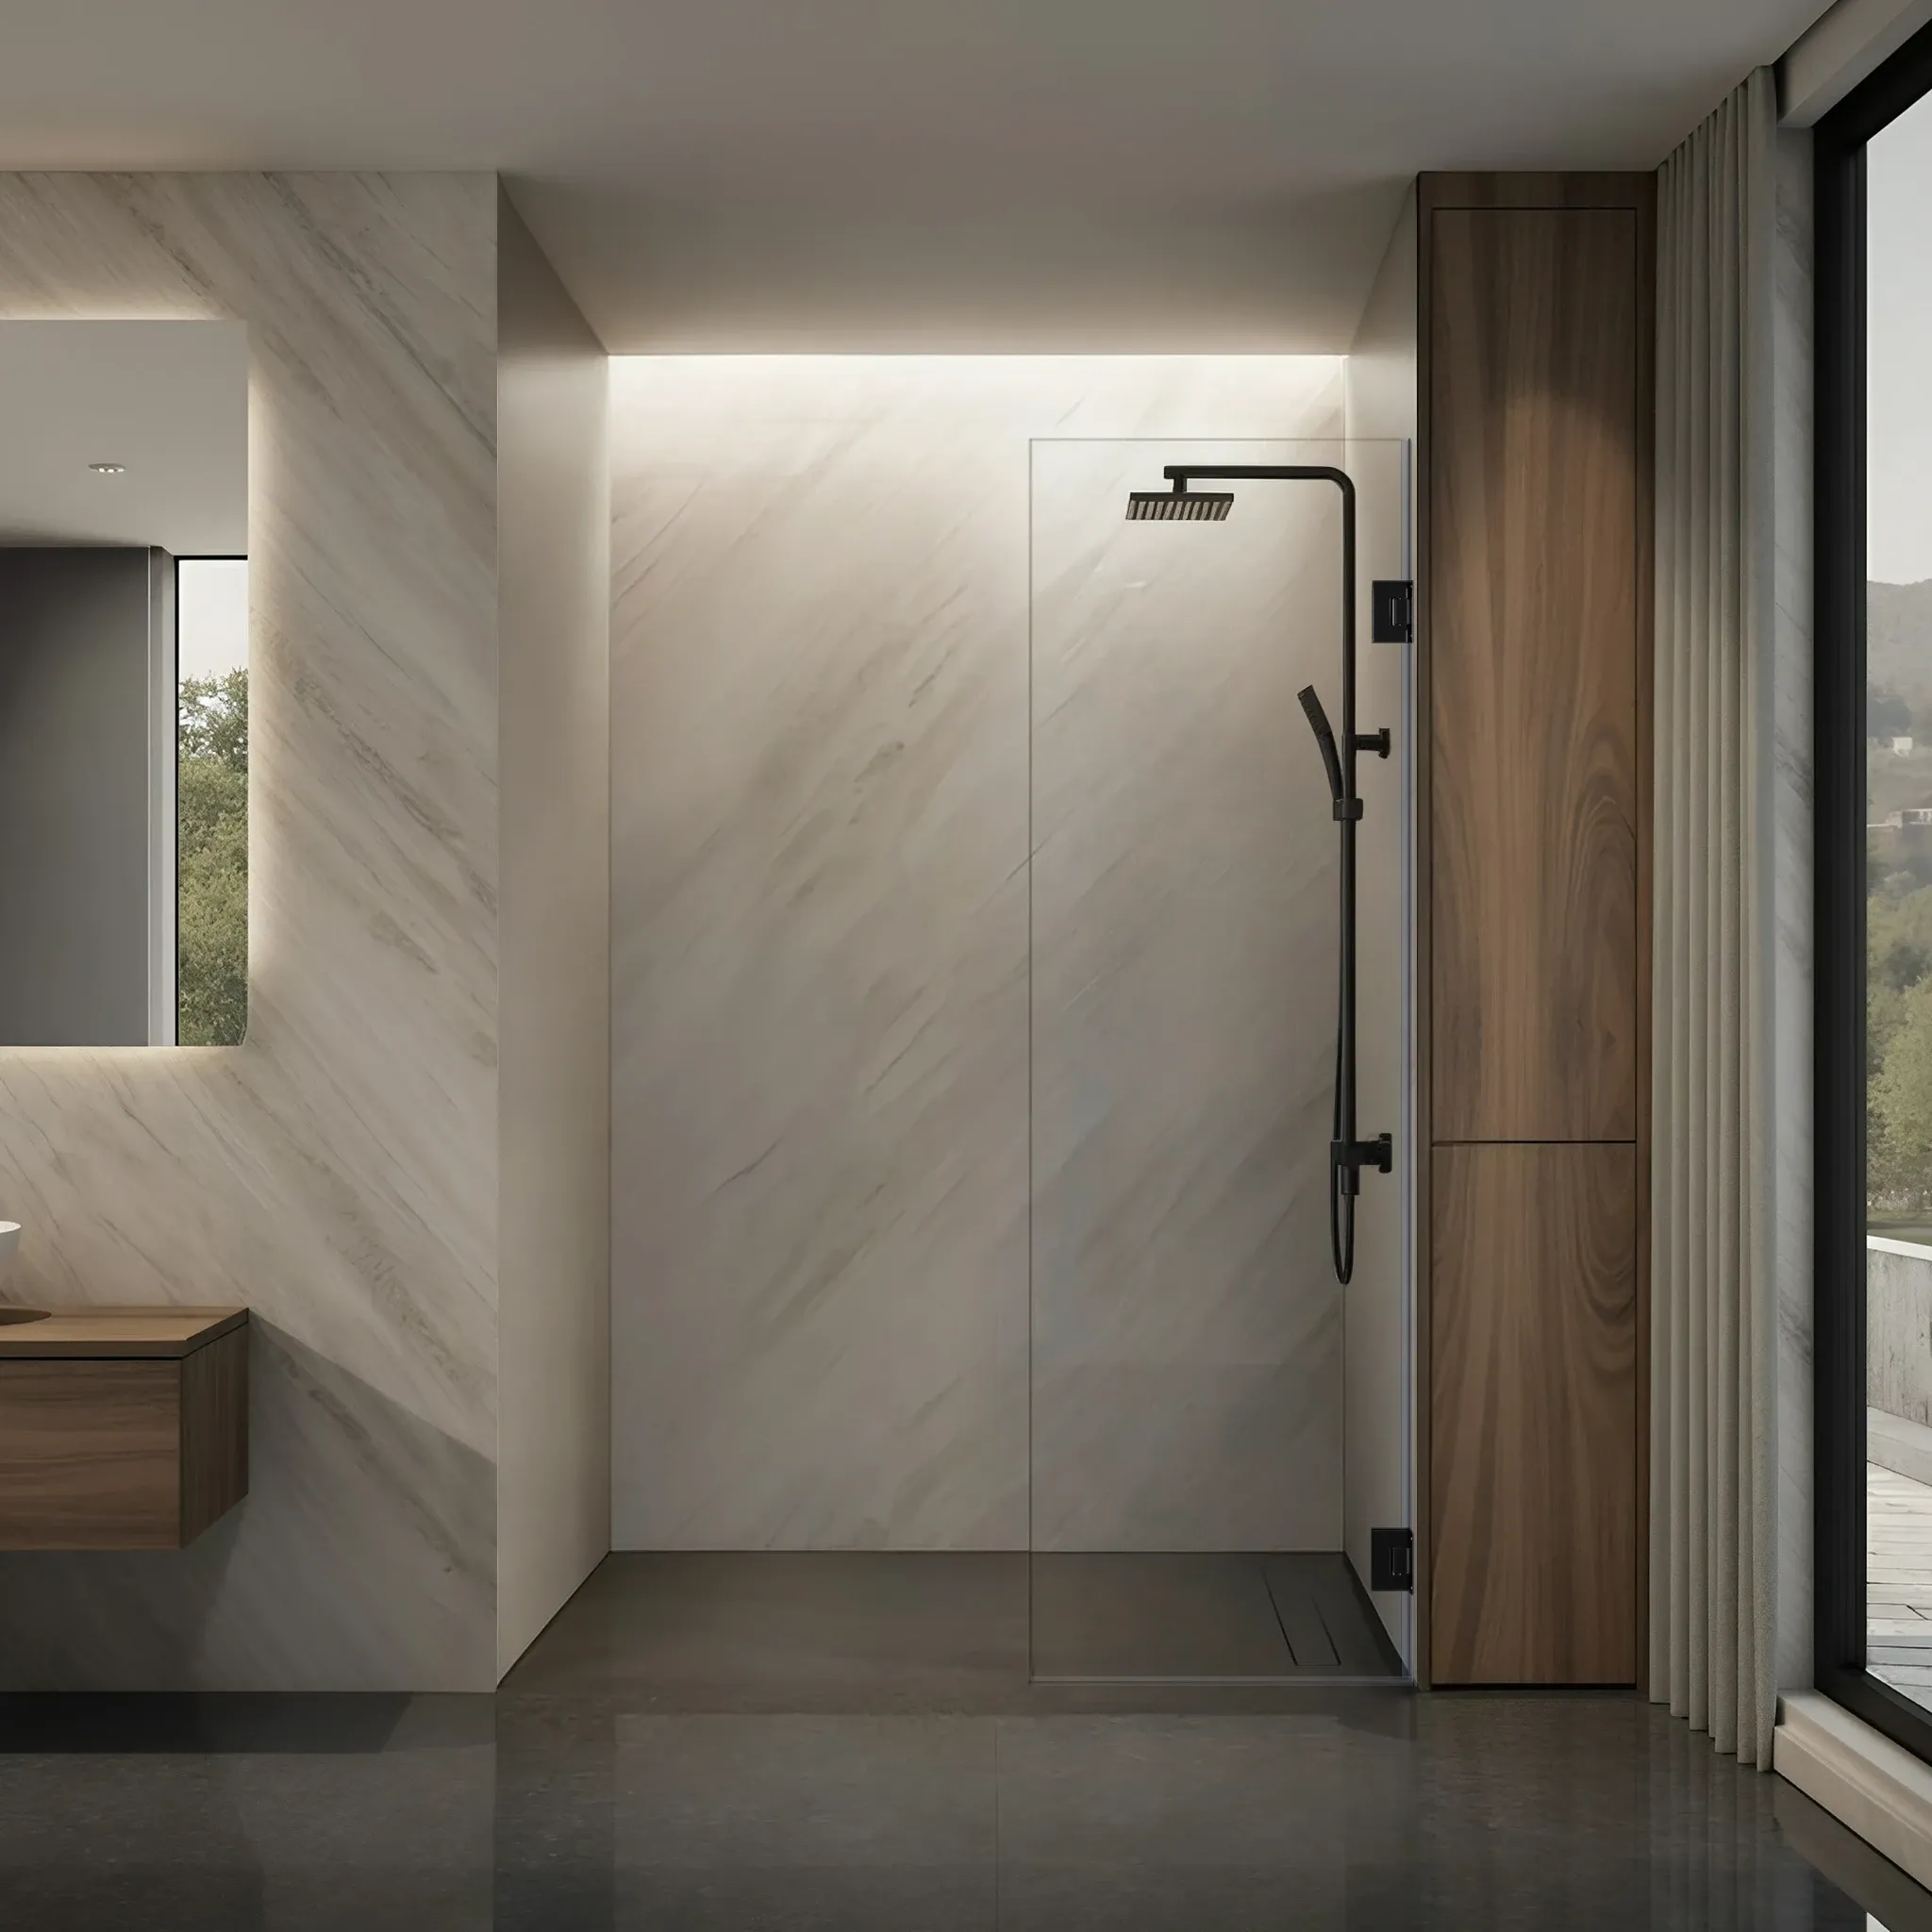


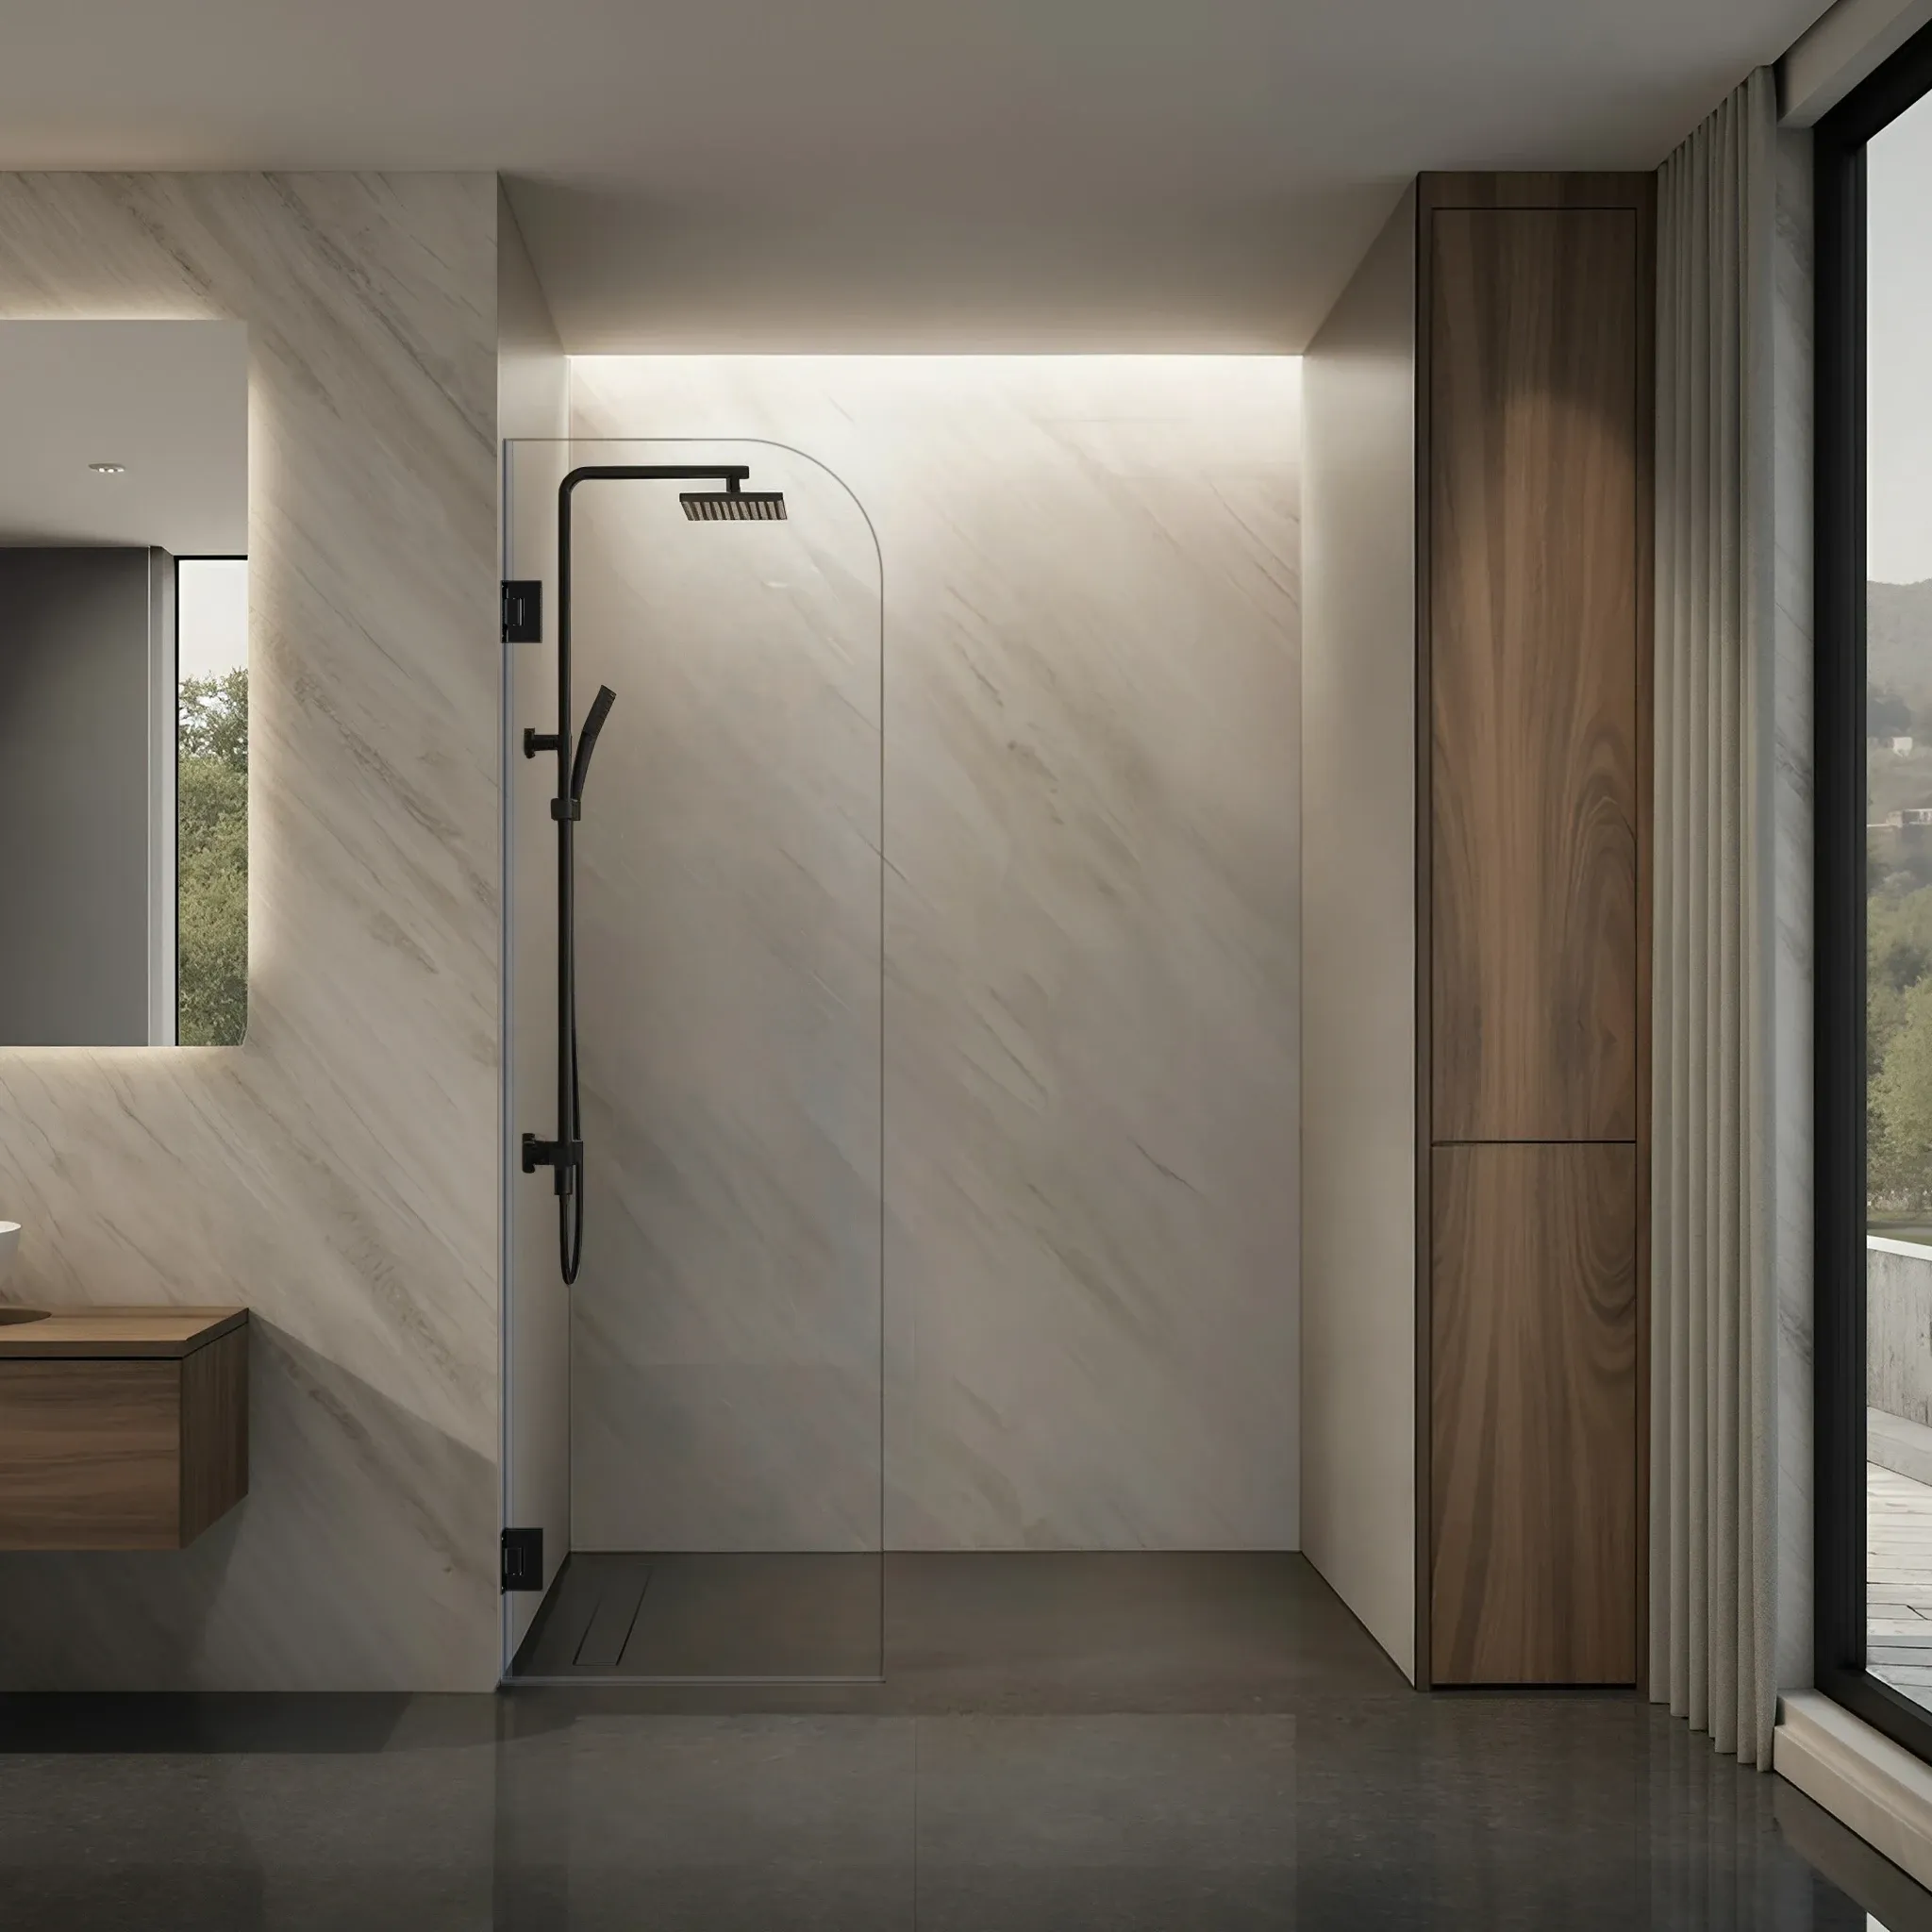
MULTI-PURPOSE TELA GLASS
Requirements

Ensure the floor slopes toward the drain-flat floors allow water to escape.

Use tile, stone, or sealed materials anywhere water may reach.

Open layouts allow steam to spread-ensure proper airflow.

Plan panel placement carefully to block direct spray and protect surrounding areas.
Support

Attaches the panel top to a wall for the most stable and straightforward setup.
Best for: Standard DIY installs with an adjacent wall

Adds vertical support from the ceiling when no wall connection is available.
Best for: Open layouts without a side wall

Links two panels together for added support.
Best for: Advanced DIY multi-panel builds
Hardware
Secure the panel directly to the wall using individual mounting points.
Important: Requires straight, plumb walls for proper fit
Best for: Advanced DIY installs

A full-length channel that supports the glass and helps compensate for uneven walls.
Best for: Beginner-friendly and more forgiving installs
Anchor the bottom of the panel directly to the curb or floor.
Important: Requires a level surface for proper alignment
Best for: Minimalist DIY layouts
Attach a small swinging panel to improve water containment.
Best for: Extending splash protection in open layouts
Complete Guide
Mounting Options: U-channel is more forgiving; clamps require straighter surfaces
Support Rules: Taller or wider panels may require stabilizer bars
Two-Person Handling: Always use two people when moving and positioning heavy glass
Wall Alignment: Most walls are not perfectly plumb
Wall Support: Anchoring must be into studs or proper backing
Placement Matters: Poor panel placement can allow water to escape the shower zone
Layout Planning
Floor Slope: Ensure water flows directly toward the drain
Curbless Risk: Flat floors will allow water to escape
Fix First: Resolve drainage issues before installing glass
Water Spread: Expect splash extending 12" to 24" beyond the panel
Protect Surfaces: Use waterproof materials in this zone
Realistic Expectation: Open layouts are not fully contained
Spray Path: Panel must block direct water from the showerhead
Typical Widths: 24" to 36" works for most layouts
Test First: Mark layout before ordering your panel
Steam Movement: Moisture spreads beyond the shower area
Airflow Needed: 50+ CFM exhaust recommended
Prevent Damage: Poor ventilation leads to mold and wear
Heat Loss: Open showers feel cooler than enclosed ones
Comfort Tradeoff: More openness = less heat retention
Plan Ahead: Consider room temperature and drafts
CUSTOMIZATION
CUSTOMIZATION
Choose the glass style that fits your bathroom’s light, privacy, and design goals.
Clear Glass
Maximum visibility for a bright, open shower look.
Low-Iron HD Glass
Ultra-clear shower glass with reduced green tint for a premium finish.
Gray Glass
Subtle tinted shower glass for added privacy and a modern look.
Bronze Glass
Warm tinted shower glass for a softer, more inviting bathroom style.
Rain Glass
Textured shower glass that adds privacy while still allowing natural light.
Frosted Glass
Soft, diffused privacy glass that obscures visibility for a more private shower.
HARDWARE FINISHES
Match your shower door hardware to your existing faucets, towel bars, vanity hardware, and overall style.

Style & Accent
Matte Black
Bold, high-contrast finish for a clean modern look.

Style & Accent
Satin Brass
Warm metallic finish for a refined, designer-inspired update.

Style & Accent
Chrome
Bright, reflective finish that pairs well with common bathroom fixtures.

Style & Accent
Brushed Nickel
Soft, versatile finish that works well with traditional and transitional hardware.
KIT FEATURES
Choose available upgrades and included hardware designed to make your kit easier to install, clean, and use every day.
Nano-Coated Glass
Upgrade to nano-coated glass to help reduce spotting, buildup, and everyday cleaning time.
Integrated Towel Bars
Choose select configurations with towel bars built into the glass for added daily convenience.
Pro-Grade Hardware
Durable rollers, hinges, clamps, and tracks support smooth operation and a secure DIY install.

Squeegee after use and wipe with mild cleaner weekly

Ensure mounts stay secure and inspect seals to maintain a watertight barrier

Nano coated shower glass comes standard on many kits, helping water bead off and reducing long-term cleaning
The Fixed Panel Advantage
Compare common shower glass options and how they affect openness, privacy, and overall look.
Understand common glass thickness choices and what they mean for feel, stability, and design.
Learn simple ways to protect shower glass and reduce buildup over time.
See the hardware used to secure fixed glass panels and how mounting choices affect the install.
Review hardware finish options so your clamps, channels, and bars match the look you want.
Installation walkthrough for a Tela fixed panel mounted with clamps.
Installation walkthrough for a Tela fixed panel mounted with U-channel hardware.
Step-by-step measurement reference for fixed and swing Tela layouts before finalizing your DIY order.
Make sure your space and setup are suited for an open shower before ordering.
Simple Layouts
Clean, minimalist designs with fewer components
Accessible Entry
Curbless or low-barrier shower setups
Proper Drainage
Shower floor actively slopes toward the drain
Drainage Isn't Correct
Flat floors will allow water to escape
You Need Full Containment
Consider a sliding or swinging door kit instead
Cold or Drafty Bathrooms
Open layouts retain less heat during use
Accessibility
Benefit: Easier step-in access
Works best with curbless or low-threshold shower designs
Benefit: More comfortable entry space
Plan your layout to maintain a clear, usable opening
Benefit: Ensures safe, secure support
Important: Tempered glass cannot be drilled after manufacturing - anchor grab bars into wall studs, not glass
Benefit: Improved awareness of the space
Open designs reduce visual barriers compared to enclosed showers
Resources
Helpful articles and guides from our experts.
Measurement sheet and DIY planning resources for Tela fixed panel kits.
Guide
Article
Compare custom-cut shower glass and prefab panels on fit, options, and overall value.
Guide
Article
How to size a fixed shower screen, including width, height, glass thickness, and anchor placement.
Guide
Article
Compare fixed glass panels and hinged doors to choose the right access style for your bathroom.
Guide
Article
How to choose the right glass thickness for a fixed shower panel to balance stability and cost.
Browse More Options
Space-saving single-slider and bypass glass doors for walk-in showers and alcove layouts.
Pivot and hinged glass doors for a more open-feel shower entry and premium enclosed layouts.
Single-slider and bypass glass doors built for tub surrounds, alcoves, and bath upgrades.
FAQ
You'll need three measurements: panel width, panel height, and wall plumb (vertical level) at the mounting point. Our online configurator walks you through it with diagrams. Measure twice - tempered glass cannot be cut, drilled, or modified after it ships.
Use the U-channel mounting option instead of wall clamps. The continuous channel hides up to 1/4" of wall variation and is far more forgiving for typical residential framing. Wall clamps require near-perfect plumb walls.
U-channel is a continuous slim channel that holds the full edge of the glass - easier for beginners and forgiving on uneven walls. Wall clamps grip the panel at fixed mounting points for a more minimal look but require straight, plumb walls and precise drilling. Both come standard in our kits; you choose based on your wall conditions.
Standard kit installs need a level, a drill with masonry bit, stud finder, silicone caulk gun, painter's tape, and a partner to hold the glass. Wall-clamp configurations also need a tile-rated drill bit. Floor-clamp configurations need a torpedo level for the curb.
Pre-cut tempered glass panel, mounting hardware in your chosen finish (clamps or U-channel), stabilizer bar if your panel exceeds 30" wide or 80" tall, anchor screws, and step-by-step printed instructions. Silicone sealant is sold separately.
Plan on two people. A 36" x 76" panel of 3/8" tempered glass weighs around 60 lbs and is awkward to position alone. One person holds and aligns while the other drills, shims, and tightens hardware.
Standard panel sizes ship in 5-7 business days. Custom-cut panels take 2-3 weeks because each panel is fabricated and tempered to your dimensions before shipping.
Yes - every panel is fabricated to your exact width and height before tempering, then shipped ready to install. Tempered glass cannot be cut, drilled, or modified after manufacturing, so the dimensions you submit are final.
Once tempered glass leaves our facility, it is a custom product and not returnable. If hardware is damaged or missing, we replace it for free. If the glass is damaged in transit, file a claim within 48 hours of delivery and we will ship a replacement.
1-year limited warranty on glass and hardware against manufacturing defects. The warranty does not cover installation errors, dropped glass, or damage from tools. Nano-coating, when included, carries a separate 5-year performance warranty.
For a like-for-like replacement (swapping a framed door for a fixed panel without moving plumbing or drains), most jurisdictions don't require a permit. Check with your local building department if you're modifying drainage, removing a curb, or adding new wall framing.
Yes - call our DIY support line and we'll walk you through it. We also have installation videos and configurator-specific PDF guides for every kit we ship.
Still have questions?
Contact UsWHY DULLES GLASS
Get pro-grade fixed glass panels with the sizing, layout, and hardware support you need before you order.
0+ Years
Glass expertise
0+
Made for real bathrooms
Pro-Grade
Clamps, channels, and stabilizers
Expert
Sizing, layout, and out-of-plumb help
Professional Installation
Project Support
From measuring your shower opening to selecting tempered glass and installation hardware, our DIY support team helps guide you through every stage of your fixed shower panel project.
Shop fixed glass panels designed for clean, open layouts. Need help checking your size, floor slope, or mounting option? Our team can help.
Want the pros to handle it? Check Installation AvailabilityBased on 4,117 customer reviews
Emma D.
Our new glass shower is gorgeous
Angela Cooper
Thank you Dulles Glass, Manassas, for a beautiful experience picking...
Marc Dyer
We're really pleased with Dulles Glass and the way they finished off...
Finish your project with hardware, mirrors, and accessories that pair with your new shower glass.
Our customers say
Excellent
4.9 out of 5 stars
United States © 2026 Dulles Glass. All Rights Reserved.