Victoria Anders
Google
Excellent customer service, product, and installation of a sliding gl...
6 days ago
SHOP DIY SLIDING DOORS
Save space with single-slider and bypass glass doors built for confident DIY setup. Choose a standard size when possible, or customize your dimensions when needed.
4.9/5 customer rating
 IN STOCK
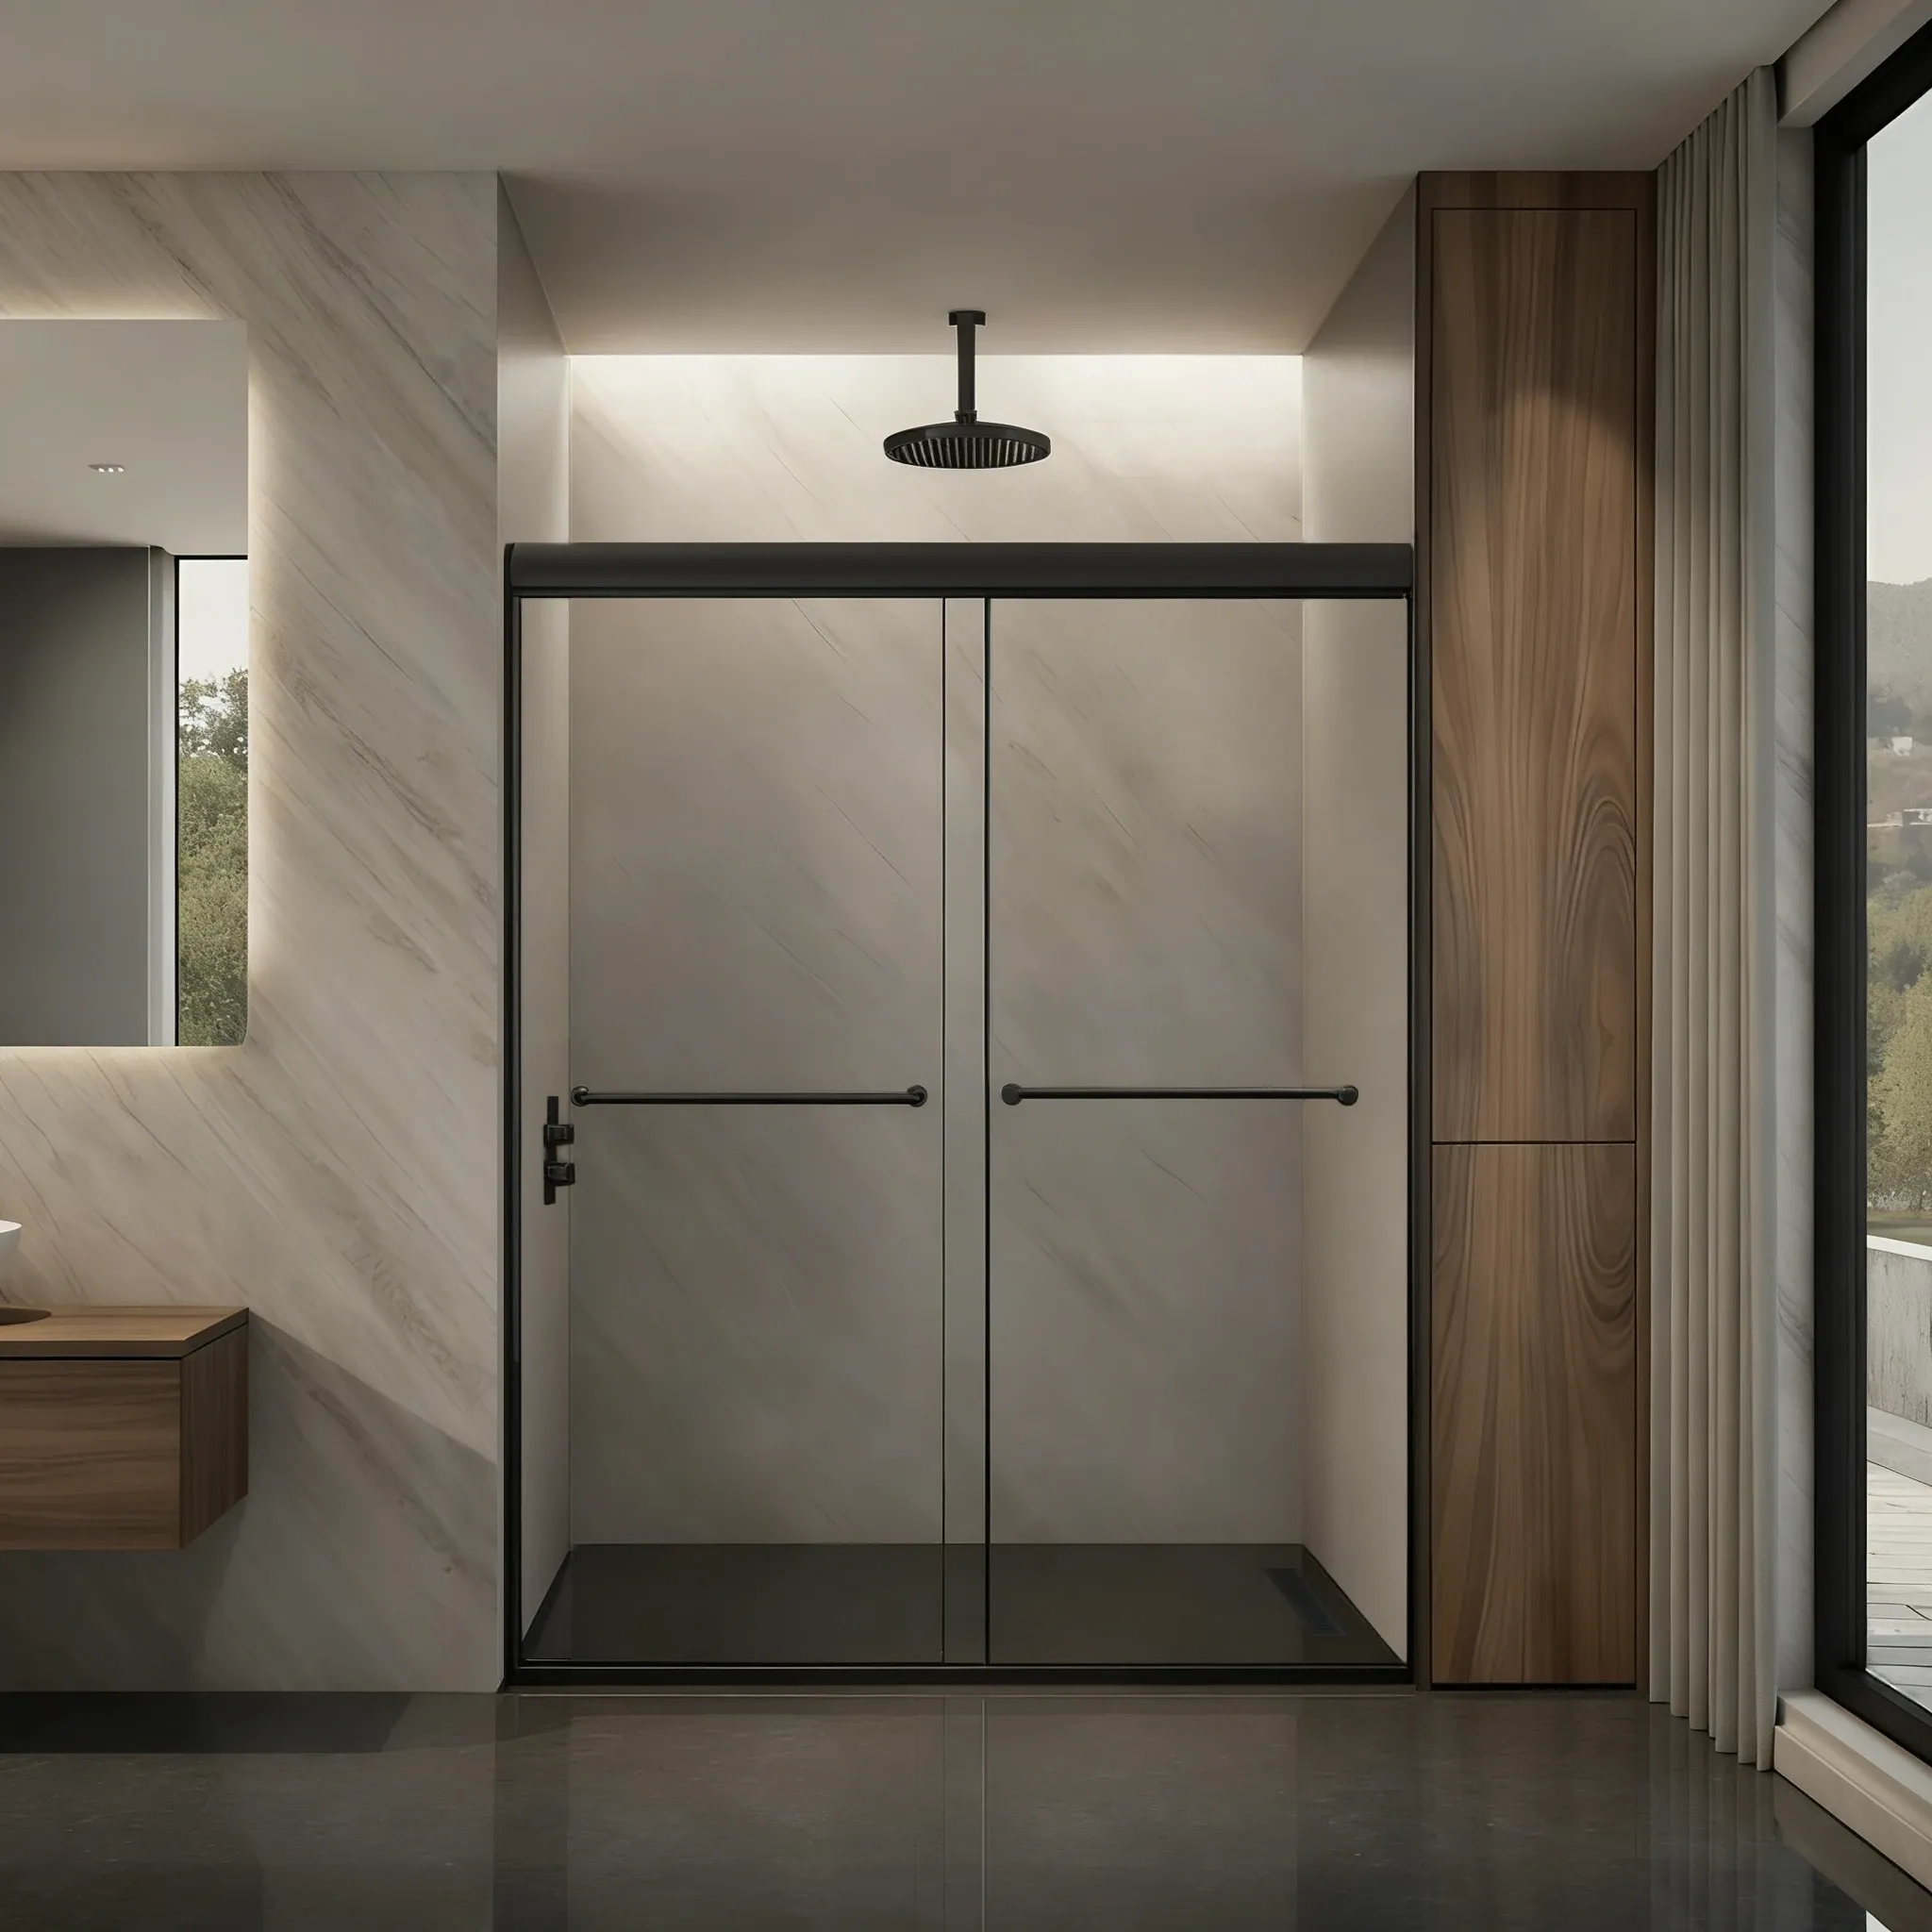
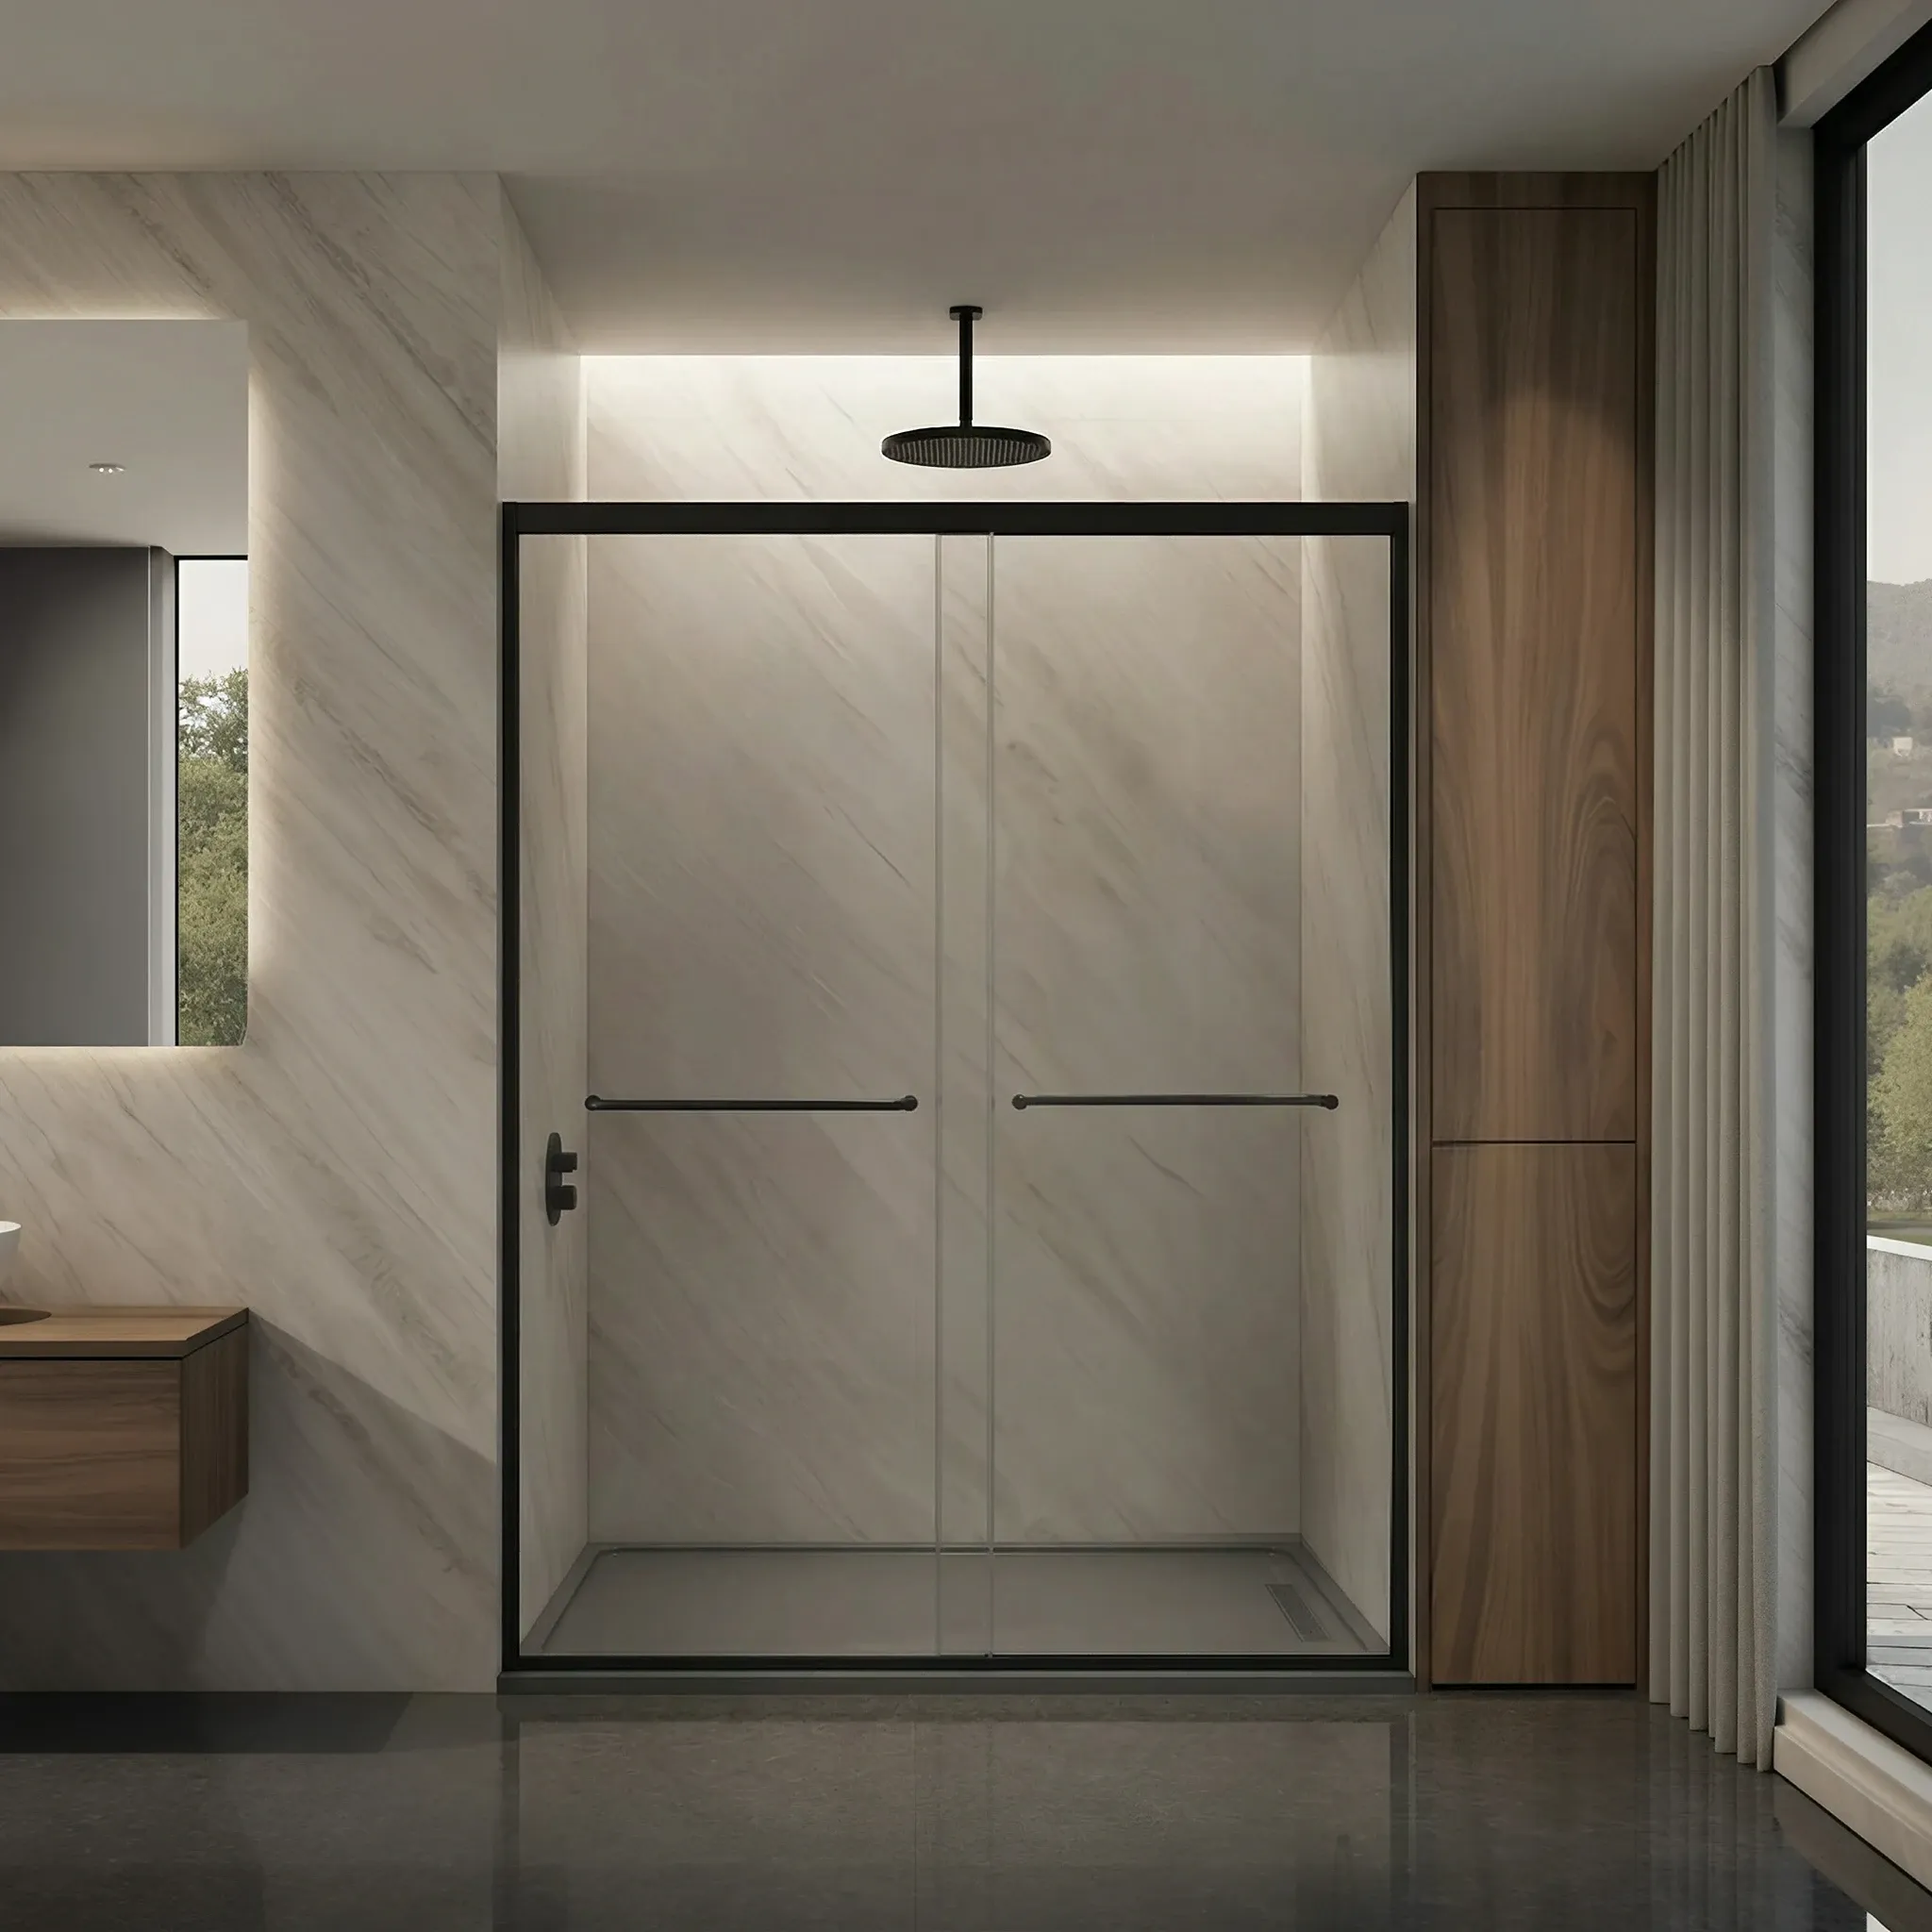
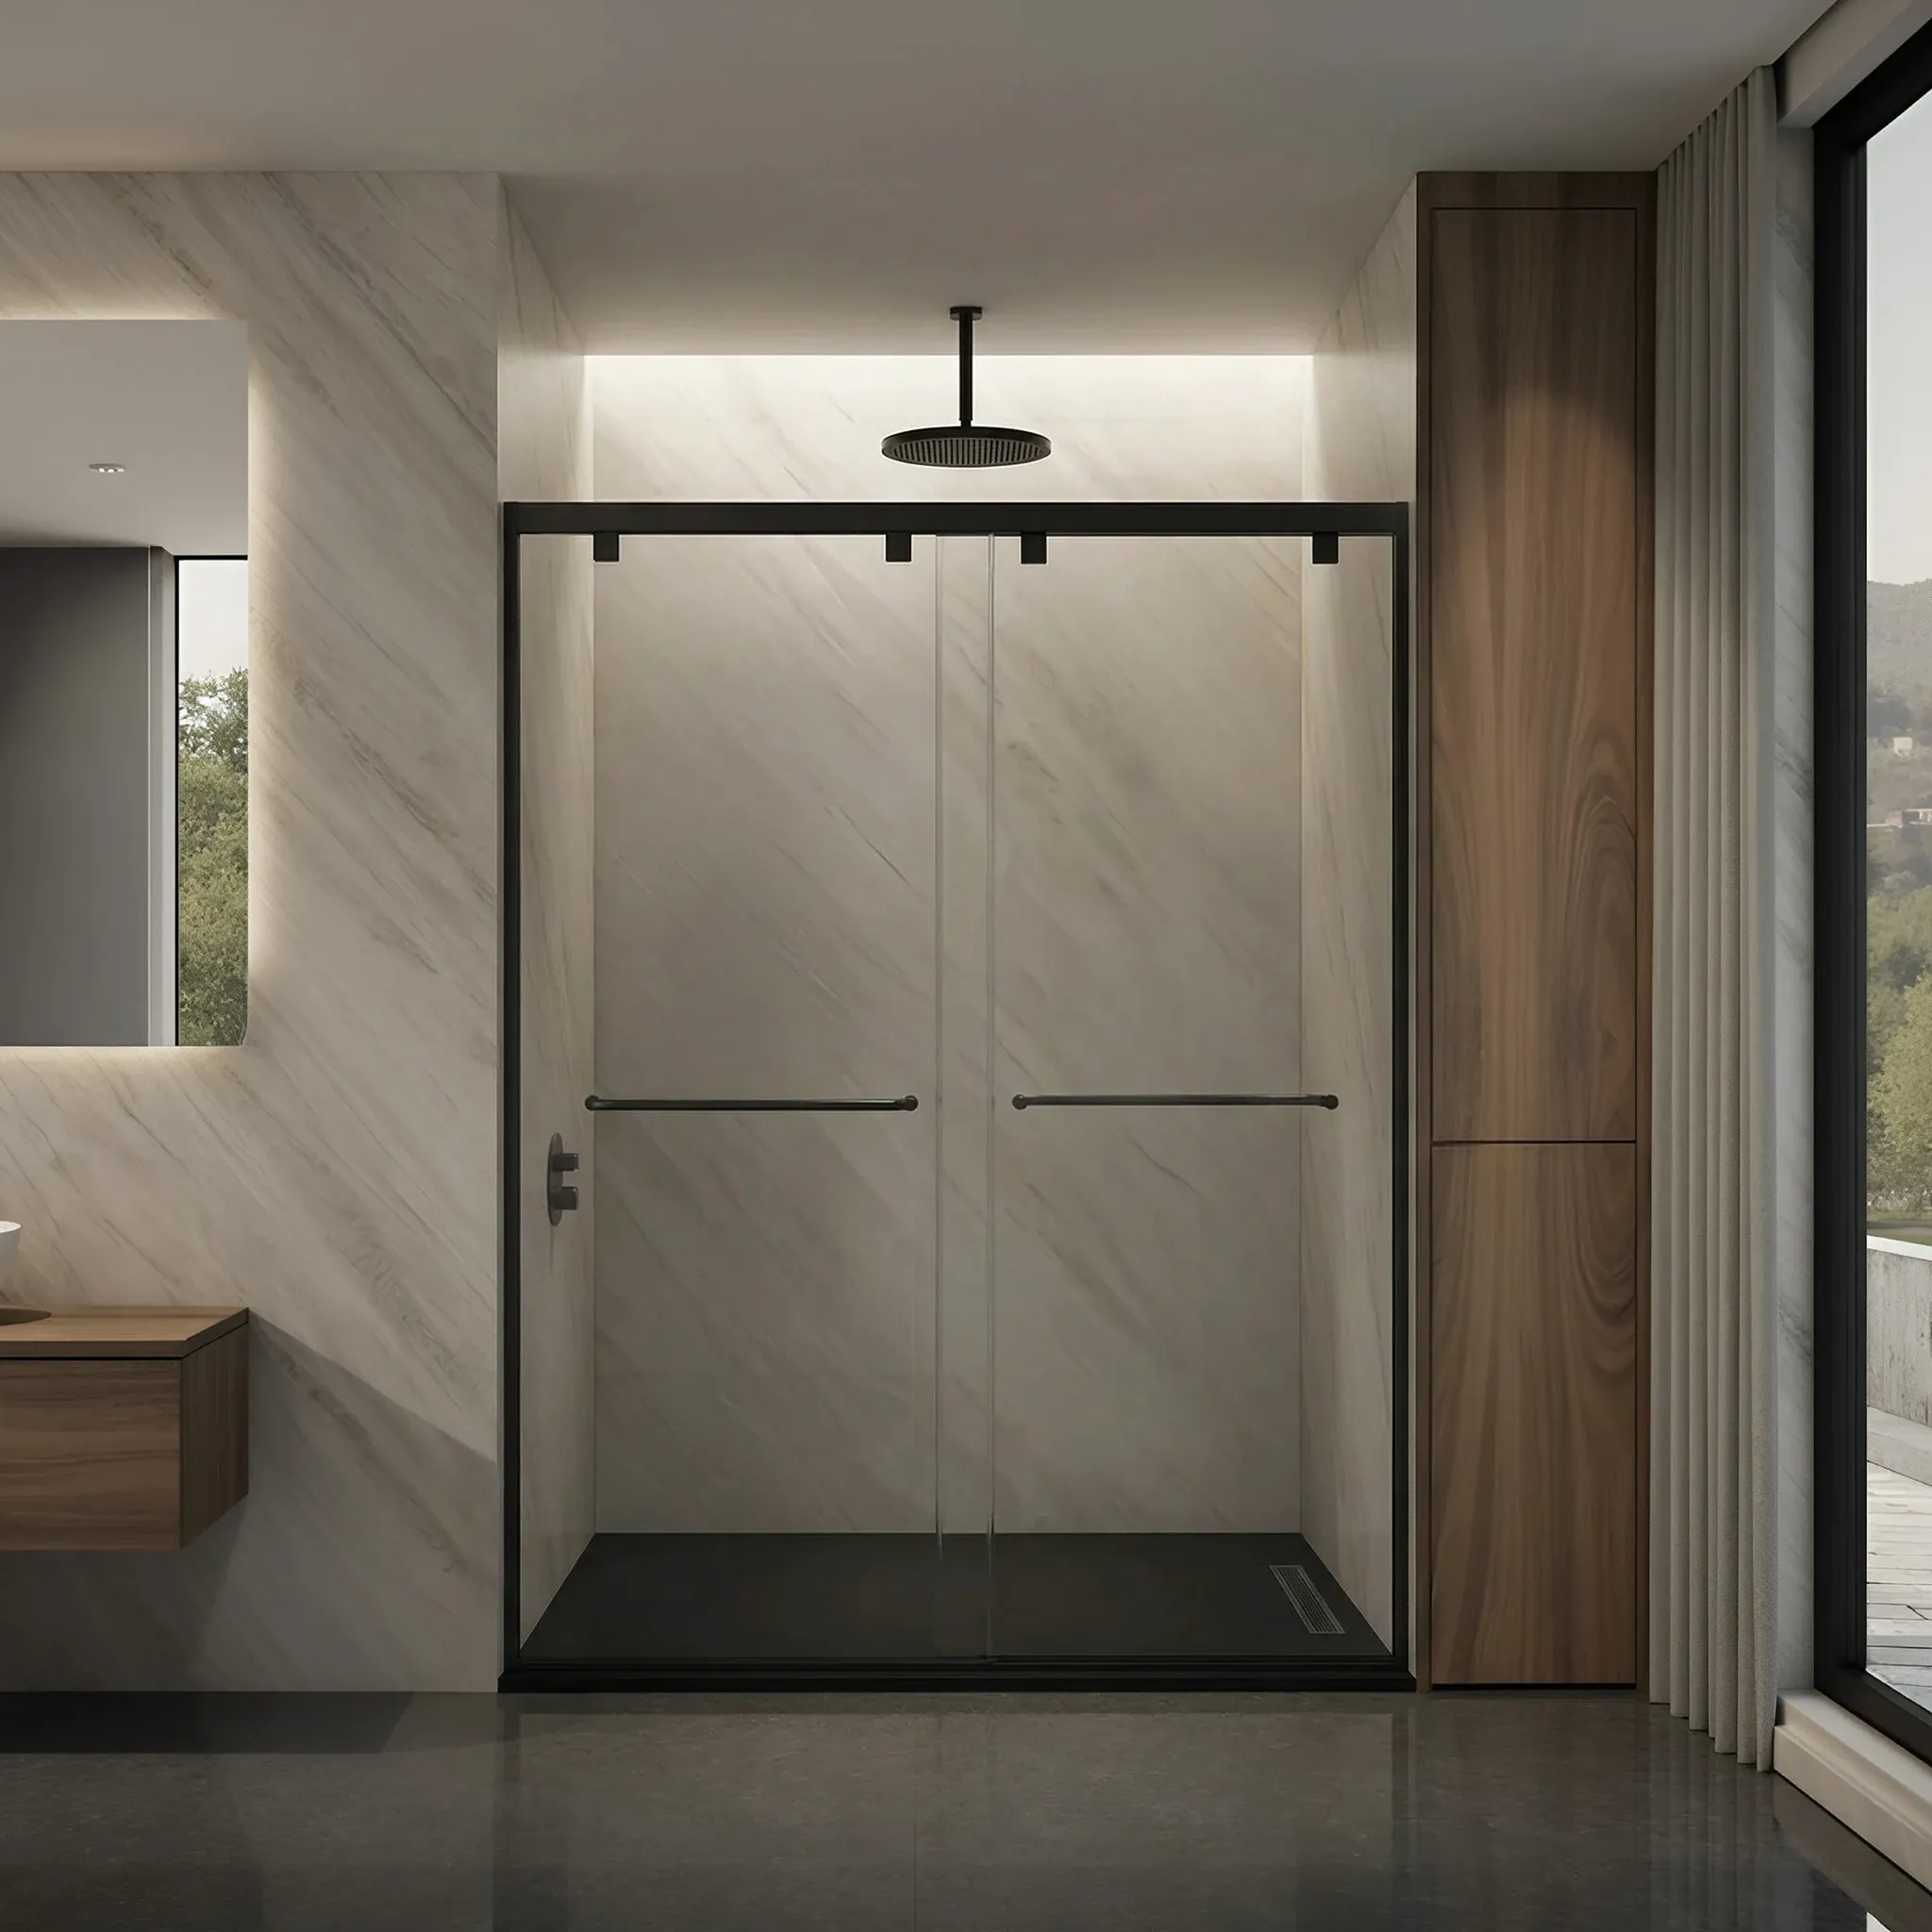
Balanced double sliding bypass styling built for modern everyday bathroom upgrades.
DIY sliding options in stock now
Smooth-glide bypass design keeps installation approachable while offering flexible access.
 IN STOCKFrom $999
Smooth, space-saving design for modern bathrooms.
12+ DIY-ready configurations
Adjustable rollers help align panels smoothly during installation.
 IN STOCKFrom $1199
Dual sliding system for larger shower spaces.
8+ DIY-ready configurations
Balanced panels help ensure stable, even installation.
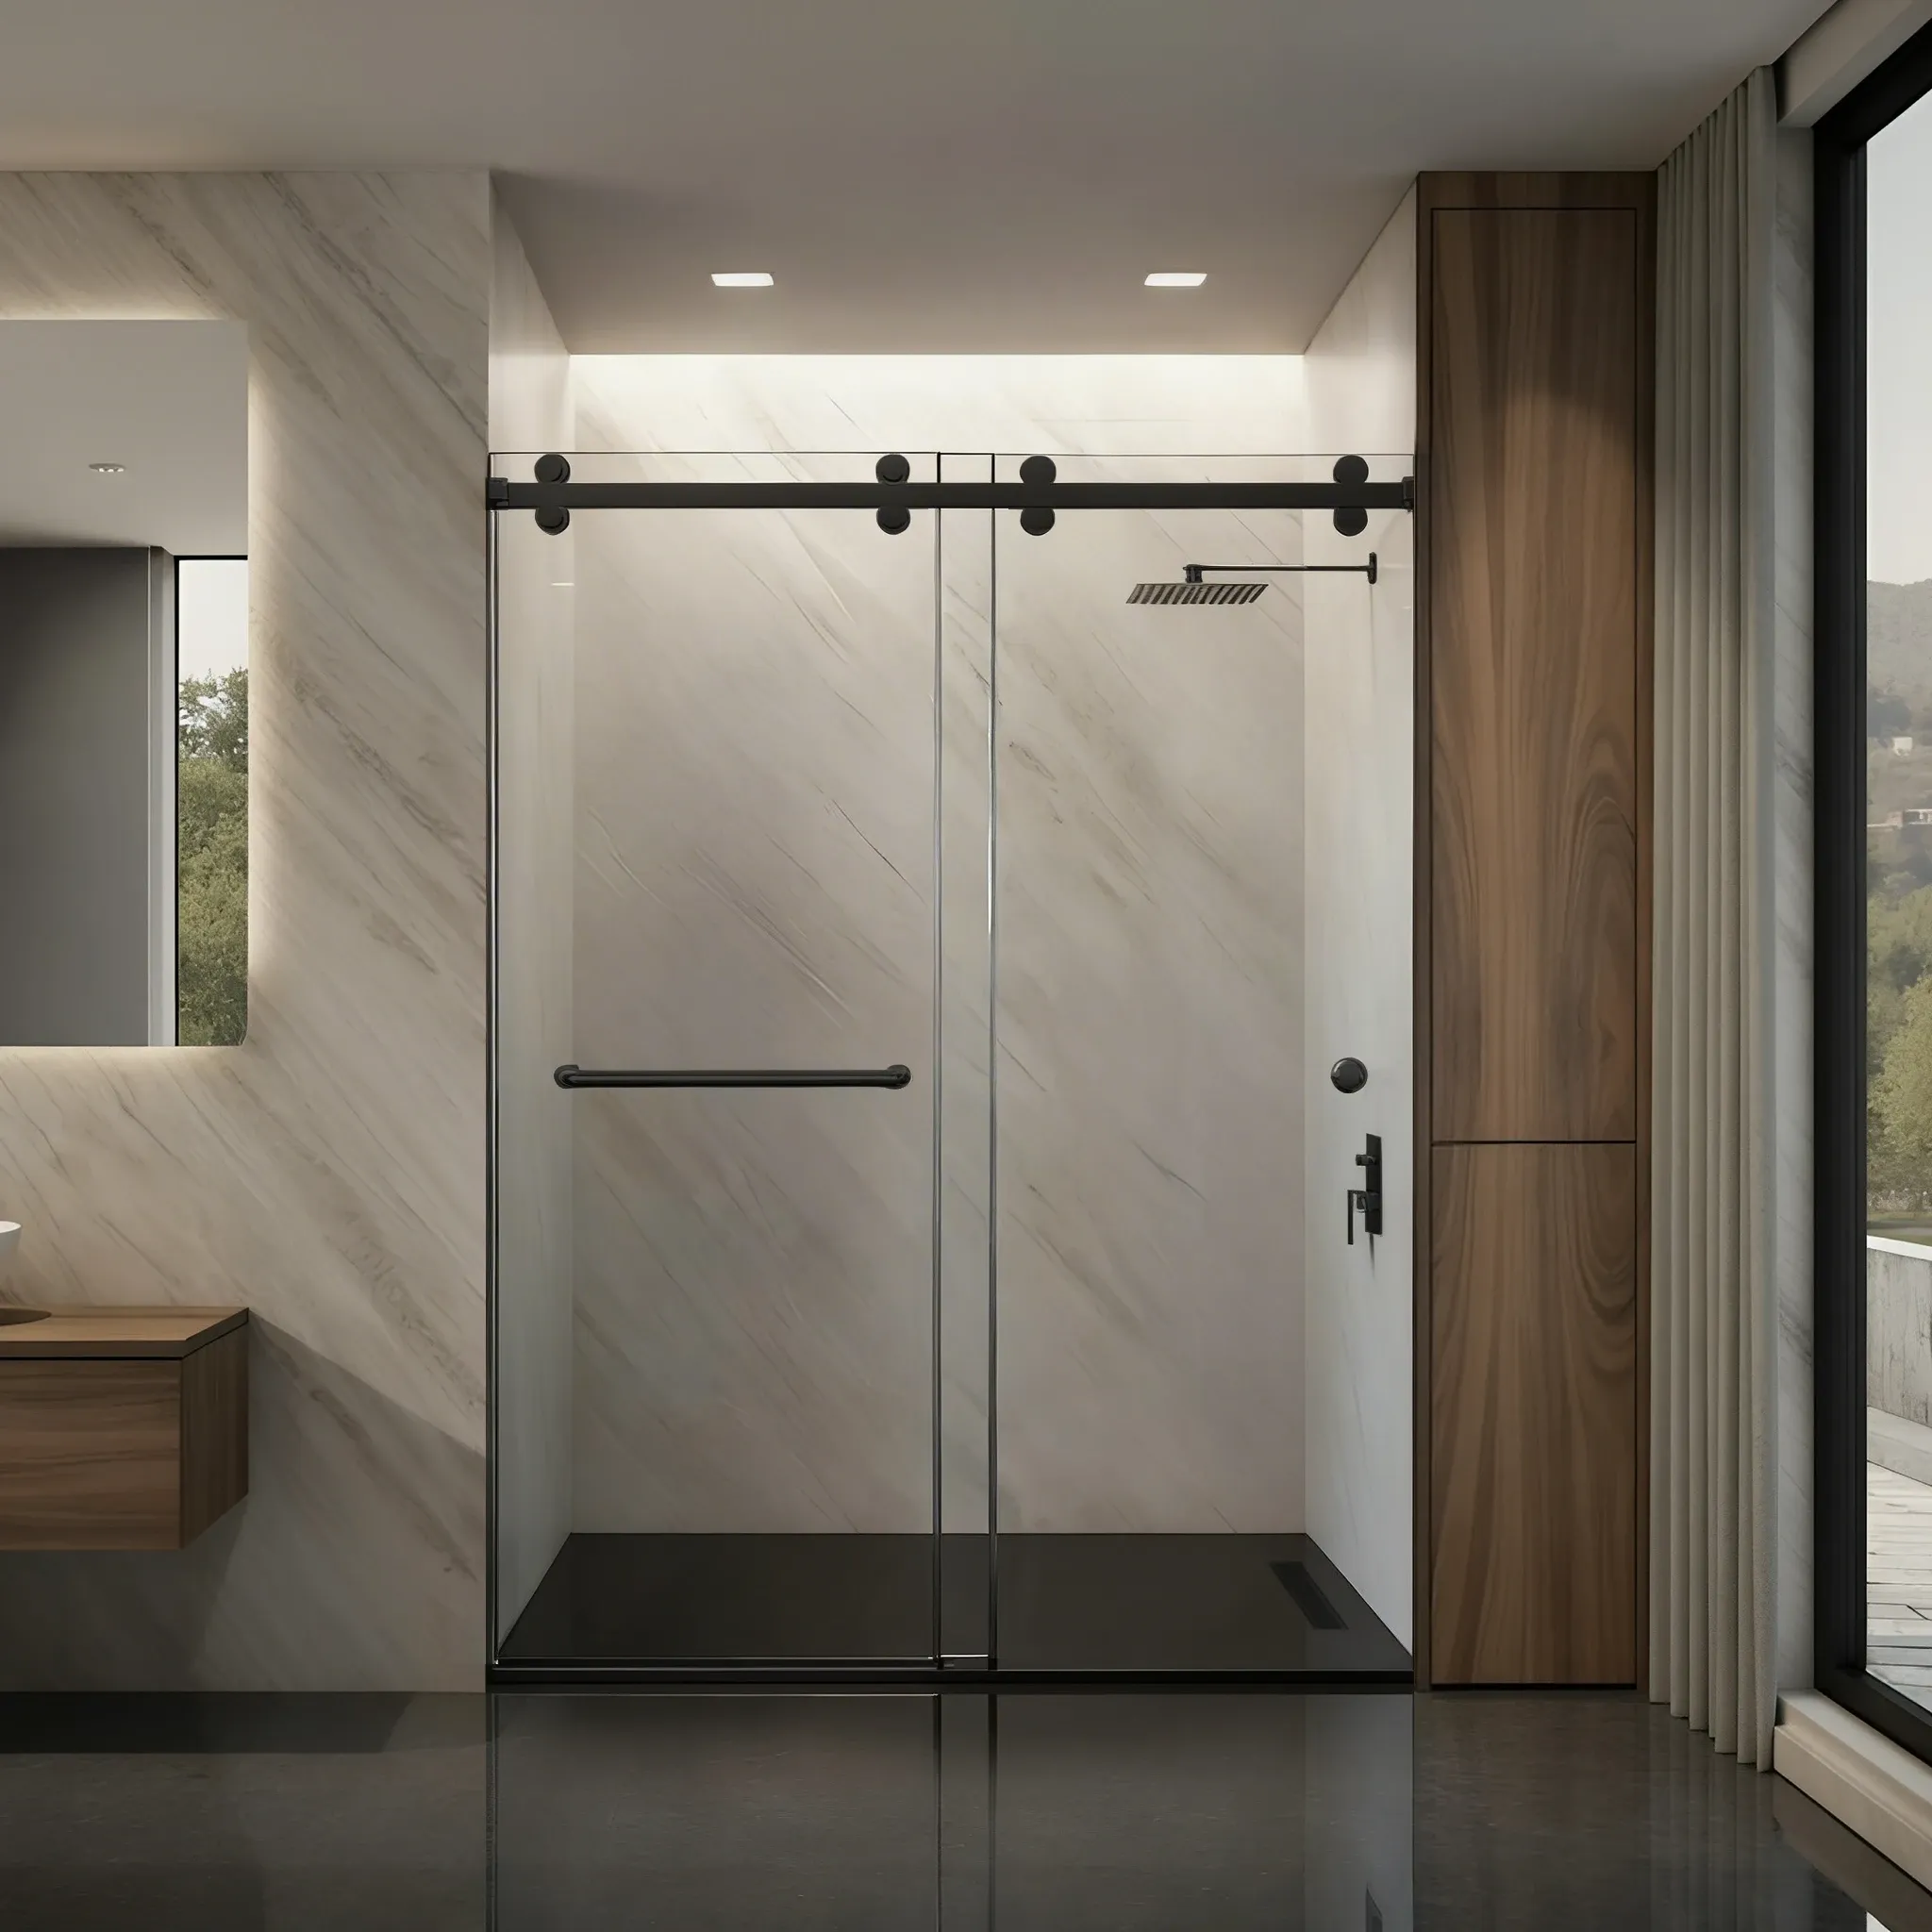
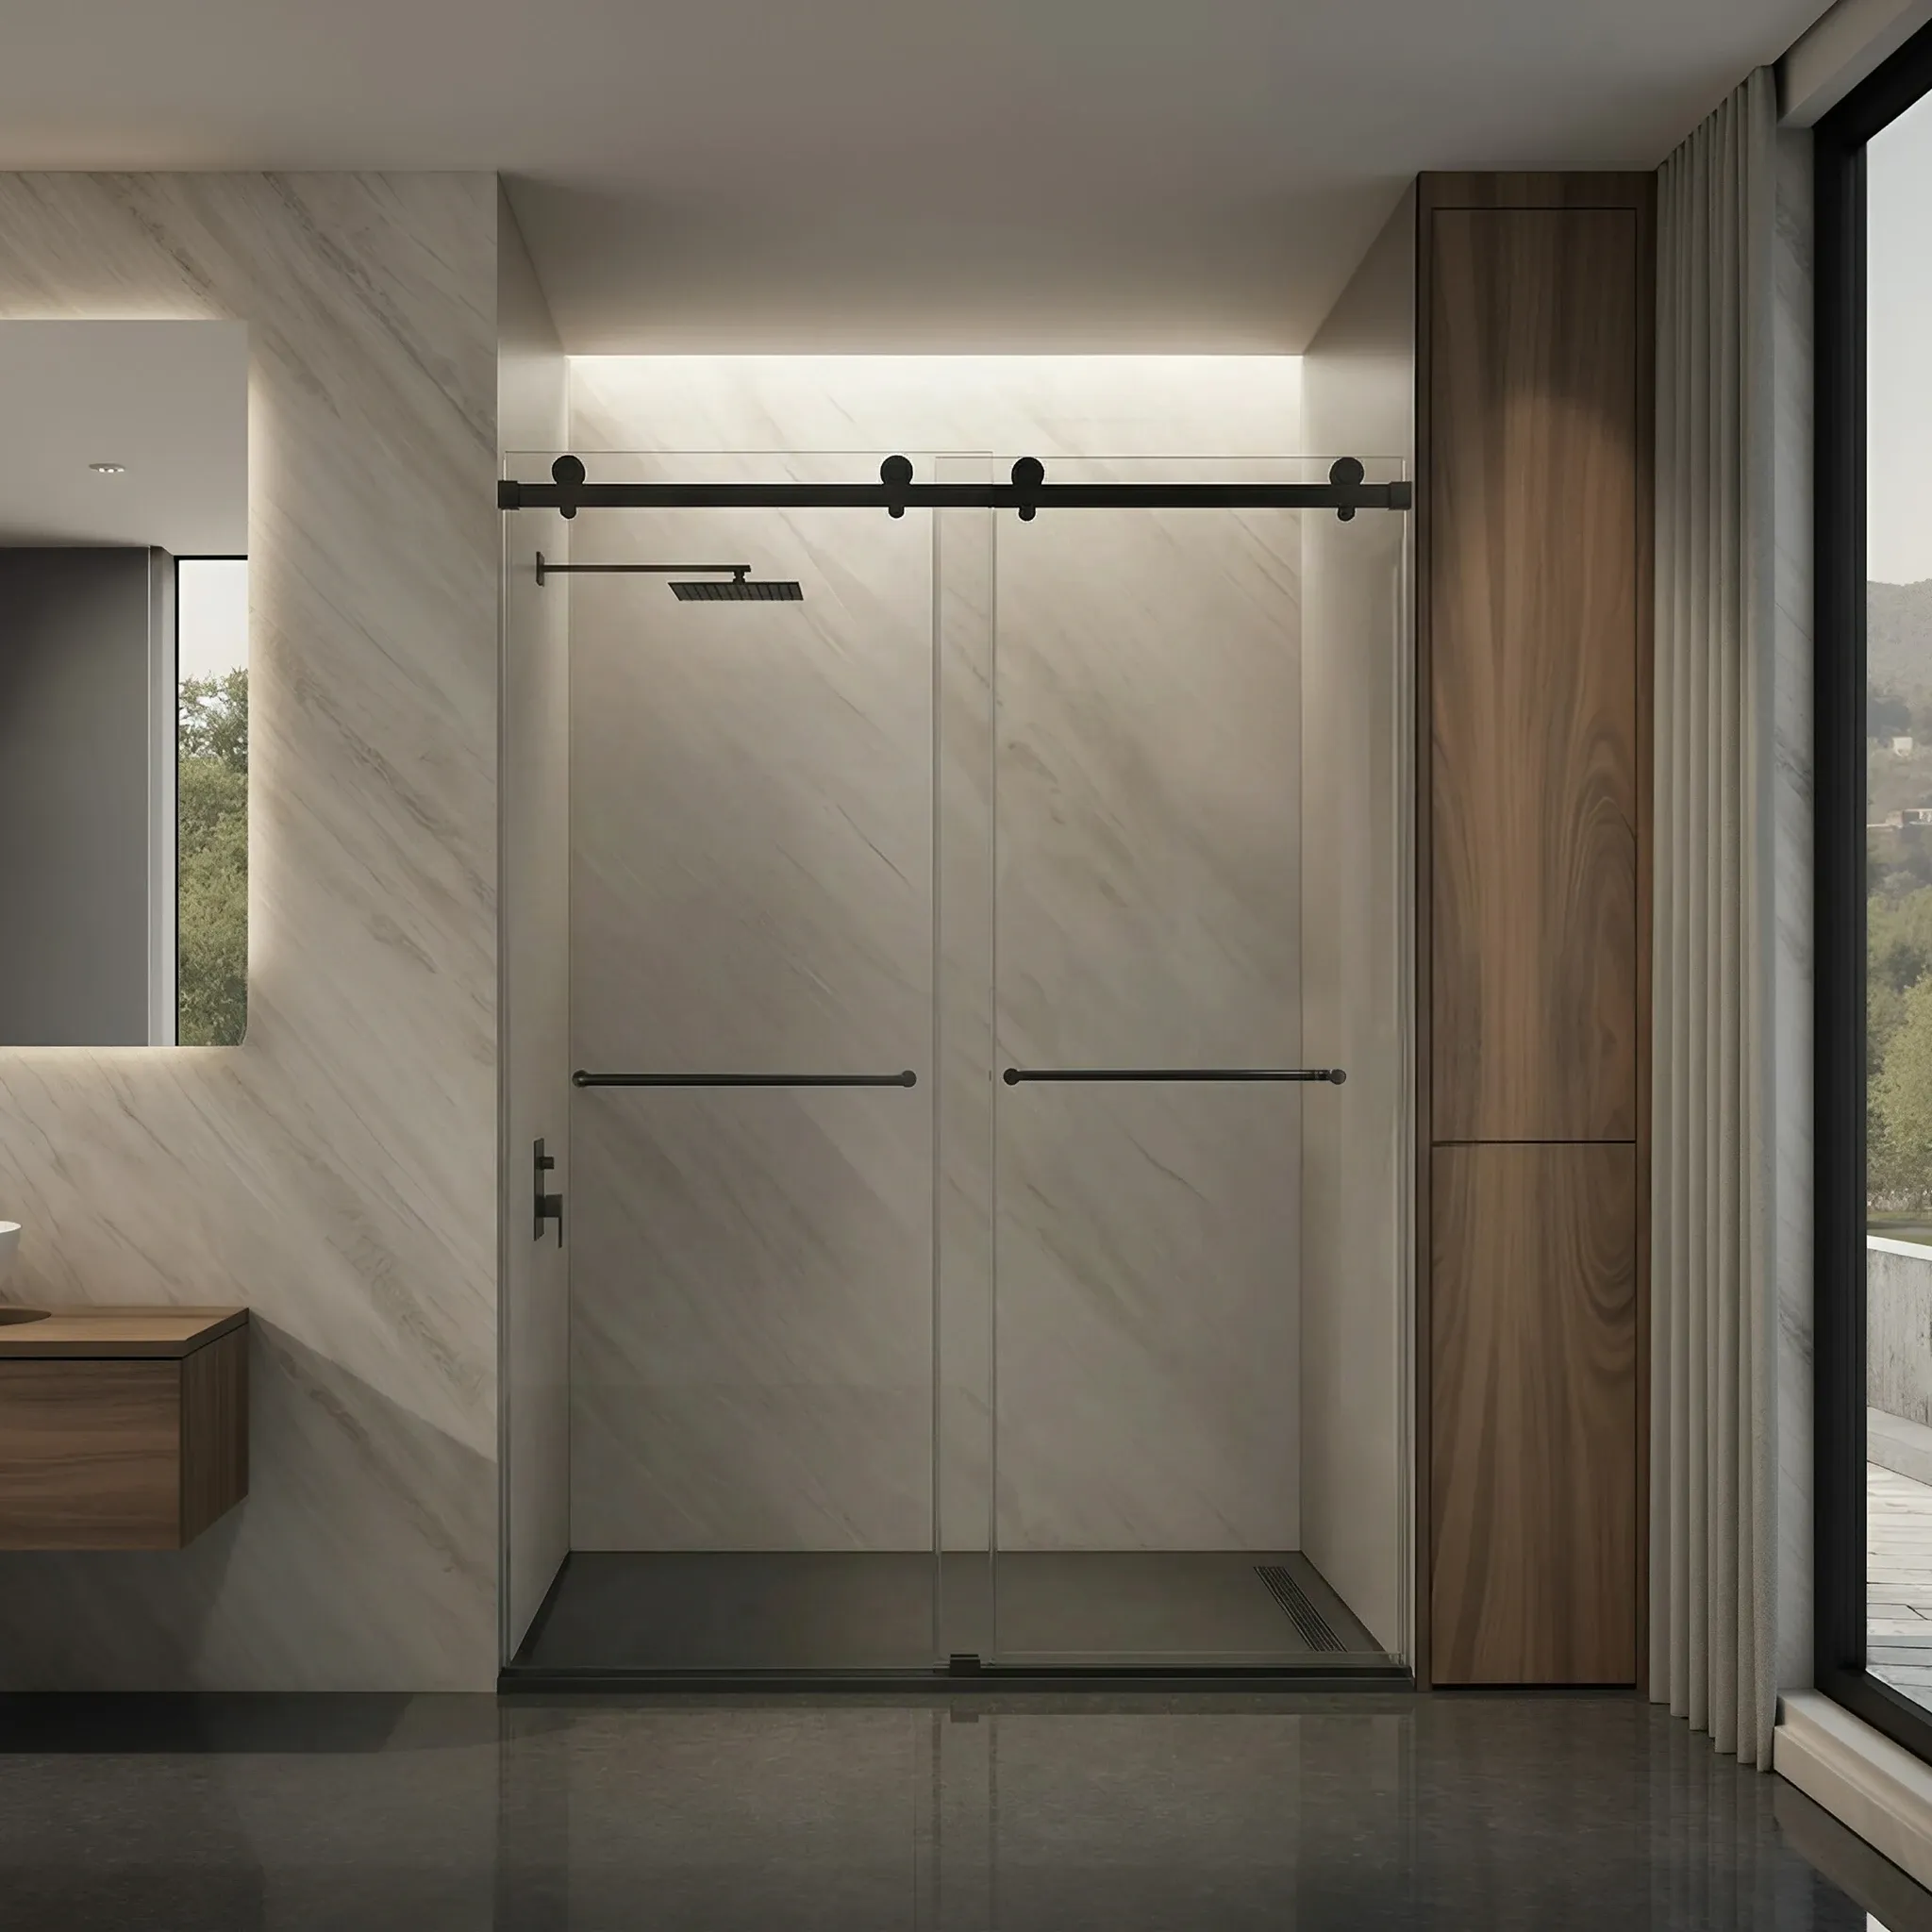
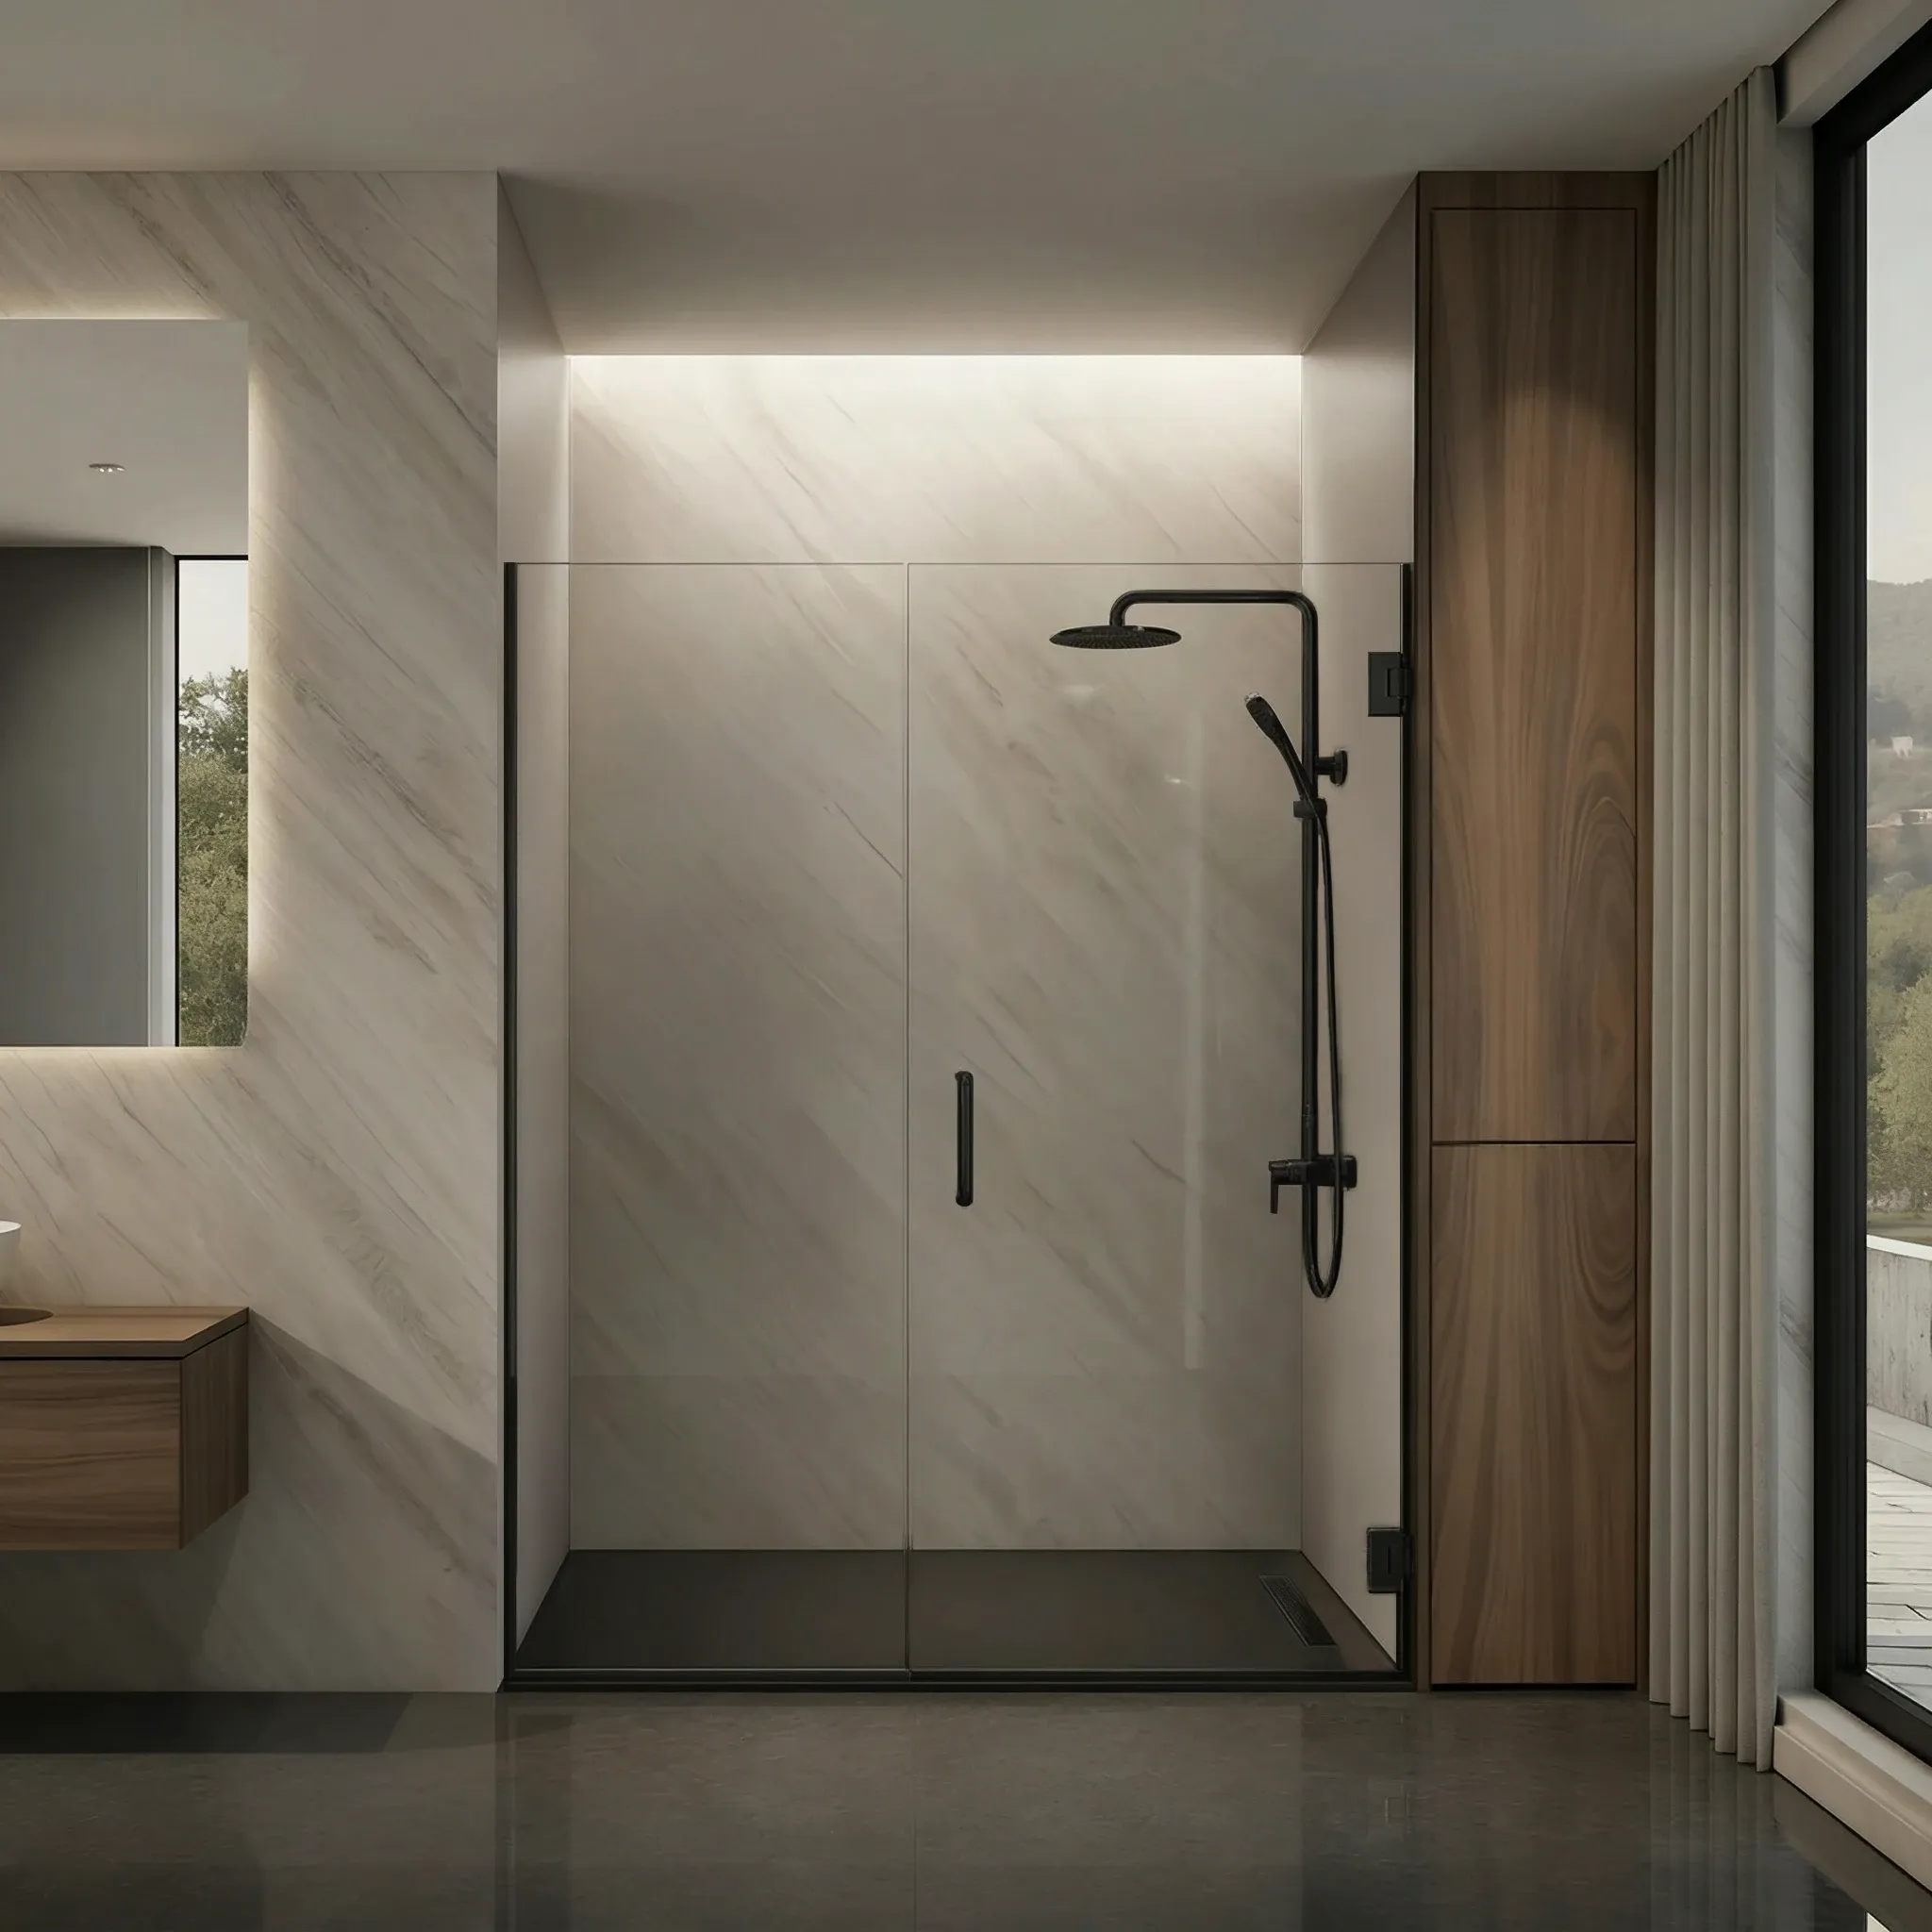
IN STOCKModern bypass design with practical everyday function.
15+ DIY-ready configurations
Simplified track system ensures straightforward installation.
 COMING SOON
Double sliding bypass styling with a softer, more atmospheric top-roller look.
DIY sliding options now available
Dual sliding panels support flexible entry while keeping the design clean and visually light.
 COMING SOON
A stronger statement-led bypass door with a more elevated, semi-frameless look.
DIY sliding options now available
Dual sliding access and integrated utility details support a more premium DIY direction.
Why Choose Sliding?
Sliding doors create a sleek, space-saving enclosure designed for smooth performance and confident DIY installation.

Glides on a track with no swing clearance, making it ideal for tight bathrooms and alcove layouts.

Precision track systems ensure consistent, low-noise movement that feels controlled and reliable.

Bypass configurations allow dual access and work well for larger shower enclosures.

Choose from modern and classic hardware finishes to match your bathroom design.

Pro-grade hardware and guided instructions help you achieve a clean, professional result.

Sliding formats adapt easily to tub-to-shower and combination layouts.
Single Sliding vs. Bypass Doors
Choose the right sliding layout based on your space, opening size, and how comfortable you are with installation.
One fixed panel plus one sliding panel
Ideal for 44" to 60" openings where entry from one side is enough.
Two panels slide past each other
Ideal for 56" to 72"+ openings where access from either side is useful.
Enter your ZIP to see if professional measurement and installation are available in your area.
PRO & TRADE
Ask about volume pricing on shower door kits, glass panels, and hardware for multi-unit projects.
Need to purchase in BulkDIY Kit Comparison
Compare single and bypass kits by opening size, access style, track design, and hardware adjustability before you order.
| Feature | Metro | Eclipse | Sero | Luna | Vera | Mona |
|---|---|---|---|---|---|---|
| System Profile | Most Popular | Wide Openings / Premium | Best Value | Lightweight / Streamlined | In-Stock Standard | Clean Everyday Upgrade |
| Configuration | Single-Slider | Double Bypass | Double Bypass | Double Bypass | Double Bypass | Double Bypass |
| Glass Thickness | 3/8" (10mm) | 3/8" (10mm) | 3/8" (10mm) | 3/8" (10mm) | 1/4" (6mm) | 3/8" (10mm) |
| Hardware Style | Round Rod | 8-Roller Stainless System | Semi-Frameless Frame System | Aluminum Top-Roller System | Stainless Rollers + Aluminum Frame | Aluminum Overhead Guide Rail |
| Roller System | 2 overhead rollers | 8 rollers: top + bottom | Rollers not exposed | 4 top rollers | Stainless-steel hanging rollers | 2 rollers per glass panel |
| Fits Openings | 44" to 60" | 56" to 72"+ | 46" to 60" | Coming soon | In-stock sizes only | Coming soon |
| Walk-Through Entry | 20" to 28" | 25" to 34" | 20 1/2" to 28 1/2" | Coming soon | Coming soon | Coming soon |
| Towel Bar | Optional | Optional | Dual included | Dual included | Dual included | Dual included |
| Installation Type | DIY ready | DIY ready | DIY ready | DIY ready | DIY ready | Coming Soon |
| Best For | Single-slider DIY projects | DIY wider premium openings | Value-focused semi-frameless bypass projects | 3/8" glass with a lighter top-roller system | Faster standard-size DIY projects | 3/8" glass with dual towel bars |
Geometric hardware kits that create a sharp, modern look with stable components for accurate installation.
Straightforward bypass systems offer strong everyday functions with fewer installation complexities.
A step-by-step roadmap from ordering your kit to setting the glass and sealing the tracks.
Pro-Grade Hardware
Designed for a stable, secure DIY setup.
Adjustable Fit
Helps accommodate standard and slightly uneven wall openings.
Ready When You Are
Glass and hardware are prepared for pickup, delivery, or shipping.
How It Works
6 practical steps guide your project from measurement and product selection to setup, adjustment, and final sealing.
Once your tile or surround is fully finished, record your exact opening dimensions. Measure at the top, middle, and bottom and use the smallest width when selecting your kit.
Use those dimensions to choose your kit size, glass style, and hardware finish before ordering.
Lay out the glass, tracks, rollers, sweeps, and hardware. Tempered glass is heavy, so have a partner ready for lifting.
Anchor the side jambs to the finished walls, then mount and level the overhead rail and bottom guide.
With your partner, set the sliding panels onto the overhead rail and adjust the rollers for a smooth, even glide.
Install the water sweeps, apply silicone where required, and let the sealant cure before your first shower.
DIY SLIDING CUSTOMIZATION
Choose glass styles, hardware finishes, and available upgrades for your single-slider or bypass shower door.
CUSTOMIZATION
Choose the shower glass that fits your bathroom lighting, privacy needs, and design style.
Clear Glass
Maximum visibility for a bright, open sliding shower door design.
BRIGHT & OPEN
Low-Iron HD Glass
Ultra-clear glass with reduced green tint for a premium, high-definition finish.
MOST POPULAR
Gray Glass
Subtle tinted glass for added privacy and a sleek modern look.
MODERN PRIVACY
Bronze Glass
Warm tinted glass for a softer, more inviting bathroom style.
WARM TONE
Rain Glass
Textured glass that adds privacy while still allowing natural light.
TEXTURED PRIVACY
Frosted Glass
Soft, diffused privacy glass that obscures visibility for a more private shower.
MAX PRIVACY
HARDWARE FINISHES
Match your sliding door hardware to your existing faucets, towel bars, vanity pulls, and bathroom style.

Style & Accent
Matte Black
Bold, high-contrast finish for a clean modern look.

Style & Accent
Satin Brass
Warm metallic finish for a refined, designer-inspired update.

Style & Accent
Chrome
Bright, reflective finish that pairs well with common bathroom fixtures.

Style & Accent
Brushed Nickel
Soft, versatile finish that works well with traditional and transitional hardware.
KIT FEATURES
Choose available upgrades and included hardware designed to make your kit easier to install, clean, and use every day.
Nano-Coated Glass
Helps reduce water spots and buildup on your shower glass.
EASIER CLEANING
Integrated Towel Bars
Select bypass configurations include built-in towel bars for added convenience.
BUILT-IN STORAGE
Pro-Grade Sliding Hardware
Model-specific rollers, rails, and guides support smooth movement and reliable everyday use.
SMOOTH GLIDE

A quick squeegee after each shower helps reduce water spots and buildup.
Daily

Use mild soap and a soft cloth to clean the glass surface without harsh cleaners.
Weekly

Clear loose debris from the track and wipe the channels to help prevent buildup around the rollers.
Monthly

Inspect side seals, sweeps, and drip rails for wear to help maintain reliable water control.
Yearly

Wipe handles, tracks, and metal hardware with a soft cloth. Avoid abrasive pads, heavy grease, or harsh cleaners.
As needed

Use approved AfterCare products to help maintain water-beading performance on nano-coated glass.
Monthly
Quick overview of shower glass options and how they change privacy and brightness.
Maintenance video for keeping shower glass looking clean over time.
Understand thickness options and how they affect feel and performance.
Measurement guide for Metro sliding shower door openings.
Installation reference for the Metro sliding shower door.
Measurement guide for Eclipse bypass shower door projects.
Video walkthrough for Eclipse sliding shower door installation.
Resources
Helpful articles and guides from our experts
Guide
Article
Compare clear, low-iron, frosted, bronze, and gray glass to balance privacy, brightness, and style for your sliding door.
Maintenance
Article
Step-by-step cleaning for sliding shower door glass, tracks, rollers, and seals to keep everything gliding and clear.
DIY
Article
A DIY walkthrough for replacing worn seals on frameless shower doors to stop leaks and drips.
DIY
Article
How to tell whether your bottom door sweep needs a quick repair or a full replacement.
Complete Guide
WHY DULLES GLASS
Our DIY sliding shower door kits pair tempered glass, smooth-glide tracks, pro-grade rollers, and practical support so you can choose the right size, layout, and access style before you order.
0+ Years
Glass expertise
Pro-Grade
Tracks, rollers, and guides
0-Year
On DIY shower door kits
0.0/5
Customer reviewed
Shop DIY sliding shower door kits with smooth-glide tracks, adjustable hardware, and single or bypass designs for confident installation.
Need help choosing? Compare Single vs. BypassBrowse More Options
Pivot and hinged glass doors for a more open-feel shower entry and premium enclosed layouts.
Open shower screens and fixed glass panels with minimal hardware and a lighter visual footprint.
Single-slider and bypass glass doors built for tub surrounds, alcoves, and bath upgrades.
FAQ
Most of the install can be done solo, but hanging the glass onto the support bar generally requires two people. One person needs to seat the bottom into the floor guide while the other lowers the rollers onto the bar.
Plan on a drill, tile or masonry bit where needed, a level, painter’s tape, tape measure, a vinyl cutter or utility knife, double-sided tape for acrylic or tub installs, and 100% silicone sealant. The Metro kit includes the Allen wrench used for hardware adjustment.
Plan on 4 to 8 hours for a first-time DIY install on a Metro single-slider or Eclipse bypass. The time usually goes into measuring, cutting the support bar, drilling pilot holes, shimming everything level, and sealing the enclosure correctly.
It depends on the base. Ceramic or stone bases usually require drilling for the glass mounting clamps and wall brackets. Acrylic, plastic, or tub installs typically use a taped U-channel at the base, but you still drill the wall for the support bar brackets.
Measure the clear width between enclosure walls at the top, middle, and bottom, then use the smallest value. Measure height from the top of the base, pan, or tub to your target door height. If your three width measurements vary by more than 1/2", professional measurement is usually the safer move.
Sero is usually the most beginner-friendly bypass option because of its simpler hardware and more forgiving setup. If you want a frameless look, Metro is the next step up and ships with a detailed installation guide.
Yes. The support bar, U-channel, bulb seal, bottom sweep, half-moon threshold, and vertical PVC are all meant to be cut to fit. The glass itself cannot be cut, so the kit still needs to match your opening range.
Rest the glass on towels while staging, keep the plastic grommets in place so glass never contacts metal, and use a two-person lift when hanging the sliding panel. The grommets and careful handling do most of the damage prevention work.
Minor out-of-plumb conditions are normal. Use the included shims to bring the fixed panel vertical, rely on the bracket adjustment built into the support-bar hardware, and let the wall-side bulb seal close small gaps. If the wall is off more than about 1/2", professional measurement is worth considering.
Use 100% silicone at the fixed panel, the threshold, the bottom sweep, and the vertical seals anywhere the instructions call for it. Let the silicone cure for 24 hours before using the shower.
Start by checking whether the support bar is level. Then fine-tune the roller cam adjustment and confirm the door stops and floor guide are in the correct positions. If the door drifts on its own, the bar is usually the culprit.
Yes. The kits include the core door-system hardware, rollers, guides, clamps, seals, and glass panels. You still supply tools, tape for certain base types, and silicone sealant.
The biggest mistakes are skipping the panel-configuration decision, rushing the leveling step, and under-sealing the enclosure. The support bar must be level and every gap called out in the sealing step needs silicone.
Still have questions?
Contact UsBased on 4,117 customer reviews
Victoria Anders
Excellent customer service, product, and installation of a sliding gl...
Leonid Brodskiy
Good job installing my new sliding glass door for shower
Maureen H.
Technicians arrived on time as promised
Pair your sliding shower door kit with matching hardware, mirrors, and accessories for a complete bathroom refresh.
Our customers say
Excellent
4.9 out of 5 stars
United States © 2026 Dulles Glass. All Rights Reserved.